Welcome to our complete guide to bottle carbonation for home brewers! Whether you’re a seasoned brewing aficionado or just starting your journey into the world of fermented beverages, understanding the process and techniques behind bottle carbonation is key for delivering that perfect, fizzy sip every time.
Bottle carbonation refers to the process of adding sugar or priming solution to beer or cider before bottling, allowing natural yeast in the beer or cider to consume the added sugar and create carbon dioxide gas which then dissolves into the liquid creating a fizzy texture. This process enhances drinking experience by making beer or cider more refreshing.
So let’s dive in and explore the science and methods of bottle conditioning – from using different sugars, controlling temperatures, understanding yeast behavior, all the way down to achieving desired carbonation levels.
By following these guidelines outlined in this blog post, you’ll be well on your way to mastering beer or cider bottling at home.
What Is Bottle Carbonation And How Does It Work?
Bottle carbonation occurs when yeast consumes added sugar, producing carbon dioxide that becomes trapped in sealed bottles during the final stage of fermentation.
Bottle carbonation, also known as bottle conditioning or secondary fermentation, is the process of naturally carbonating home-brewed beer or cider inside the bottles. This technique ensures that your brew achieves its desired flavor and level of fizziness before consuming.
The process works through a simple yet essential chemical reaction: fermentation produces carbon dioxide (CO2) gas as a byproduct when yeast consumes sugar in the brew.
In order to carbonate bottled beer or cider, you need to seal it with a small amount of additional fermentable sugar called priming sugar.
Once sealed, the remaining living yeast in the beer or cider ferments this added sugar and releases CO2 gas into the liquid without any means of escape, thus creating effervescence within the bottle.
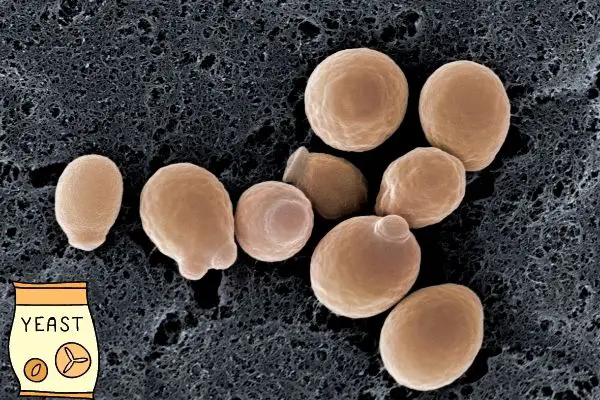
The Role Of Yeast And Sugar In The Carbonation Process
In the process of bottle carbonation, yeast and sugar play a vital role in creating bubbles. During fermentation, yeast consumes sugar and produces alcohol and carbon dioxide as byproducts.
When beer or cider is bottled with extra priming sugar added, it creates an environment for the remaining yeast to consume that sugar and produce more carbon dioxide in a sealed container.
It’s important to note that different types of yeasts can produce varying levels of carbonation based on the chemical composition of the sugars used.
Additionally, using too much or too little priming sugar can lead to inconsistent carbonation levels or even explosive bottles if the pressure becomes too high.
Types of Priming Sugar
The most common type is table sugar, also known as sucrose. This type of sugar is easy to find in any grocery store and will give your cider or beer a nice balance of sweetness and carbonation.
Dextrose, which is a form of glucose, can also be used for priming. It has less flavor than sucrose but still provides the necessary carbonation levels for your brew.
For 1 gallon, the 16 grams of sugar or 4 ordinary sugar cubes corresponds to dextrose, glucose or sucrose that can easily be digested by most brewing yeasts.
If using syrup or honey, you may want to aim for the higher 30 grams per 1 gallons, as they contain more water and the effective sugar concentration will be lower.
To begin with, we recommend using ordinary table sugar, corn sugar, or glucose.
Corn sugar fine powder is easier to dissolve than table sugar.
Carbonation drops dissolve completely and offer more precise dosing.
This is because ordinary sugar is less likely to add any off-flavors to your beer and is easily dissolved.
You can calculate exactly how much you need using our priming calculator here:
Other types of sugar that can be used for priming include:
Brown sugar: Brown sugar can add a slight molasses flavor to your beer or cider. You will need 18.0 grams of brown sugar per 1 gallons for good carbonation.
Honey: Honey can add a subtle sweetness and unique flavor to your cider or beer. If you choose to use honey for priming of 1 gallons, you will need 21.4 grams to get the same carbonation as with 16 grams of ordinary sucrose.
Honey should always be added after fermentation has completed in order to preserve its delicate aromas and flavors throughout the brewing process.
Maple syrup: Maple syrup will add a unique sweetness and flavor. For a medium carbonation level, you will need to add 20.6 grams of maple syrup to 1 gallons of brew to achieve good carbonation.
Fruit juice: Fruit juice can add a unique sweetness and flavor to your beer. For juice you will want to use at least 2 times 30 ml per 1 gallon of brew.
More on the sweets
Corn syrup is another option when it comes to priming beers. Corn syrup contains more fructose than other sugars so it will provide more sweetness without adding too much complexity or flavor profile to the finished product.
For corn syrup, you will need 23.2 grams for 1 gallon of brew.
Fructose can also be used for priming but should generally only be added in small amounts since too much could result in overly sweet or syrupy tasting beers or ciders with low carbonation levels as beer yeasts have a hard time fermenting fructose, but for ciders it is generally ok.
Malt extract is often overlooked when considering what type of sugars should go into beer making but this ingredient actually plays an important role in providing additional body while contributing subtle notes of caramelized maltiness at the same time!
For dried malt extract, also known as DME, you will need to add 23.5 grams per gallon in your brew.
Apple juice concentrate can also work well as a natural source of fermentable sugars while powdered sugar adds just enough sweetness without overpowering other ingredients present in the recipe itself!
| Sugar Source | Grams Needed For 1 Gal or 3.8 L |
| Sucrose | 16 |
| Dextrose | 17.5 |
| Brown Sugar | 18.0 |
| Corn Sugar | 17.5 |
| Corn Syrup | 23.2 |
| Molases | 22.3 |
| Maple Syrup | 20.6 |
| Honey | 21.4 |
| Dried Malt Extract | 23.5 |
| Ivert Syrup | 17.5 |
The amount of different priming sugar sources
needed for 1 gallons or 3.8 liters of brew.
No matter which type you choose for bottling or priming your homebrews, make sure to measure out each ingredient accurately before adding them into the mix.
This will ensure consistent results every time!
Factors Affecting Carbonation Levels
The amount of carbonation in beer or cider is affected by several factors. The type and amount of yeast used, the amount of priming sugar added, the temperature during conditioning, and even the type of bottles used can all impact carbonation levels.
For example, using too much priming sugar or a highly fermentable sugar like honey can lead to over-carbonated beer or cider with excessive foam. On the other hand, using too little priming sugar or bottling at a low temperature can result in under-carbonated beer or cider that tastes flat.
Methods Of Bottle Carbonation
There are three main methods of bottle carbonation: the priming sugar method, the krausening method, and forced carbonation.
Priming Sugar Method
The Priming Sugar Method is a classic way to carbonate beer or cider for home brewers. This method involves adding sugar to the beer or cider before bottling, which creates CO2 during bottle conditioning.
To use this method, first ensure your bottles are sanitized and free from any debris or contaminants that could affect carbonation levels. Then, boil water and dissolve the appropriate amount of sugar in it before cooling it down.
Next, add the mixture to your fermenter and stir gently to distribute evenly throughout the beer or cider.
It’s important to note that different styles of beer or cider require different levels of carbonation; for example, lagers typically have higher carbonation levels than ales.
Additionally, temperature plays an important role in successful bottle conditioning; cooler temperatures can slow down fermentation while warmer temperatures speed up the process (but also increase the risk of exploding bottles!).
Krausening Method
The Krausening method is an alternative way to carbonate beer or cider that involves adding actively fermenting wort to already fermented beer or cider. This technique can produce a crisper and fresher taste than the priming sugar method.
To use this method, brewers reserve some wort from their initial batch of beer or cider and then ferment it separately until it’s ready to use in secondary fermentation.
Later on, when bottling the finished product, they add measured amounts of this freshly-fermented wort back into each bottle before capping them down.
Unlike forced carbonation or priming with sugar, krausening requires extra time for the added yeast to metabolize sugars and convert them into CO2 gas leading to natural carbonation.
Krausening has been used historically as an advanced brewing technique for lagers since these beer or ciders require longer fermentation times at cooler temperatures than ales do which also means slower conditioning after primary fermentation is complete.
Forced Carbonation
Forced carbonation is an alternative method to achieve carbonated beer or cider for home brewers. This technique utilizes a CO2 tank and a regulator to force carbon dioxide into the beer or cider, ensuring consistent and predictable levels of carbonation.
First, connect the CO2 tank to the keg with tubing and adjust the pressure on the regulator based on desired carbonation levels. The higher the pressure, the faster carbon dioxide dissolves in beer or cider.
One benefit of forced carbonation is its efficiency compared to bottle conditioning methods, which may require more time and effort for optimal results.
Force-carbonated beer or ciders tend to have course bubbles than naturally conditioned ones resulting in more prickly mouthfeel but it does prevent excessive amounts of yeast at bottling time.
Overall, whether using natural bottle-conditioning or forced-carbonating techniques each offers unique benefits depending on your circumstances but either will not disappoint when done correctly enhancing flavor profile with richer texture making them stand out from other uncarbonated products like soda pop!
Using a carbon dioxide canister and screw lid:
This is a popular, less expensive, method among home brewers for small batches of cider. All you need is a screw-top lid and a small carbon dioxide canister and a tube with adapters that connects them!
You can buy the screw cap that fits on any standard soda bottle with a tight seal, so you can basically carbonate your cider (or juice, beer etc.) directly in the bottle you want to store it in as well.
Carbonation Cap

A simple screw cap and tubing system for carbonation
The fastest solution for single bottle carbonation.
- Quick and easy to use
- Fits any standard soda bottle
- Very reasonably priced
The other end of the tubing fits a standard carbon dioxide canister, which is probably the most expensive part, but quite a lot cheaper than using a SodaStream machine if you consider the volume.
The process is quite simple:
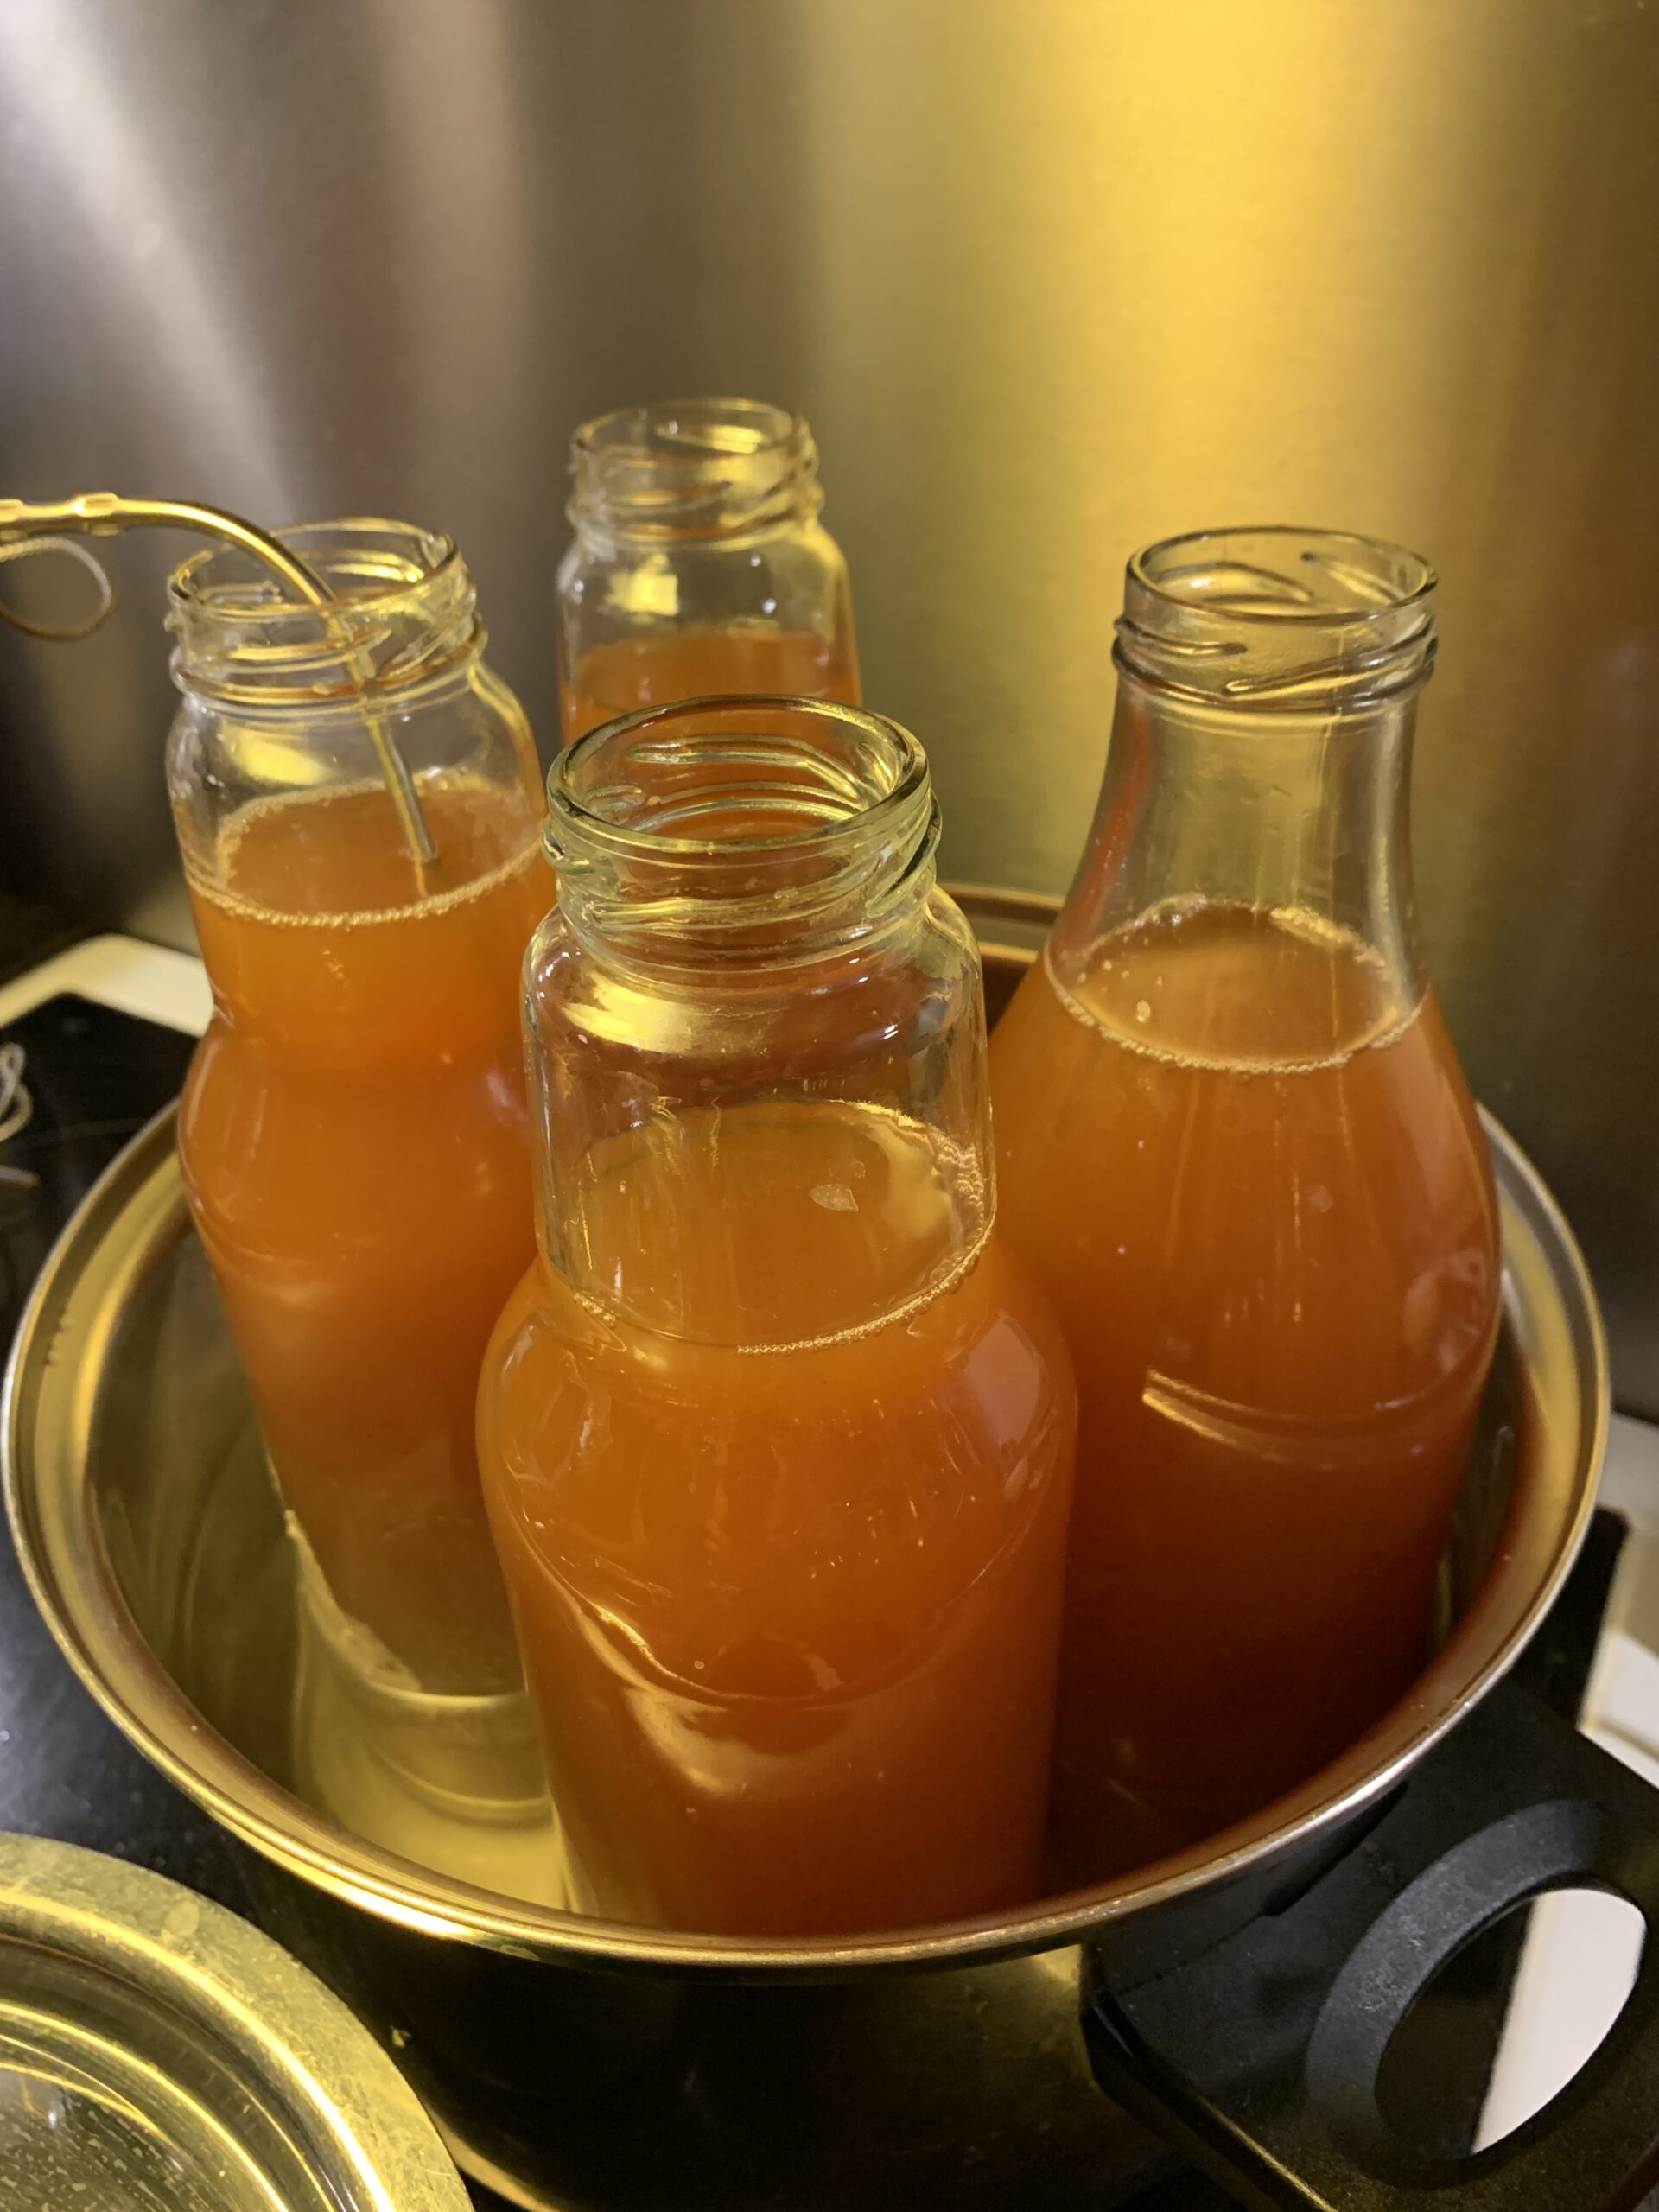
1. Cool your cider in a soda bottle overnight in the fridge. Fill it to maximally 80% full capacity!
2. Screw on the connector screw cap to your soda bottle and the other end to your CO2 canister.
3. Open the valve on the carbon dioxide canister and let it hiss until you have carbonated your cider to your desired level.
In contrast to the SodaStream, this setup actually allows you to control the speed of carbonation as you can open the valve to achieve any desired flow rate.
You can shake the bottle lightly while keeping the valve open as this will help dissolve the carbon dioxide.
This will take some trial and error to get right.
4. Once you have the pressure where you want it, remove the carbon dioxide nozzle and quickly seal the bottle with the lid to keep all of the gas in.
5. Store in a cool place until you are ready to drink!
Tools And Techniques For Successful Bottle Carbonation
Proper sanitization techniques and measuring and priming sugar calculations are crucial in achieving successful bottle carbonation, along with controlling temperatures for optimal carbonation, using appropriate bottles and caps, and ensuring the desired carbonation levels.
Proper Sanitation Techniques
To ensure the best results for your bottle carbonation process, proper sanitation techniques are crucial. Here are some tips to follow:
1. Clean all equipment and surfaces with a suitable cleaning solution before use.
2. Use a sanitizer to sterilize all equipment and bottles before bottling. This will help prevent contamination and bacterial growth.
3. Keep all equipment and bottles covered or sealed to prevent any airborne contaminants from entering the brew during the fermentation process.
4. Use clean and filtered water throughout the brewing process to prevent bacteria buildup.
5. Keep everything dry after cleaning and sanitizing to avoid any moisture buildup that could lead to mold growth.
By following these proper sanitation techniques, you can ensure that your beer or cider has a longer shelf life, tastes better, and is less likely to suffer from any off-flavors or spoilage issues.
Measuring And Priming Sugar Calculations
One of the most critical steps in achieving optimal carbonation levels for your homebrewed beer or cider is measuring and priming sugar calculations. You need to ensure that you add just the right amount of sugar to get the desired level of fizziness without over-carbonating or under-carbonating your beer or cider.
A good starting point is using a priming calculator, which factors in variables like sugar types used, temperature, and CO2 volumes desired.
By inputting these data points into the calculator, it will accurately estimate how much sugar you’ll need to add to achieve your desired carbonation levels.
It’s worth noting that too much sugar can lead to excess pressure building within bottles and risking explosions, while too little would result in flat-tasting beer or cider.
Controlling Temperatures For Optimal Carbonation
It’s important to maintain the right temperature for optimal carbonation when bottling beer or cider. Temperatures that are too high can cause over-carbonation, while temperatures that are too low can result in under-carbonated beer or cider.
Ideally, aim for a consistent temperature of around 68°F during bottle conditioning.
One trick to ensure consistent temperatures is to store your bottles in an insulated container or wrap them in blankets. This will help maintain a stable environment and prevent temperature fluctuations that could affect carbonation levels.
By controlling temperatures correctly, you’ll achieve a perfectly carbonated brew with just the right level of effervescence – making all your hard work worthwhile!
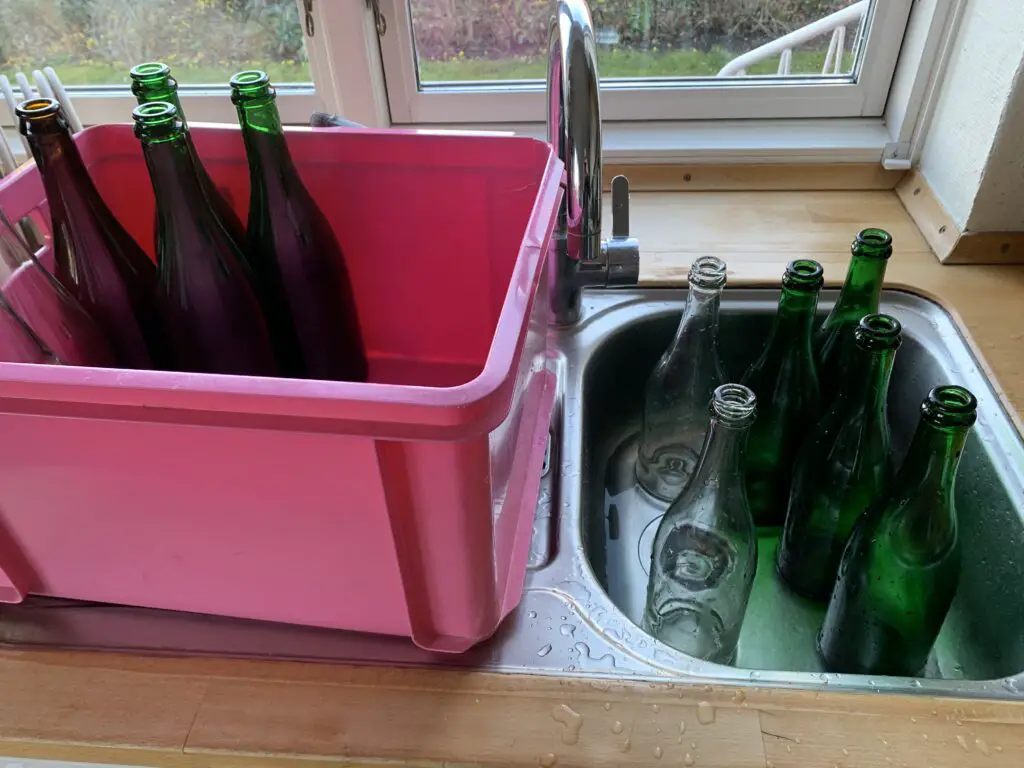
Using Appropriate Bottles And Caps
Choosing the right bottle and cap is crucial in ensuring a successful carbonation process. The most important factor to consider when selecting bottles is their ability to withstand pressure.
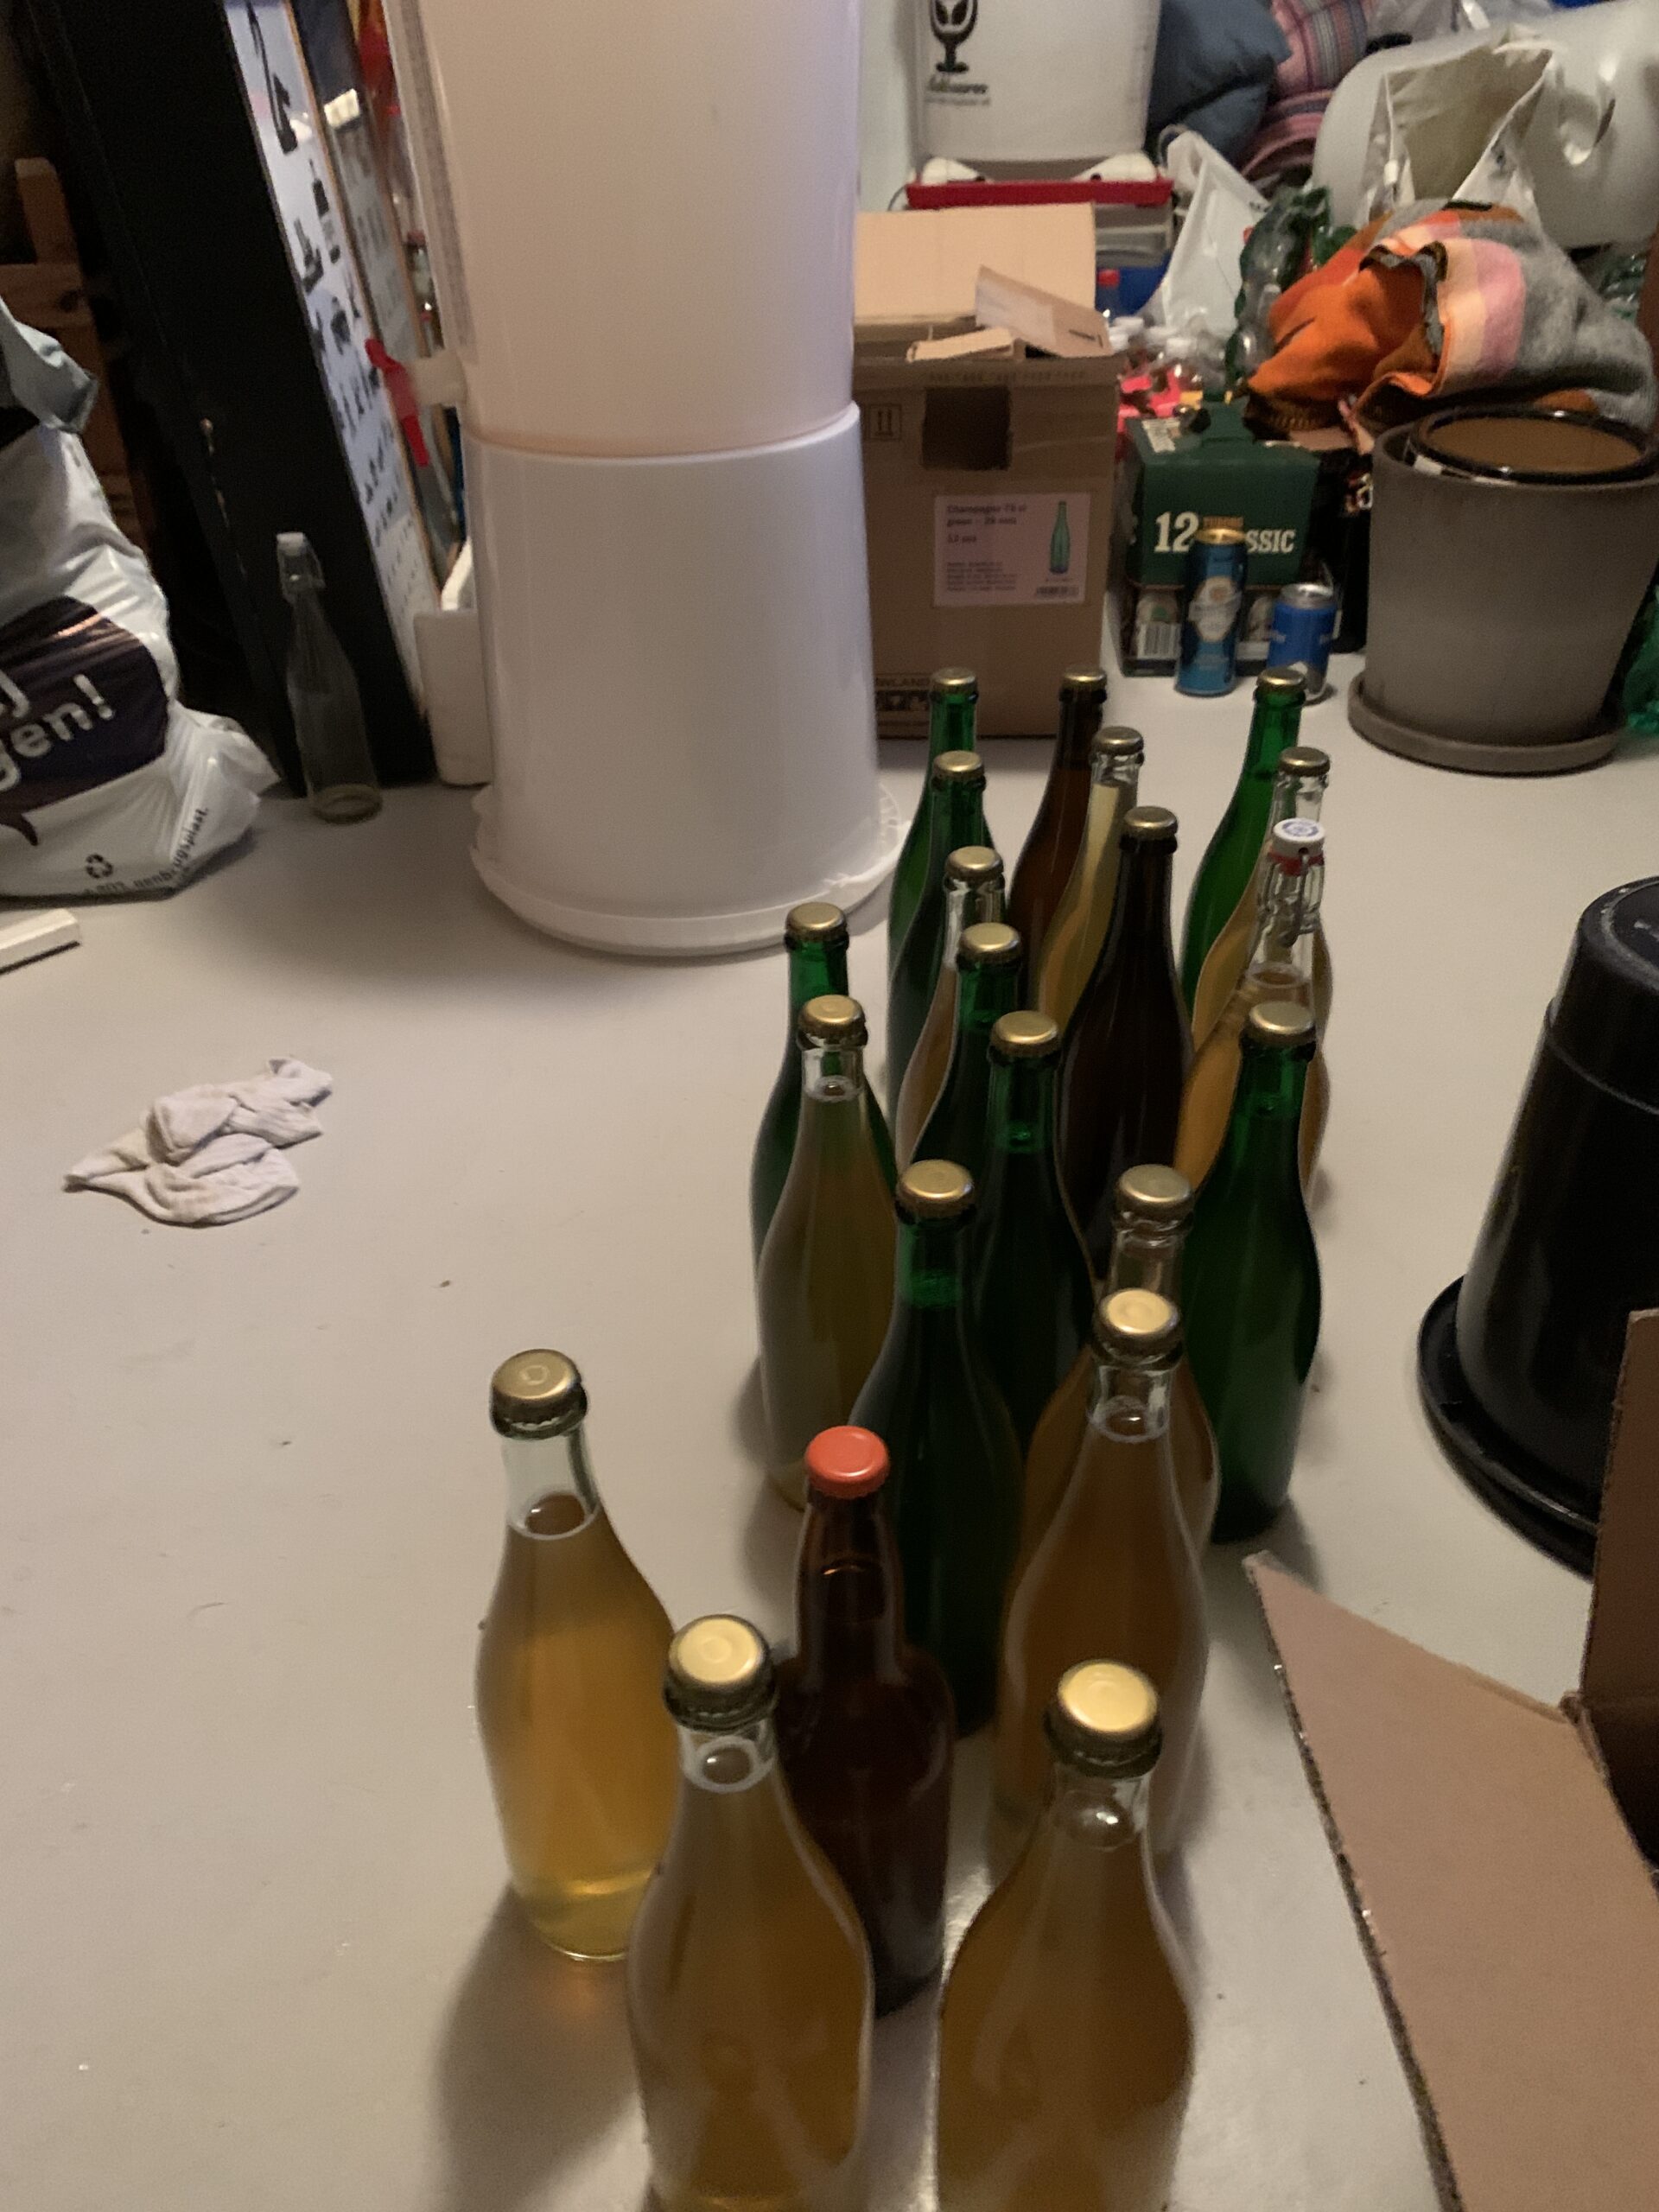
When it comes to selecting bottles for carbonation, you want to make sure you choose the right kind. Glass bottles are the preferred choice because they are the most practical and durable. You can recycle bottles from commercial beer or soda but make sure you clean them well and check for any damage.
If you want to purchase new bottles, look for ones that are specifically designed for homebrewing. These bottles are thicker and more durable, and they come in various sizes, such as 12-ounce, 16-ounce, and 22-ounce.
Keep in mind that larger bottles will require more carbonation time compared to smaller ones. Whatever bottles you choose, make sure they have a tight seal to prevent loss of carbonation.
Once you have your bottles, it’s time to sterilize them before use. This step is crucial to prevent contamination or off-flavors in your beer.
Bottles with thick glass walls are ideal, as they can handle the carbon dioxide buildup during conditioning without breaking.
Another consideration is the size of the bottle, as it can affect the level of carbonation achieved. Smaller bottles often result in higher levels of carbonation compared to larger ones thanks to increased surface area-to-volume ratio.
Achieving The Desired Carbonation Levels
One of the most critical aspects of bottle carbonation is achieving the desired level of carbonation in your beer or cider. The amount of priming sugar used, along with temperature and yeast activity, all play a significant role in determining your beer or cider’s carbonation levels.
It’s crucial to use a reliable calculator for measuring and adding priming sugar accurately.
Furthermore, it’s essential to consider the style you’re brewing when determining your desired carbonation level.
For example, Belgian-style beer or ciders benefit from higher carbonation levels compared to English ales.
Keep track of the fermentation process by measuring gravity with an appropriately calibrated hydrometer or digital refractometer during secondary fermentation to determine if additional time is needed for carbonating within the bottle conditioning phase properly.
Troubleshooting Common Carbonation Problems
If you encounter over-carbonated or flat beer or cider, foaming and gushers, or under-carbonated beer or cider while bottling your homebrew, there are ways to troubleshoot the problems and adjust carbonation levels by adjusting the amount of priming sugar added during bottling.
Over-carbonated Beer
Over-carbonated beer or cider can be a frustrating issue for home brewers. This occurs when too much carbon dioxide is produced during fermentation, causing excess pressure and resulting in gushers or even exploding bottles.
To avoid over-carbonation, it’s important to properly measure the amount of sugar used to prime the beer or cider before bottling. Using a carbonation calculator can help ensure that the correct amount is added based on factors such as temperature, volume, and desired carbonation levels.
Additionally, keeping bottles at a consistent temperature during conditioning can prevent excessive carbon dioxide production.
Under-carbonated Beer
Under-carbonated beer or cider can be disappointing and lack the effervescence that makes drinking beer or cider so enjoyable. This problem occurs when there is not enough yeast or sugar present in the bottles during carbonation.
There are several ways to prevent under-carbonation, including using a priming bucket to add more sugar and yeast, ensuring proper sanitization of bottles, and controlling temperature during bottle conditioning.
Additionally, it’s crucial to use appropriate bottles that can withstand pressure without breaking or leaking. A great way to achieve optimal carbonation levels is by using a homebrew carbonation calculator, which allows you to measure and adjust sugar amounts for desired CO2 levels accurately.
Flat Beer
Flat beer or cider is a common issue that home brewers encounter during the carbonation process. This can happen if there isn’t enough CO2 in the bottle, which results in a lack of carbonation and fizziness.
Flat beer or cider can be caused by many factors, including not using enough priming sugar or using an improper amount of yeast during fermentation. One solution to this problem is to add more priming sugar and give the beer or cider more time to condition before opening it.
Another possible cause is improper sanitization techniques, which can result in bacterial growth that affects carbonation levels.
Foaming And Gushers
Foaming and gushers occur when there is too much carbonation in the beer or cider. This can happen if too much priming sugar is added during bottle conditioning or if the beer or cider wasn’t properly fermented before being bottled.
To avoid foaming and gushers, make sure to measure out your priming sugar precisely according to calculations based on batch size and desired carbonation levels. Additionally, ensure that fermentation is complete before bottling by taking gravity readings over several days.
Lastly, be sure to leave enough headspace in each bottle to prevent excess pressure buildup.
How To Carbonate Beer In Kegs
Learn about the differences between keg and bottle carbonation techniques and how to achieve optimal carbonation levels through force carbonation, using kegs for secondary fermentation, and more!
Differences Between Keg And Bottle Carbonation Techniques
There are a few key differences between keg and bottle carbonation techniques that home brewers should be aware of. The main difference is that keg carbonation generally involves force-carbonating the beer or cider with CO2, while bottle conditioning relies on the natural byproduct of fermentation to create carbonation over time.
Another important consideration is temperature control. Kegged beer or cider can be more easily chilled to the ideal serving temperature, while bottles need to be stored at a consistent room temperature for optimal carbonation levels.
Additionally, different types of beer or ciders may benefit from different carbonation methods – for example, lighter lagers might lend themselves better to force-carbonating in a keg, while complex stouts could benefit from extended aging during bottle conditioning.
Techniques For Force Carbonation
Force carbonation is a quick and efficient way to carbonate beer or cider, especially if you are kegging your homebrew. Here are some techniques for force carbonation:
1. Set the CO2 pressure: Adjust the CO2 pressure in your keg using a regulator. The ideal pressure for force carbonation is around 12-14 PSI.
2. Chill the beer or cider: Place your keg in a cool place or fridge for several hours before connecting it to the CO2. This allows the beer or cider to absorb the CO2 more easily.
3. Shake or rock the keg: After setting the CO2 pressure, shake or rock the keg to help speed up the absorption process. Do this for about 10 minutes.
4. Check for carbonation levels: Release some of the pressure from your keg and taste test your beer or cider regularly until you reach your desired level of carbonation.
5. Adjust as needed: If necessary, adjust your CO2 pressure, temperature, or shaking technique until you achieve optimal carbonation levels.
Remember that force carbonated beer or cider can often have a slightly different flavor profile than bottle-conditioned beer or cider due to its faster process – but it’s still an effective and popular method among many homebrewers!
Using Kegs For Secondary Fermentation
Kegging is an alternative method for secondary fermentation and carbonation besides bottling. It involves transferring beer or cider from the primary fermenter to a keg after initial fermentation, adding priming sugar or CO2, and letting it sit for another week or two until carbonated.
Kegging eliminates the need to clean and sanitize individual bottles and reduces the risks of oxidation, contamination, and sediment. Additionally, kegs can be easily transported, tapped using a dispensing system, and reused indefinitely.
kegging requires special equipment such as a keg kit (keg container with valves), a CO2 tank (to carbonate beer or cider), regulators (to control gas pressure), hoses (to connect components together), faucets/taps (to pour beer or cider out), sanitizing solution (to keep everything clean), etc., which can be costly upfront but more efficient in the long run.
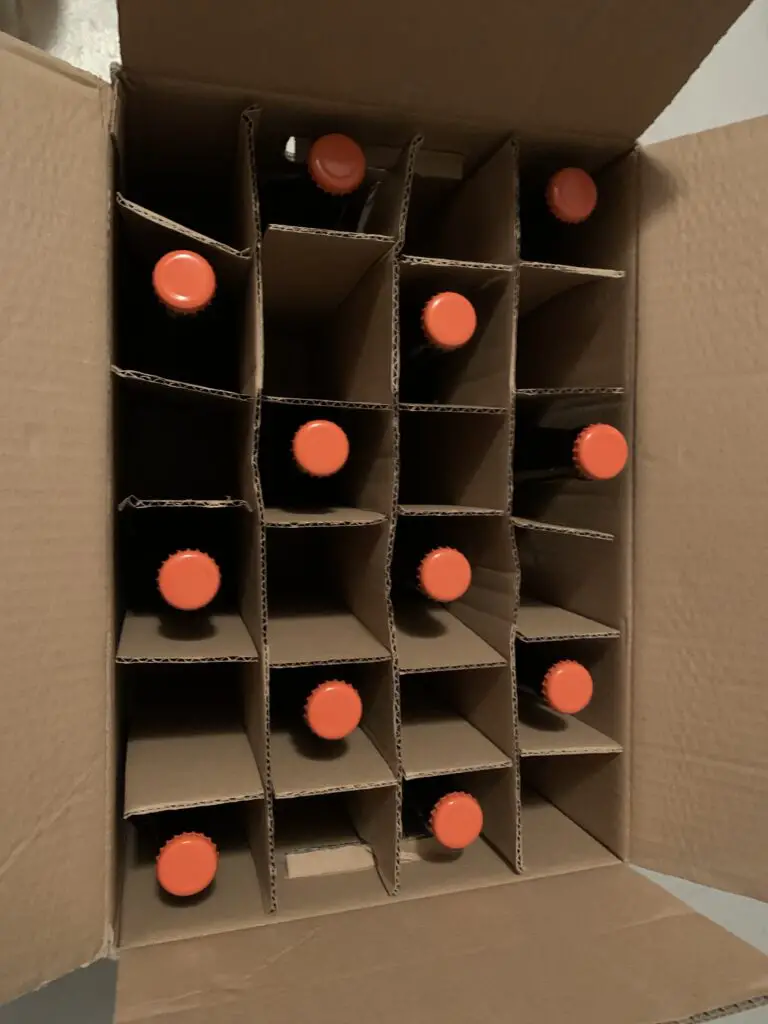
Carbonation Timeline (How long to store the bottles?)
Carbonation is a complex process and the timeline for proper bottle conditioning of your homebrew varies depending on the style of beer, the recipe and the environment in which you are storing the bottles.
The most important factor in carbonation is time – beer needs time in order to absorb the desired level of carbonation, and the timeline can range anywhere from a few days to several weeks or longer.
When bottling your homebrew, you should aim to carbonate at a temperature of around 68-70°F (20-21°C), as cold temperatures will slow the process of carbonation and warm temperatures may cause over-carbonation. It is also important to note that higher-alcohol beers will carbonate more slowly than lighter-alcohol beers.
The majority of homebrews should reach their desired carbonation level after two to three weeks of storage.
Generally, ales should be stored for about two weeks and lagers for about three weeks. However, the timeline may be shorter or longer depending on the ingredients and the conditions. You can check the carbonation level of your homebrew by opening the bottle and tasting the beer.
If the beer has not reached the desired carbonation level, you can try storing the bottles for a few more days or even weeks. You could also try increasing the temperature of your storage environment, or adding more priming sugar to the bottles prior to storing.
It is important to remember that even after four weeks, the CO2 level in the beer will continue to increase, so it is important to monitor the carbonation level and taste your beer regularly. Once the beer tastes right, you should transfer it to the refrigerator to avoid over-carbonation.
The timeline for bottle carbonation can vary greatly depending on the recipe, beer style, and environmental factors, so it is important to experiment and identify the best timeline for your beer. Just remember to be patient and enjoy the results!
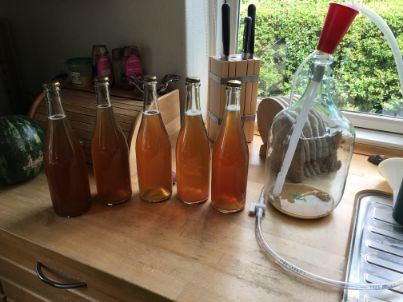
Storage & Enjoyment
Bottle carbonation is an enjoyable process, but it can also take patience and skill to get it just right. Once you’re happy with the results, it’s time to enjoy the fruits of your labor.
When storing beer you’ve carbonated, you want to ensure you’re protecting all the hard work you put in to carbonating the beer correctly. The ideal storage temperature for beer is between 45–55°F (7–13°C). Avoid extreme temperatures, and store your beer away from direct light sources, such as sunlight, as this can cause it to skunk.
When serving your beer, it’s best to pour it directly from the bottle or can with no additional carbonation added. Although some homebrewers add a tiny amount of priming sugar to the bottle right before serving, this isn’t recommended since it can cause the beer to become over-carbonated.
If you’re not drinking the beer right away, feel free to store it upright or lay it down on its side to help settle the yeast and prevent sediment from affecting the flavor. You can also store some beers in the fridge to slow down any further yeast activity.
To properly enjoy the beer, it’s important to remember that beer is best served at their correct temperature. Light beers taste better at around 40-45°F (4-7°C), whereas heavier beers taste better at around 50-55°F (10-13°C).
Bottle carbonation is a fantastic process that can add unique flavors and aromas to your homebrew. With patience, skill and a little bit of luck, you can share a delicious, carbonated beer with your friends and family. Enjoy!
Conclusion
In conclusion, mastering the art of bottle carbonation is key to producing high-quality beer or cider at home. Whether you choose to use the priming sugar method, krausening method or forced carbonation, it’s important to maintain proper sanitation and control temperatures for optimal results.
With the right tools and techniques, achieving perfectly carbonated beer or cider is easier than ever before.
FAQs:
1. How do I know how much priming sugar to add for proper carbonation?
The amount of priming sugar needed will vary based on factors such as your recipe, desired level of carbonation, temperature and altitude during fermentation. To be safe you can use our priming calculator tool that determines how much priming solution (sugar + water) should be used per gallon of beer or cider.
2. Can I carbonate my home brewed beer or cider using other methods aside from bottle conditioning?
Yes, there are alternative methods like forced carbonations that utilize kegs instead of bottles which eliminates concerns about sediment settling at bottom while maintaining full flavor control.
3. How long does it take for my bottled beer or ciders to carbonate properly after adding priming solution?
Bottled Beer typically requires a minimum 1 week – this allows sufficient time for microorganisms present within your bottled contents (yeast)to feed upon added sugars generating CO2 gas inside sealed vessel resulting in fizzier texture & improved taste experiences when proper conditions maintained throughout creation/fermentation processes took place prior i.e., temp consistency / darkness inside storage areas/etc..