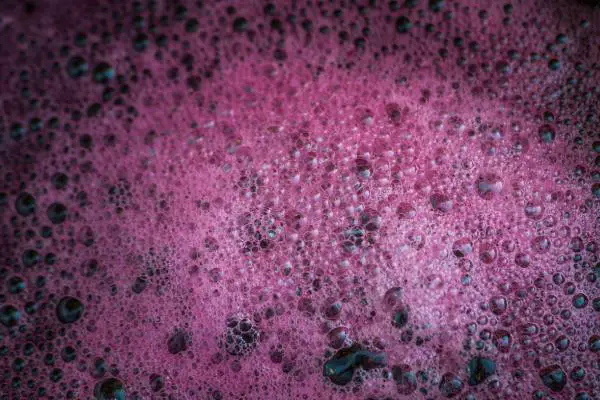
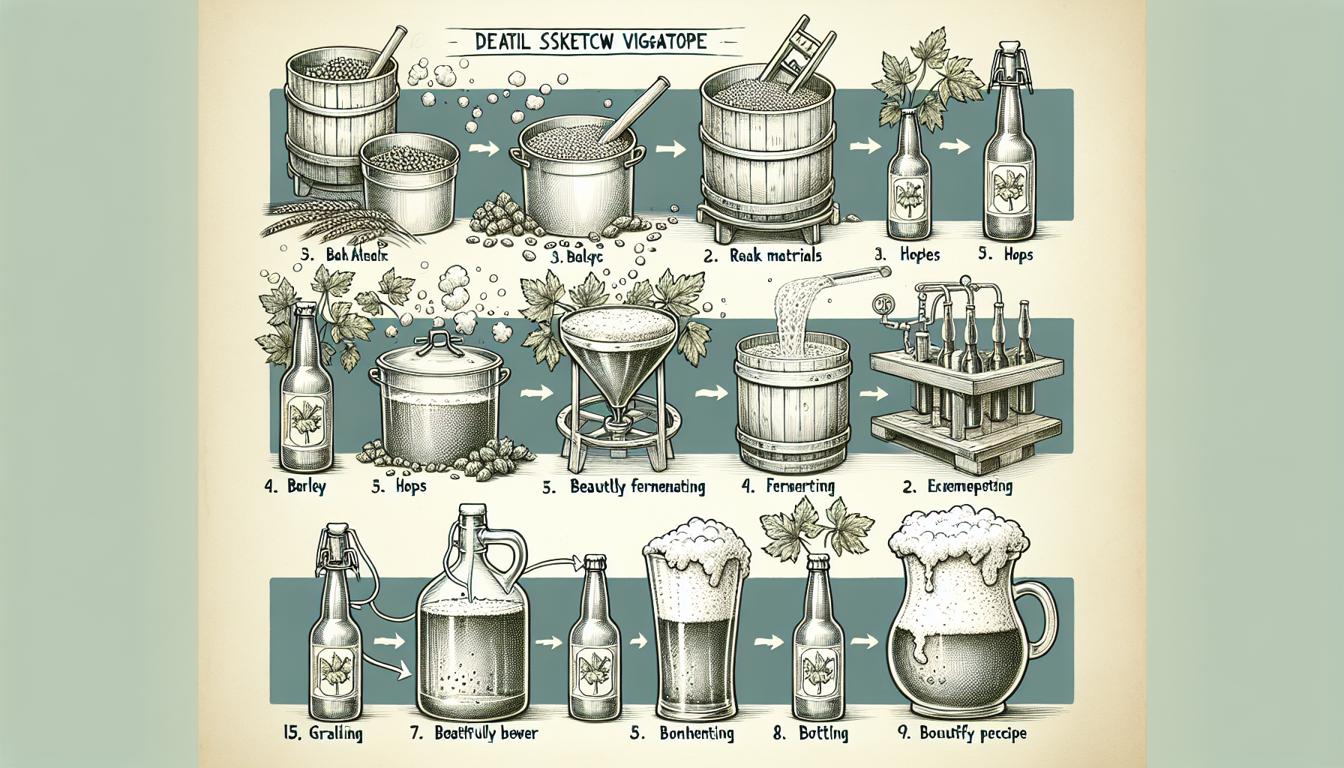
To ferment wine with wild yeast, you need to rely on the natural yeast present on the grape skins, avoid using commercial yeast, and create a suitable environment for the fermentation process.
As an experienced home brewer, I have experimented with various methods of fermenting wine, and one of my favorite techniques is using wild yeast. This natural process can produce unique, complex flavors that are difficult to achieve with commercial yeasts.
In this blog post, I will share my knowledge and experience on how to ferment wine with wild yeast, including the benefits, potential challenges, and the steps to follow for a successful fermentation.
What is Wild Yeast Fermentation?
Wild yeast fermentation is the process of allowing the naturally occurring yeast on grape skins, known as Saccharomyces cerevisiae, to ferment the grape juice into wine.

Unlike commercial yeast strains, wild yeast is unpredictable and can produce a wide range of flavors, often resulting in a more complex and unique wine.
This process is sometimes referred to as “spontaneous fermentation” or “native yeast fermentation.”
The Benefits of Using Wild Yeast
There are several advantages to using wild yeast for wine fermentation, including:
1. Enhanced terroir expression: Wild yeast fermentation can result in a wine that has a better representation of the vineyard’s terroir, as the yeast is native to the grape’s environment.
2. Increased complexity: Wines fermented with wild yeast tend to have greater complexity and depth of flavor compared to those fermented with commercial yeast.
3. Sustainability: Utilizing wild yeast is a more eco-friendly option, as it does not require the energy and resources needed to produce and transport commercial yeast.
4. Uniqueness: Each batch of wine fermented with wild yeast will have its own unique characteristics, making it a one-of-a-kind experience.
Potential Challenges of Wild Yeast Fermentation
While there are many benefits to using wild yeast, there are also some potential challenges and risks, including:
1. Slower fermentation: Wild yeast fermentation can take longer than using commercial yeast, sometimes up to several weeks or even months.
2. Risk of spoilage: Wild yeast can be less predictable and harder to control, which can result in a higher risk of spoilage or off-flavors.
3. Inconsistency: Since wild yeast is influenced by environmental factors, it can be difficult to achieve consistent results from batch to batch.
Preparing for Wild Yeast Fermentation
Before starting the fermentation process, it’s essential to create a suitable environment for the wild yeast to thrive. Here are some steps to prepare:
1. Choose high-quality grapes: Healthy, ripe grapes will have a higher concentration of natural yeast on their skins.
2. Clean equipment: Ensure all winemaking equipment is clean and sanitized to avoid introducing unwanted bacteria or other contaminants.
3. Optimal temperature: Wild yeast performs best in temperatures between 60-75°F (15-24°C). Make sure your fermentation area is within this range to encourage a healthy fermentation process.
The Fermentation Process
Once your environment is prepared, follow these steps for a successful wild yeast fermentation:
1. Crush the grapes: Gently crush the grapes to release the juice and expose the wild yeast on the grape skins.
2. Additives (optional): While not necessary, some winemakers choose to add nutrients or other additives to help support the fermentation process.
3. Monitor the fermentation: Keep an eye on the temperature, sugar levels, and acidity throughout the fermentation process. This will help you make any necessary adjustments to ensure a successful fermentation.
4. Punching down: During the fermentation process, grape solids will rise to the top of the fermenting juice. Gently punch down the cap of solids at least once a day to encourage even fermentation.
5. Monitor and taste: As the fermentation progresses, taste the wine regularly to check for off-flavors or other issues.
Post-Fermentation Care
Once the fermentation process is complete, it’s essential to take proper care of the wine to ensure its quality and longevity. This includes:
1. Racking: Transfer the wine to another container, leaving behind the sediment (known as lees). This process helps clarify the wine and prevent off-flavors from developing.
2. Aging: Depending on the style of wine, allow it to age in a suitable container (such as oak barrels or glass carboys) for a period of time to develop its flavors and complexity.
3. Bottling: When the wine has reached its desired flavor profile, bottle it and store it in a cool, dark place to continue maturing.
Experimentation and Patience
One of the most enjoyable aspects of wild yeast fermentation is the opportunity for experimentation. Each batch of wine will have its own unique characteristics, and adjusting various factors (such as grape variety, fermentation temperature, and aging) can yield exciting and diverse results.
It’s also essential to have patience during the wild yeast fermentation process. It can take longer than using commercial yeast, and there may be some trial and error involved in achieving your desired results. However, the potential for creating a truly unique and exceptional wine makes the process worthwhile.
Conclusion
In conclusion, fermenting wine with wild yeast is a rewarding and exciting process that can result in unique, complex flavors. To achieve success, it’s crucial to create a suitable environment for the wild yeast, monitor the fermentation process closely, and have patience.
Here are 10 key facts about fermenting wine with wild yeast:
1. Wild yeast fermentation relies on the natural yeast present on grape skins.
2. It can produce unique, complex flavors in wine.
3. Wild yeast fermentation is also known as spontaneous fermentation or native yeast fermentation.
4. It can enhance terroir expression and create more sustainable wines.
5. Wild yeast fermentation can be less predictable and result in inconsistency between batches.
6. High-quality grapes, clean equipment, and optimal temperatures are essential for successful wild yeast fermentation.
7. The fermentation process requires monitoring and punching down the cap of grape solids.
8. Post-fermentation care includes racking, aging, and bottling the wine.
9. Wild yeast fermentation encourages experimentation and requires patience.
10. The potential for creating a truly unique and exceptional wine makes wild yeast fermentation a worthwhile endeavor for home winemakers.
FAQs
How do you make wild yeast starter for wine?
To make a wild yeast starter for wine, mix equal parts flour and water in a jar and leave it uncovered for a few days in a warm, dark place. Stir the mixture daily and after a few days, bubbles and a yeasty smell should appear. Once this happens, discard half of the mixture and feed the remaining with equal parts flour and water daily until it becomes bubbly and active. This can take up to a week. Once the starter is ready, it can be used to ferment wine.
What does wild yeast do to wine?
Wild yeast is a type of yeast that is present in the environment and can spontaneously ferment grape juice into wine. It can contribute unique flavors and aromas to the wine, but can also be unpredictable and result in off-flavors or spoilage. Winemakers often prefer to use cultured yeast strains to ensure consistency and control over the fermentation process.
Can you use wild yeast to make wine?
Yes, wild yeast can be used to make wine, but it may result in unpredictable and inconsistent fermentation. It is more common to use commercial yeast strains that have been specifically selected for their desirable fermentation characteristics.
How to make a yeast starter for wine?
To make a yeast starter for wine, you will need to mix yeast with warm water and sugar in a sanitized container. Allow the mixture to sit for several hours until it becomes foamy and active. Then, add the yeast starter to your wine must and let it ferment.
How do you make a yeast starter?
To make a yeast starter, mix together flour and water in a ratio of 1:1 by weight, then add a small amount of yeast. Allow the mixture to ferment for several days, feeding it with additional flour and water daily. The resulting starter can be used to leaven bread dough or stored in the refrigerator for future use.
How do you start a wild yeast starter?
To start a wild yeast starter, mix equal parts flour and water in a container and leave it uncovered at room temperature. Feed the starter with equal parts flour and water every day until it becomes bubbly and active. This process can take several days to a week or more, depending on the environment and the type of wild yeast present.


