Welcome to another exciting beer recipe post! Today, we will be diving into the world of English Pale Ales, a classic beer style with a rich history and distinctive characteristics. Whether you are a seasoned brewer or just starting out, this recipe will guide you through the process of creating a delicious English Pale Ale that will impress your friends and satisfy your taste buds.
A Brief History
English Pale Ales have been brewed for centuries in the United Kingdom, and their popularity has spread throughout the world. This beer style is known for its balanced malt and hop profile, creating a harmonious blend of flavors.
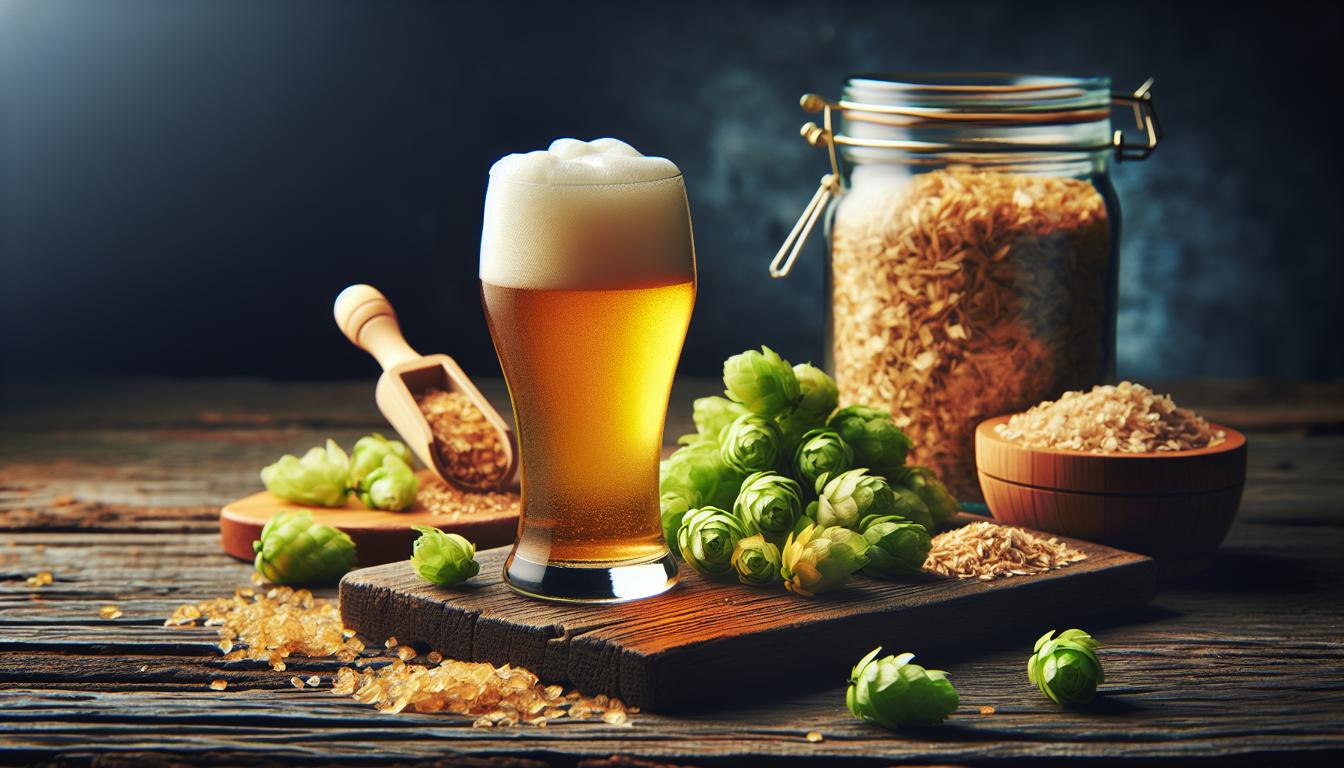
Originally, English Pale Ales were brewed with pale malt, giving them a lighter color compared to other beer styles of the time. They were also hopped at a higher rate than other English beers, giving them a more pronounced bitterness.
Over time, English Pale Ales have evolved and adapted to changing tastes and brewing techniques. Today, they are characterized by their moderate to high hop bitterness, balanced by a solid malt backbone. They typically exhibit floral, herbal, and earthy hop flavors, with a clean and crisp finish.
Key Characteristics
Before we dive into the recipe, let’s take a moment to explore the key characteristics of an English Pale Ale. Understanding these characteristics will help guide our brewing process and ensure that we create a beer that stays true to the style.
1. Appearance: English Pale Ales have a deep golden to amber color, often with a slight haze. They should have a thick, creamy head that lingers throughout the drinking experience.
2. Aroma: The aroma of an English Pale Ale is a delightful combination of malt and hops. Expect to find notes of biscuit, caramel, and toast from the malt, balanced by floral, herbal, and earthy hop aromas. The hop aroma should be present but not overpowering.
3. Flavor: English Pale Ales have a well-balanced flavor profile, with the malt and hop character complementing each other. The malt provides a solid backbone with flavors of caramel, toffee, and bread. The hop bitterness should be pronounced but not overwhelming, with flavors of floral, herbal, and earthy hops coming through. The finish should be clean and crisp.
4. Mouthfeel: This beer style has a medium body and moderate carbonation. The mouthfeel should be smooth and creamy, with a slight dryness in the finish.
Now that we have a good understanding of the key characteristics of an English Pale Ale, let’s move on to the recipe itself.
English Pale Ale Recipe
Ingredients:
– 8 lbs (3.6 kg) Pale Malt
– 1 lb (0.45 kg) Crystal Malt (60L)
– 0.5 lb (0.23 kg) Munich Malt
– 0.25 lb (0.11 kg) Victory Malt
– 0.25 lb (0.11 kg) Carapils Malt
– 1 oz (28 g) East Kent Goldings Hops (60 minutes)
– 0.5 oz (14 g) Fuggles Hops (15 minutes)
– 0.5 oz (14 g) Fuggles Hops (5 minutes)
– 1 package English Ale Yeast
– 1 tsp Irish Moss (optional)
– 5 oz (142 g) Corn Sugar (for priming)
Instructions:
1. Mashing: Begin by heating 3.5 gallons (13.25 liters) of water to 162°F (72°C). Add the crushed grains to a muslin bag and place it in your mash tun. Slowly pour the hot water over the grains, stirring gently to ensure even distribution. Aim for a mash temperature of 152°F (67°C) and let it rest for 60 minutes.
*Personal Anecdote: I remember the first time I mashed in for an English Pale Ale. The aroma of the malt filled the air, and I couldn’t help but feel a sense of anticipation for the final product.*
2. Lautering: After the mash is complete, it’s time to lauter. Slowly drain the wort from the mash tun into your brew kettle. Be careful not to disturb the grain bed too much, as this can lead to a cloudy beer. Aim for a smooth and steady flow.
*Expert Advice: Lautering can be a delicate process. Take your time and be gentle to avoid any unwanted flavors or cloudiness in your beer.*
3. Boiling: Once you have collected all of the wort in your brew kettle, it’s time to bring it to a boil. Add the East Kent Goldings hops and bring the wort to a rolling boil. Let it boil for 60 minutes, making sure to keep an eye on the pot and adjust the heat as needed to prevent boil-overs.
*Personal Anecdote: I always find the boiling stage to be the most exciting part of the brewing process. The aroma of the hops fills the air, and you can really start to see the beer taking shape.*
4. Hop Additions: At 15 minutes remaining in the boil, add the first addition of Fuggles hops. This will contribute to the hop flavor and aroma of the beer. Then, at 5 minutes remaining, add the second addition of Fuggles hops. These late hop additions will give the beer a wonderful hop character without overwhelming the malt.
*Expert Advice: Timing is key when it comes to hop additions. Adding hops at different points during the boil will contribute different flavors and aromas to the final beer. Experiment with different timings to find the perfect balance for your taste.*
5. Cooling and Fermentation: After the boil is complete, it’s time to cool the wort. Use an immersion chiller or another cooling method to bring the temperature down to around 68°F (20°C). Once the wort is at the desired temperature, transfer it to a sanitized fermenter and pitch the English Ale yeast. Seal the fermenter with an airlock and let it ferment at a controlled temperature of 68-72°F (20-22°C) for 7-10 days.
*Personal Anecdote: The fermentation stage is where the magic happens. I love checking on the beer each day and watching as the yeast works its magic, transforming the sweet wort into a delicious beer.*
6. Bottling: After the fermentation is complete, it’s time to bottle the beer. Dissolve the corn sugar in a small amount of boiling water and add it to the bottling bucket. Carefully transfer the beer from the fermenter to the bottling bucket, being careful not to disturb the sediment at the bottom. Use a bottling wand to fill each bottle, leaving about 1 inch (2.5 cm) of headspace.
*Expert Advice: Pay close attention to the amount of priming sugar you use. Too much can result in overcarbonation and potential bottle explosions, while too little can leave your beer flat. Take your time and follow the instructions carefully.*
7. Conditioning: Once the bottles are filled, cap them tightly and store them in a cool, dark place for 2-3 weeks to allow for carbonation and conditioning. This is an important step in the brewing process, as it allows the flavors to meld together and the carbonation to develop.
*Personal Anecdote: Patience is key during the conditioning phase. It can be tempting to crack open a bottle early, but trust me, the wait is worth it. The flavors will continue to develop and improve over time, resulting in a truly exceptional beer.*
Conclusion
Congratulations! You have successfully brewed your own English Pale Ale. Now, all that’s left to do is enjoy the fruits of your labor. Pour yourself a pint, sit back, and savor the flavors of this classic beer style.
As with any brewing recipe, there are a few key points to pay attention to when brewing an English Pale Ale:
– Balance is key: Strive for a harmonious balance between malt and hops. The malt should provide a solid backbone, while the hops should be present but not overpowering.
– Choose the right yeast: English Ale yeast is the traditional choice for this beer style, as it adds subtle fruity esters that complement the malt and hop character.
– Control fermentation temperature: Keep a close eye on the fermentation temperature to ensure that the yeast is working within the desired range. This will help ensure a clean and crisp finish.
– Be patient: Allow the beer to condition and carbonate properly. This will give the flavors time to develop and result in a more enjoyable drinking experience.
I hope you enjoyed this journey into the world of English Pale Ales. Cheers to your brewing success!

Leave a Reply
You must be logged in to post a comment.