
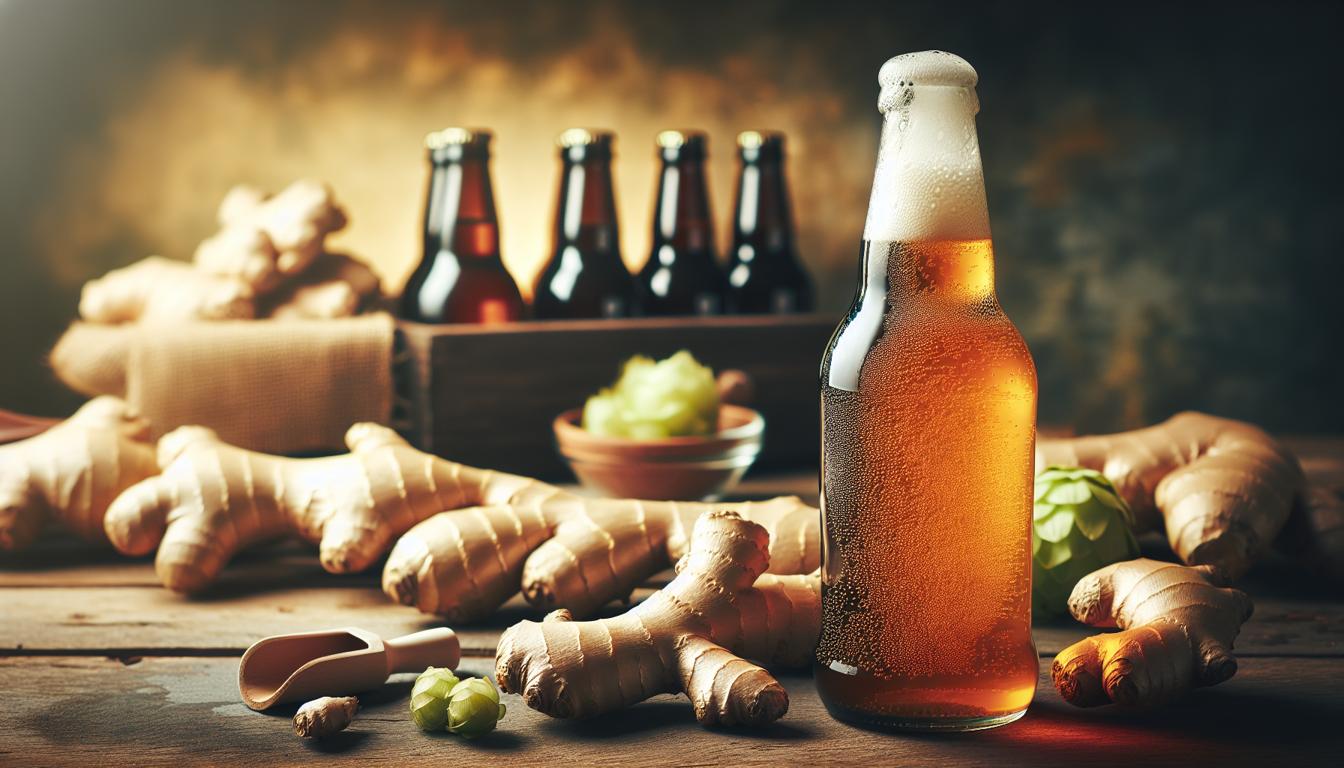
Greetings, fellow brewers and ginger enthusiasts! Today, I am going to share with you my tried and true recipe for crafting the perfect alcoholic ginger beer.
This delightful beverage combines the refreshing qualities of ginger with the delightful kick of alcohol, making it a crowd-pleaser at any gathering or a soothing treat to enjoy after a long day.
I have been brewing ginger beer for over a decade now, and I must say, it has become a true passion of mine.
Throughout the years, I have experimented with various ingredients, techniques, and flavors, and I am excited to share with you the culmination of my knowledge and experience in this comprehensive recipe.
Ingredients
To make a batch of alcoholic ginger beer, you will need the following ingredients:
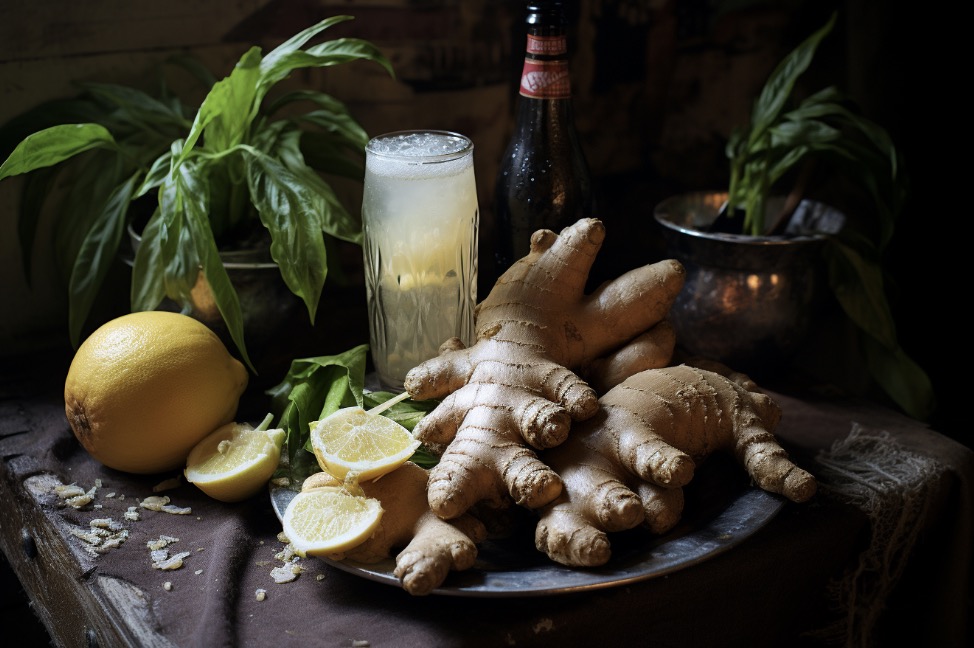
– 2 pounds of fresh ginger root
– 3 lemons
– 2 cups of granulated sugar
– 1/4 teaspoon of champagne yeast
– 1 gallon of filtered water
– 1/4 teaspoon of cream of tartar
– 1/2 teaspoon of yeast nutrient
– 1/4 teaspoon of tannin powder (optional)
– 1/4 teaspoon of potassium metabisulfite (optional, for stabilizing)
Equipment
Before we get started, make sure you have the following equipment on hand:
– Large stockpot for boiling the ginger mixture
– Fermentation vessel with an airlock (glass carboy or food-grade plastic bucket)
– Siphoning tube for transferring the ginger beer
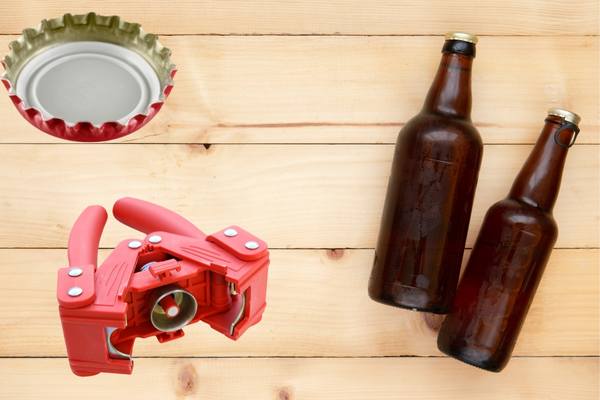
– Bottles with caps or swing-top lids for carbonation
– Hydrometer for measuring the specific gravity (optional, but useful)
Instructions
Step 1: Preparing the Ginger
Begin by peeling and grating the ginger root. The amount of ginger you use will depend on your personal preference for spiciness. I like mine quite fiery, so I tend to use a generous amount. However, if you prefer a milder brew, you can reduce the quantity accordingly.
Step 2: Extracting the Ginger Juice
Once the ginger is grated, place it in a fine-mesh strainer or cheesecloth and squeeze out the juice into a bowl. This step is crucial as it ensures that the ginger flavor permeates the entire batch of ginger beer.
Step 3: Preparing the Lemon Zest and Juice
Next, zest the lemons using a microplane or a fine grater. Be careful not to include the bitter white pith beneath the zest. Once the lemons are zested, juice them and set the zest and juice aside for later use.
Step 4: Creating the Ginger Syrup
In a large stockpot, combine the ginger juice, lemon zest, lemon juice, and sugar. Stir the mixture over medium heat until the sugar has completely dissolved. This process will create a ginger syrup that forms the base of your ginger beer.
Step 5: Boiling the Ginger Mixture
Once the sugar has dissolved, add the filtered water to the stockpot and bring the mixture to a gentle boil. Reduce the heat and simmer the ginger mixture for about 20 minutes, allowing the flavors to meld together. This step will also sanitize the mixture, ensuring a clean fermentation process.
Step 6: Cooling and Transferring
After simmering, remove the stockpot from the heat and let the ginger mixture cool to room temperature. Once cooled, transfer the mixture to your fermentation vessel using a sanitized siphoning tube. Be sure to leave some headspace in the vessel to accommodate the foaming that occurs during fermentation.
Step 7: Pitching the Yeast
Now comes the magical moment of introducing the yeast to the ginger mixture. Sprinkle the champagne yeast over the surface of the liquid and give it a gentle stir to distribute it evenly. The yeast will feast on the sugar in the ginger beer, converting it into alcohol and carbon dioxide.
Step 8: Fermentation
Seal the fermentation vessel with an airlock and place it in a cool, dark location. The ideal temperature for fermentation is around 68-72°F (20-22°C). Allow the ginger beer to ferment for approximately 2-3 weeks, or until the specific gravity stabilizes around 1.000 or lower.

Any semi-airtight container allowing CO2 to escape while keeping oxygen out, will work.
Throughout the fermentation process, it is essential to keep an eye on the airlock. If you notice it becoming sluggish or ceasing to bubble, it may indicate that the fermentation has stalled. In such cases, gently agitate the vessel to rouse the yeast and encourage fermentation to continue.
Step 9: Bottling and Carbonation
Once the ginger beer has finished fermenting, it’s time to bottle and carbonate your creation. Prepare your bottles by thoroughly cleaning and sanitizing them. If you prefer a fizzy ginger beer, add a small amount of priming sugar (about 1 teaspoon per 16 oz bottle) to each bottle before filling. This additional sugar will provide the yeast with a fresh source of food to produce carbonation.
Using your siphoning tube, carefully transfer the ginger beer from the fermentation vessel to the bottles, leaving about an inch of headspace. Cap the bottles tightly and store them at room temperature for a further 1-2 weeks to allow carbonation to develop.
Step 10: Enjoying the Fruits of Your Labor
Congratulations, my fellow brewer! You have successfully crafted your own delicious alcoholic ginger beer. Now it’s time to sit back, relax, and savor the fruits of your labor. Serve your ginger beer chilled, over ice, or even experiment with mixing it into cocktails for an extra kick.
My Final Advice and Useful Tips
– Experiment with flavors: Don’t be afraid to add your own twist to the recipe. Consider incorporating additional spices like cinnamon, cloves, or even a touch of vanilla to create a unique flavor profile.
– Control carbonation: If you prefer a less carbonated ginger beer, reduce the amount of priming sugar added during bottling. Similarly, if you desire a more effervescent brew, increase the amount of sugar used.
– Avoid contamination: Sanitization is key to successful brewing. Make sure all equipment that comes into contact with the ginger beer is thoroughly cleaned and sanitized to prevent unwanted bacteria or wild yeast from spoiling your batch.
– Patience is a virtue: While it may be tempting to sample your ginger beer early, allowing it to mature in the bottle for a few weeks will enhance the flavor and carbonation. The longer you wait, the better it gets!
Conclusion
Brewing your own alcoholic ginger beer is a rewarding and enjoyable process. With a little patience and experimentation, you can create a beverage that perfectly suits your taste preferences. Remember, the key to a great ginger beer lies in the quality of ingredients, attention to detail, and a dash of creativity. So, gather your ginger, fire up your brew kettle, and embark on this delightful brewing adventure. Cheers to your brewing success!


Leave a Reply
You must be logged in to post a comment.