
Today, we’ll delve into the world of Chocolate Stout. This rich and decadent beer style has a fascinating history and unique characteristics that make it a favorite among beer enthusiasts.
Stout has its roots in the 18th century London, where it was originally known as “stout porter.” It quickly gained popularity due to its robust flavor and higher alcohol content compared to other beers of the time. Over the years, stout has evolved into various sub-styles, including the beloved Chocolate Stout.
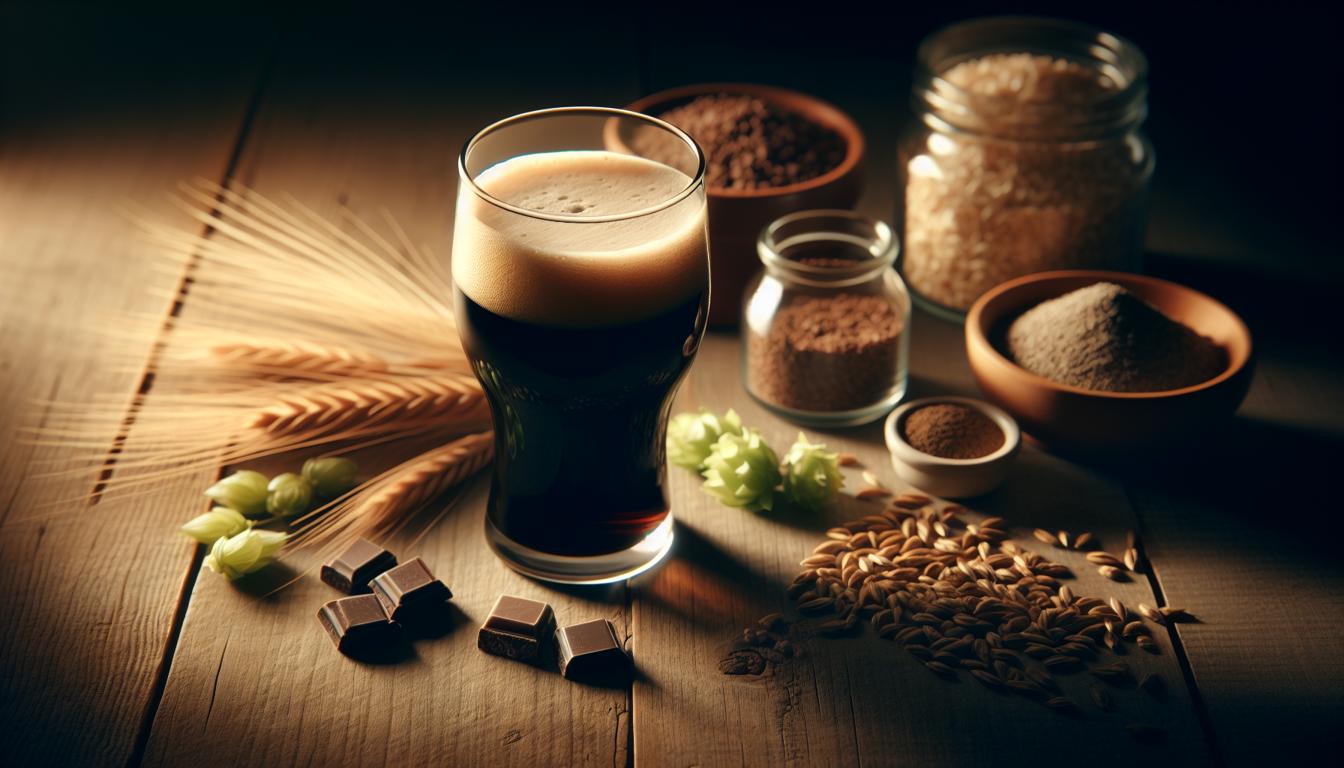
As the name suggests, Chocolate Stout is known for its deep, dark color and a distinct chocolate flavor. This is achieved through the addition of chocolate malt in the brewing process. The chocolate malt undergoes a special roasting process that gives it a rich, coffee-like flavor with hints of chocolate. When combined with the other ingredients, it creates a harmonious balance of flavors that is truly delightful.
In addition to the chocolate malt, a Chocolate Stout typically includes a combination of roasted barley, caramel malt, and a base malt such as pale malt or Maris Otter. The roasted barley adds a roasted, coffee-like character, while the caramel malt provides a touch of sweetness and body to the beer. The base malt acts as the foundation, providing fermentable sugars for the yeast to convert into alcohol.
To complement the chocolate flavors, many brewers also add cocoa nibs or cocoa powder during the brewing process. This intensifies the chocolate notes and adds a velvety smoothness to the beer. Some brewers even experiment with adding vanilla beans or coffee to further enhance the complexity of the flavors.
The use of hops in a Chocolate Stout is relatively restrained compared to other beer styles. The focus is on the malt flavors, so a subtle bitterness is all that is needed to balance the sweetness. Noble hops such as East Kent Goldings or Fuggles work well in this style, providing a gentle earthy or floral aroma without overpowering the chocolate flavors.
Finally, the yeast used in a Chocolate Stout can greatly influence the final character of the beer. A clean, neutral yeast strain such as American Ale yeast is often used to let the malt and chocolate flavors shine through. However, some brewers prefer to use a yeast strain that adds a subtle fruity or spicy note, adding another layer of complexity to the beer.
The Recipe: Brewing a Chocolate Stout
Now that we have a good understanding of the history and characteristics of Chocolate Stout, let’s dive into the recipe! This recipe is for a five-gallon batch and assumes an all-grain brewing method. However, it can easily be adapted for extract brewing as well.
Ingredients:
- 10 lbs (4.5 kg) Pale Malt or Maris Otter
- 1 lb (0.45 kg) Chocolate Malt
- 1 lb (0.45 kg) Roasted Barley
- 1 lb (0.45 kg) Caramel Malt (60L)
- 8 oz (227 g) Cocoa Nibs or Cocoa Powder (unsweetened)
- 1 oz (28 g) East Kent Goldings Hops (4.5% AA)
- 1 packet of American Ale Yeast
- 1 tsp Irish Moss (for clarity)
- 5 gallons (19 liters) of water
- Priming sugar (for bottling)
Instructions:
1. Mashing: Start by heating your strike water to the appropriate temperature for your mash. This will depend on your equipment and desired mash temperature, but a good starting point is around 152°F (67°C). Add your crushed grains to the mash tun and slowly add the strike water, stirring gently to ensure even distribution. Let the mash rest for about an hour, monitoring the temperature to maintain the desired range.
2. Lautering: After the mash is complete, it’s time to separate the liquid wort from the spent grains. Slowly open the valve on your mash tun and allow the wort to flow into your brew kettle. Be careful not to disturb the grain bed too much, as this can lead to a cloudy beer. If you’re using a batch sparge method, add your sparge water and gently stir before lautering again.
3. Boiling: Once you have collected all of your wort, it’s time to bring it to a boil. Place your brew kettle on your heat source and bring the wort to a rolling boil. This is when you’ll add your hops. Add the East Kent Goldings hops and let them boil for about 60 minutes, contributing a subtle bitterness to the beer.
4. Flameout Additions: At the end of the boil, turn off the heat and add your cocoa nibs or cocoa powder to the kettle. Stir gently to ensure they are fully incorporated into the wort. Let the wort sit for about 10 minutes to allow the flavors to meld together.
5. Chilling and Fermentation: After the flameout additions, it’s time to cool the wort as quickly as possible to a temperature suitable for fermentation. Use an immersion chiller or a counterflow chiller to bring the temperature down to around 68°F (20°C). Once the wort is at the desired temperature, transfer it to your fermenter and pitch your yeast. Seal the fermenter and attach an airlock to allow for the release of carbon dioxide during fermentation.
6. Fermentation and Conditioning: Allow the beer to ferment for about a week, or until fermentation activity has subsided. At this point, you can transfer the beer to a secondary fermenter if desired, although it’s not necessary for this style. Let the beer condition for another two to three weeks, allowing the flavors to mellow and mature.
7. Bottling: When you’re ready to bottle the beer, prepare a priming solution by dissolving the appropriate amount of priming sugar in a small amount of boiling water. Add this solution to your bottling bucket, then transfer the beer from the fermenter to the bottling bucket, being careful not to disturb the sediment at the bottom. Fill your bottles, cap them, and let them carbonate for about two weeks at room temperature.
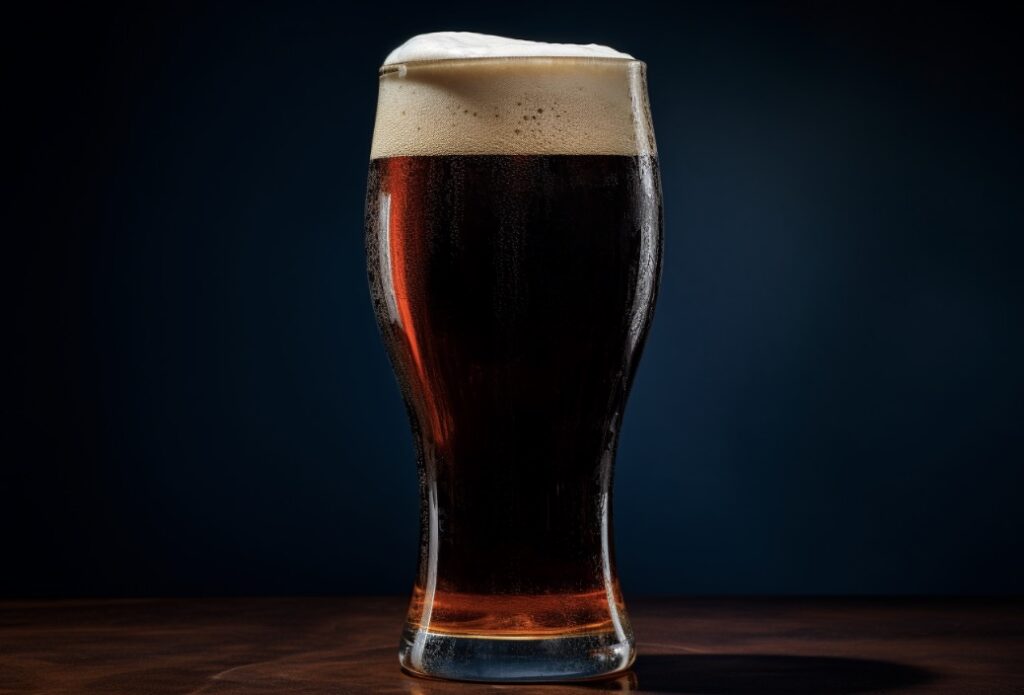
8. Enjoy!: After the carbonation period, your Chocolate Stout is ready to be enjoyed! Pour it into a glass and marvel at its rich, dark color and creamy head. Take a moment to savor the aroma of chocolate and roasted malt before taking your first sip. The velvety smoothness and complex flavors will surely delight your taste buds.
Key Points to Remember:
– Choose high-quality ingredients: The quality of your ingredients greatly affects the final outcome of your beer. Opt for fresh, high-quality malts and hops to ensure the best flavor and aroma.
– Pay attention to water chemistry: The mineral content of your brewing water can impact the flavor and character of your beer. Consider adjusting your water to match the desired style profile, using tools such as brewing software or water calculators.
– Control fermentation temperature: A controlled fermentation temperature is crucial for achieving the desired flavors and avoiding off-flavors. Use a temperature-controlled fermentation chamber or other methods to maintain a stable temperature throughout the fermentation process.
– Experiment with additions: While this recipe provides a solid foundation for a Chocolate Stout, don’t be afraid to experiment with additional ingredients. Consider adding vanilla beans, coffee, or even a touch of chili peppers to create your own unique twist on the style.
– Be patient: Brewing a Chocolate Stout requires patience. Allow the beer to condition and mature for an appropriate amount of time to fully develop its flavors. Rushing the process can result in a beer that is not as balanced or enjoyable.
And there you have it, my friends, a detailed recipe for brewing a delicious Chocolate Stout. I hope you find this guide helpful and that it inspires you to embark on your own brewing adventure. Remember, brewing is both an art and a science, so don’t be afraid to experiment and make this recipe your own. Cheers to your brewing success!


Leave a Reply
You must be logged in to post a comment.