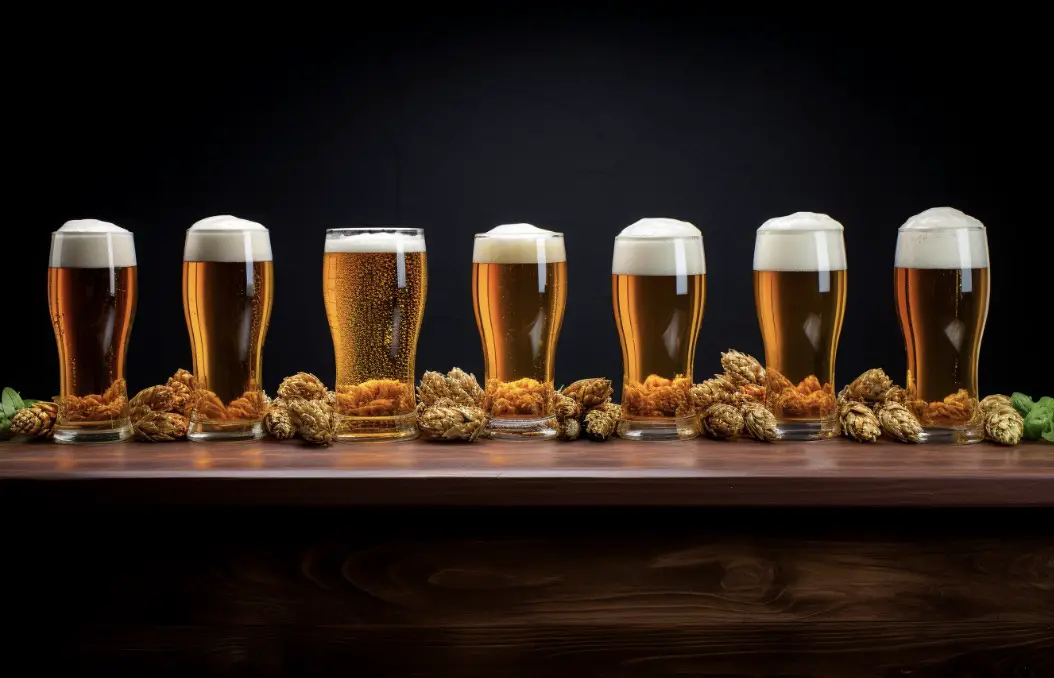
Cold crashing is a technique used by homebrewers to clarify their beer and improve its overall appearance. By quickly lowering the temperature of your fermented beer, you’ll encourage the yeast and other particulates to settle to the bottom of the fermenter, leaving behind a clearer beer with a more refined taste.
The ideal temperature to cold crash beer is between 33-40°F (0.5-4.4°C) and we will look into why this is, below.
In this blog post, we’ll dive deep into the world of cold crashing, discussing why it’s important, how it affects the final product, and how to do it correctly. We’ll also touch on the potential risks involved in cold crashing and how to avoid them. So, buckle up and let’s get started!
Why Cold Crash?
Cold crashing has several benefits that make it a popular technique among homebrewers:
1. Clarifies the beer: Cold crashing helps to remove haze-causing proteins, yeast, and other particles, resulting in a clearer final product with a more brilliant appearance.
2. Improves flavor stability: By removing excess yeast and other particulates, cold crashing can help to reduce off-flavors and promote a more consistent taste.
3. Speeds up conditioning: Cold crashing can help to accelerate the maturation process and reduce the overall time needed for conditioning.
4. Makes racking and bottling easier: With fewer particulates floating around, racking and bottling your beer becomes a much smoother process.

How Cold Crashing Works
Cold crashing works by taking advantage of the temperature-dependent solubility and settling rate of various beer components.
As the temperature decreases, proteins and other haze-forming particles become less soluble and more likely to aggregate, making them easier to remove from the beer. Additionally, colder temperatures cause yeast and other particulates to settle more quickly, helping to clear the beer faster.
The Ideal Cold Crashing Temperature
The optimal temperature range for cold crashing is between 33-40°F (0.5-4.4°C).
This temperature range is ideal because it’s cold enough to promote rapid settling of yeast and other particulates, but not so cold that you risk freezing your beer.
It’s also generally considered to be above the freezing point of water, which helps to minimize the risk of ice formation in your fermenter.
Cold Crashing Duration
The duration of your cold crash will depend on a few factors, including the temperature, the size of your fermenter, and the specific beer you’re brewing. In general, most homebrewers find that a cold crash period of 24-72 hours is sufficient to achieve the desired level of clarity and sedimentation.
However, it’s important to remember that every beer is different, and some may require a longer cold crash period to achieve the desired results. Be patient and monitor your beer’s clarity throughout the process to determine when it’s ready.
How to Cold Crash Your Beer
To cold crash your beer, follow these simple steps:
1. Prepare your fermenter: Make sure your fermenter is properly sealed and sanitized. You’ll also want to ensure that there’s minimal headspace in the fermenter to reduce the risk of oxidation.
2. Lower the temperature: Place your fermenter in a refrigerator or other temperature-controlled environment, and gradually lower the temperature to your desired cold crash range (33-40°F / 0.5-4.4°C).
3. Monitor the process: Check on your beer periodically to assess its clarity and sedimentation. This will help you determine when the cold crash is complete.
4. Rack or bottle: Once your beer has reached the desired level of clarity, proceed with racking, bottling, or kegging as usual.
Potential Risks and Precautions
While cold crashing is generally a safe and effective technique, there are a few potential risks to be aware of:
1. Oxidation: Rapid temperature changes can cause the air in your fermenter to contract, potentially drawing in oxygen and causing oxidation. To mitigate this risk, ensure that your fermenter is properly sealed and minimize headspace as much as possible.
2. Freezing: If the temperature drops too low, you risk freezing your beer, which can lead to off-flavors and a compromised final product. Be sure to monitor the temperature closely and keep it within the recommended range.
3. Infection: As always, proper sanitation is crucial to prevent unwanted microbes from contaminating your beer. Make sure your fermenter and any equipment used during cold crashing are properly sanitized.
Alternatives to Cold Crashing
If you don’t have the means to cold crash your beer or want to try a different clarification method, there are several alternatives:
1. Fining agents: Adding fining agents like gelatin, isinglass, or Irish moss can help to remove haze-causing particles and improve beer clarity.
2. Time and gravity: Allowing your beer to condition for an extended period of time will naturally result in clearer beer as sediment settles to the bottom of the fermenter.
3. Filtering: Using a filter system can help to remove suspended particles and improve the overall clarity of your beer.
Conclusion
In conclusion, the ideal temperature to cold crash beer is between 33-40°F (0.5-4.4°C). Cold crashing offers several benefits for homebrewers, including improved clarity, flavor stability, and easier racking and bottling. By following the proper techniques and taking necessary precautions, you can achieve a cleaner, more refined final product. Here are ten key facts about cold crashing:
1. Ideal temperature range: 33-40°F (0.5-4.4°C)
2. Benefits: Improved clarity, flavor stability, and easier racking/bottling
3. How it works: Lowers solubility and settling rate of particulates
4. Duration: Typically 24-72 hours
5. Equipment: Temperature-controlled refrigerator or other cooling system
6. Risks: Oxidation, freezing, infection
7. Precautions: Proper sealing, minimal headspace, careful temperature monitoring, sanitation
8. Alternative methods: Fining agents, extended conditioning, filtering
9. Patience is key: Monitor your beer’s clarity and adjust the cold crash duration as needed
10. Experiment: Every beer is different, so don’t be afraid to tweak your cold crashing process to achieve the best results.
I have also written numerous other posts on cold crashing, that you might find interesting, here are a few of my best:
Does cold crashing kill yeast?
Does cold crashing cause oxidation?
How does cold crashing affect your beer?
FAQs
When should you cold crash?
Cold crashing is typically done after primary fermentation is complete, and the beer has reached its desired final gravity. It is recommended to cold crash for a minimum of 24-48 hours, although some brewers may choose to cold crash for up to a week. The goal is to drop the temperature of the beer to near freezing, which causes yeast and other particles to settle at the bottom of the fermenter, resulting in a clearer beer.
Is cold crashing necessary?
Cold crashing is not necessary, but it can help clarify and improve the flavor of certain beers by encouraging yeast and other particles to settle out of the beer before bottling or kegging. It is ultimately up to the brewer to decide if they want to cold crash their beer or not.
How long should you cold crash for?
Cold crashing should typically be done for 24-48 hours, although the exact time may vary depending on the specific beer and personal preference.
How fast should you cold crash?
The recommended cold crashing time is between 24 to 48 hours, depending on the beer style and personal preference. However, it is important to note that rushing the cold crash process may result in incomplete sedimentation and clarity issues in the final product.
Do I need to cold crash my beer?
Cold crashing is not necessary for all beers, but it can help to clarify and improve the appearance of certain styles. If you want a clear beer, or if you are entering your beer into a competition, cold crashing can be beneficial. However, if you are happy with a hazy or cloudy beer, or if you are short on time, you can skip this step.
Should I cold crash my beer before bottling?
Yes, cold crashing your beer before bottling can help clarify it by causing the yeast and other particles to settle to the bottom of the fermenter, resulting in a clearer and cleaner final product.