Bottling mead without a siphon is easy if you follow the right steps.
In this blog post, I will share my personal experience on how to bottle mead without using a siphon, while maintaining the quality and flavor of the final product.
I’ll cover everything from the equipment you’ll need, to the techniques you can use to ensure a successful bottling process.
So, let’s get started!
1. Gather Your Equipment
Before you can start bottling your mead, you need to gather all the necessary equipment. Here’s what you’ll need:
– A large pot or container: This will hold your mead while you bottle it. Make sure it’s large enough to hold the entire batch of mead you’re bottling.
– A long-handled spoon or ladle: You’ll use this to transfer the mead from the pot to the bottles.
– Bottles: Choose the type of bottle that best suits your mead. Clear or colored glass bottles with corks or caps work well.
– Bottle filler: This is a small plastic or metal tube with a valve that helps control the flow of mead into the bottles.
– Bottle capper or corker: This tool is used to securely seal the bottles once they’re filled.
– Sanitizer: You’ll need to sanitize all your equipment before use to prevent contamination.
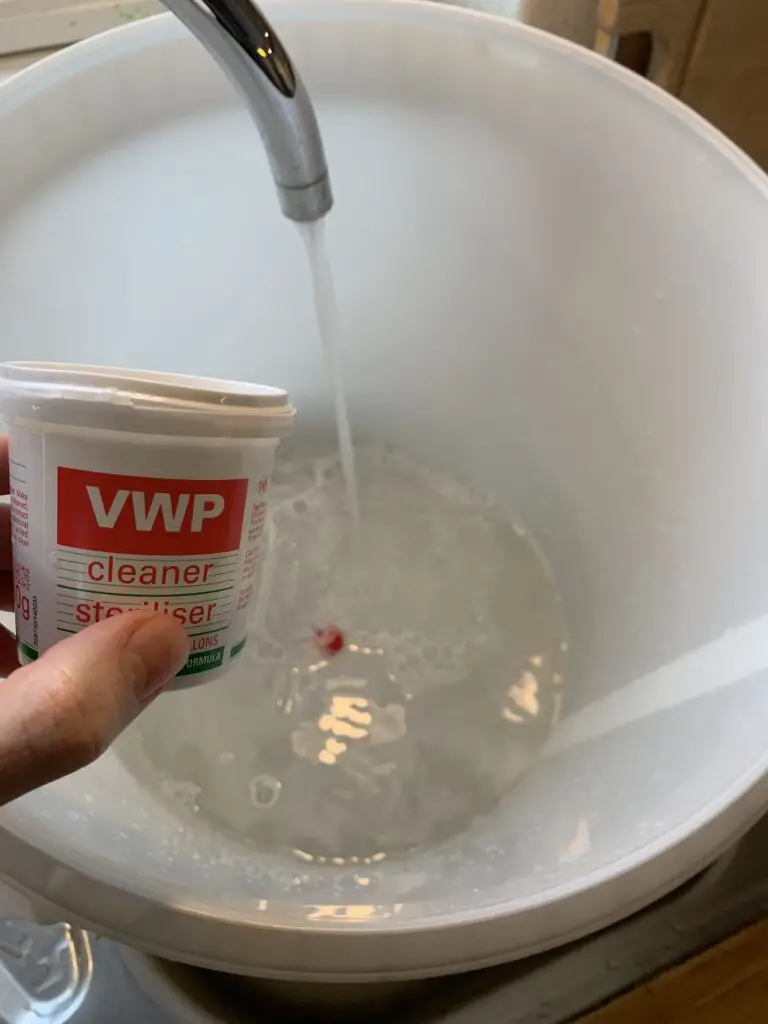
2. Sanitize Your Equipment
Before you begin the bottling process, it’s crucial to sanitize all your equipment to ensure your mead stays free from any unwanted bacteria or other contaminants. To do this, mix a sanitizing solution (like Star San or Iodophor) according to the manufacturer’s instructions. Soak all your equipment in the solution for the recommended amount of time, and then let them air dry.
If you are more interested in the nitty gritties of brewing mead – check out our comprehensive beginners mead brewing guide here!
3. Prepare Your Bottles
While your equipment is sanitizing, you can prepare your bottles for filling. First, remove any labels or residue from the bottles.
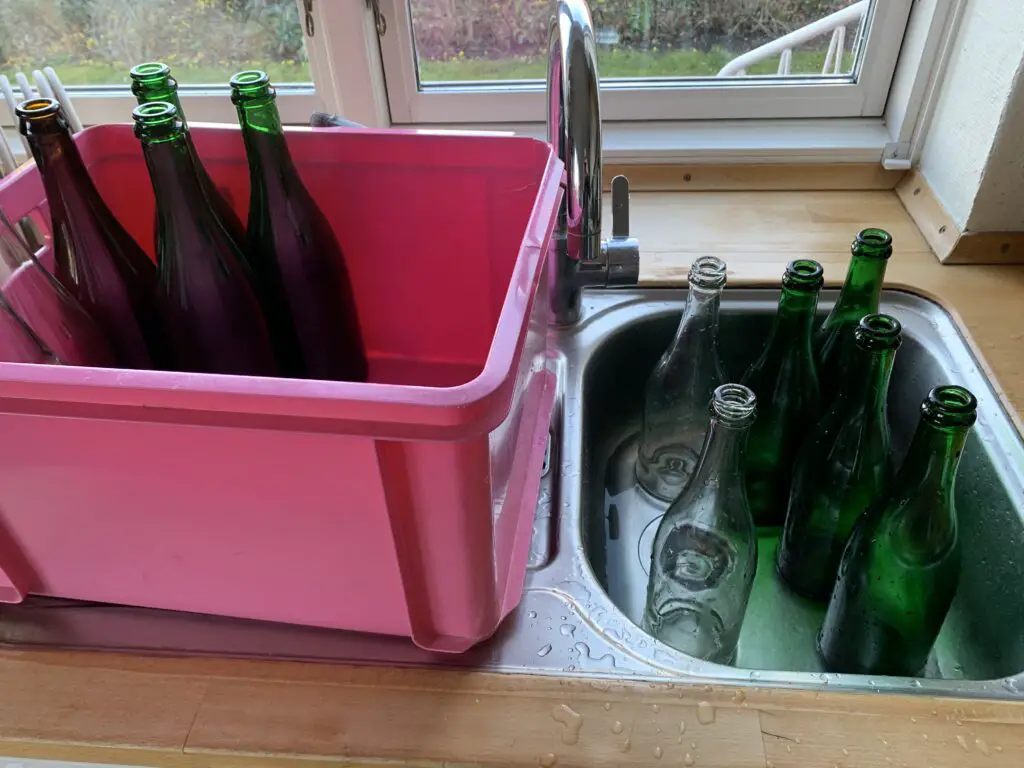
Then, rinse them thoroughly with clean water. If you’re using corks, soak them in warm water for about 20 minutes to soften them and make them easier to insert.
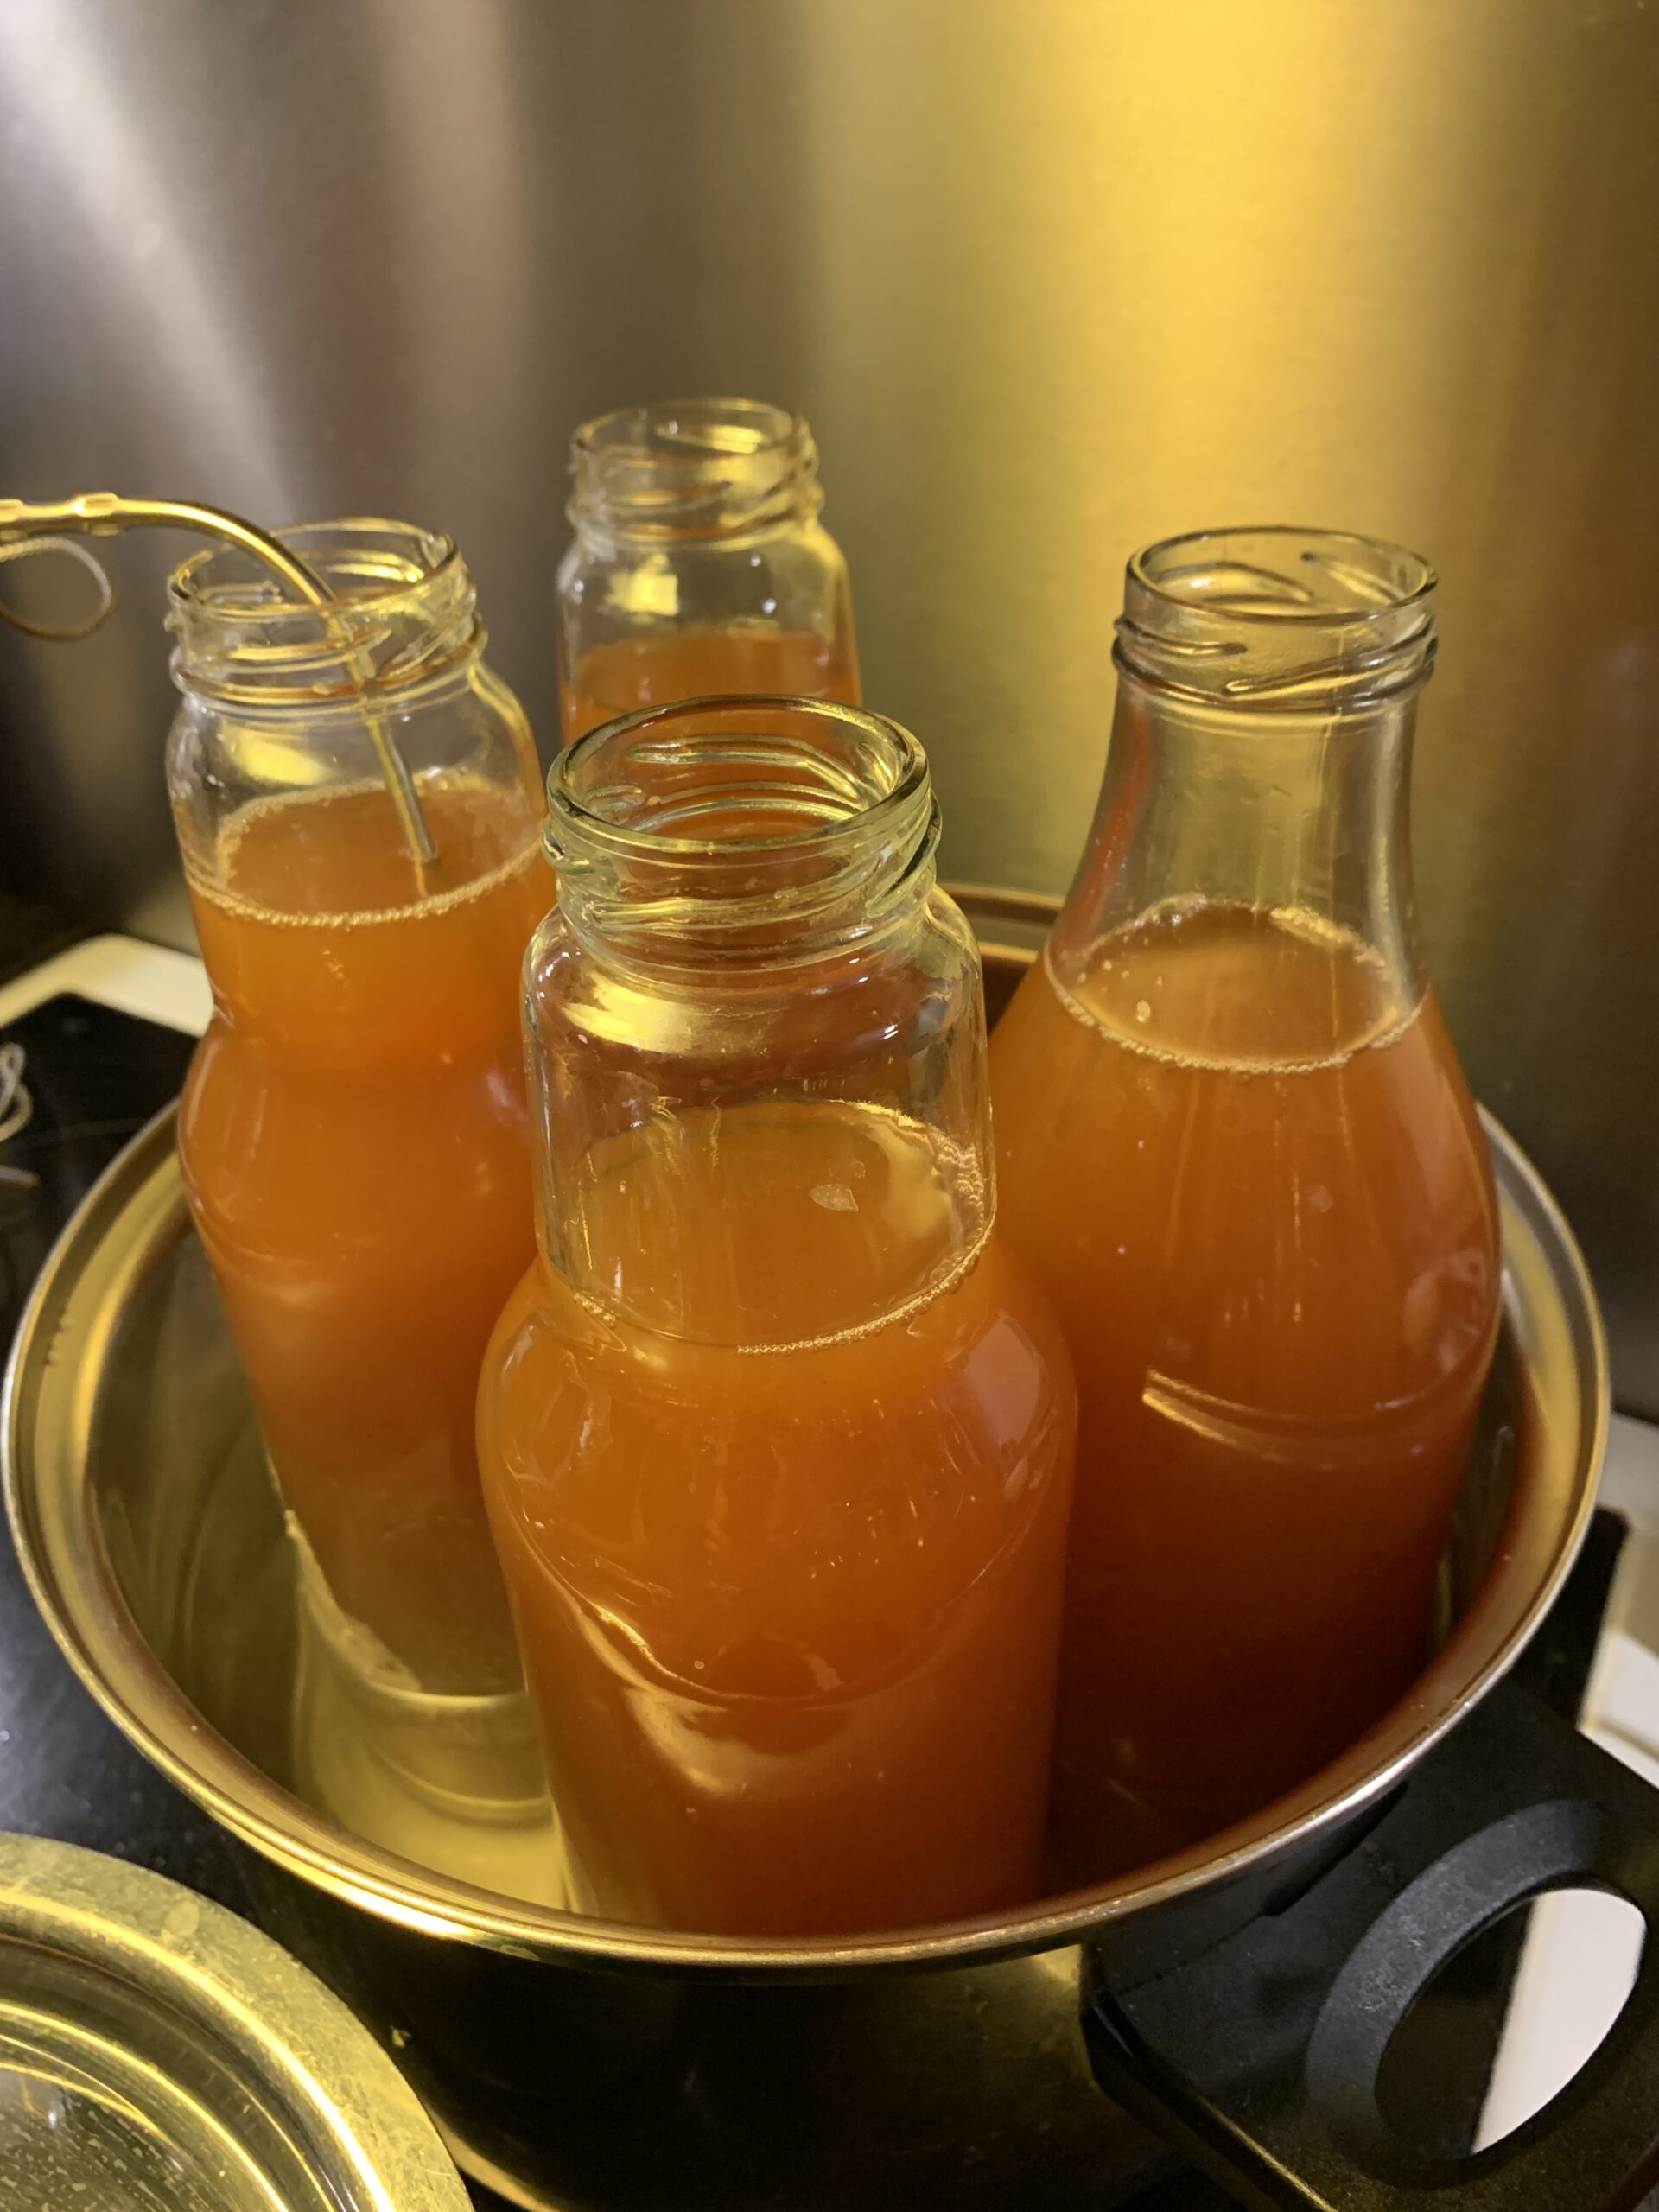
4. Transfer the Mead to the Large Pot
Once your equipment is sanitized and your bottles are ready, it’s time to transfer your mead to the large pot or container that is easier to pour from than your fermentation vessel.
You may also just skip this step and fill the bottles directly if your fermentation tank is easy to pour from, but this steps makes it easier to avoid getting the yeast sediment in your bottles!
The good thing about pouring it into an intermediate container is that you can choose a smaller one that is easier to handle than your fermentation vessel.
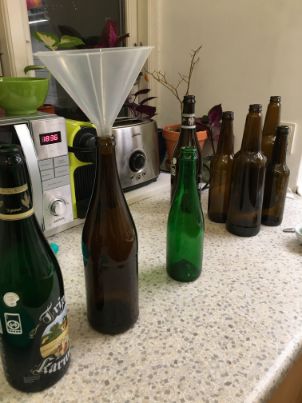
To prevent oxidation and preserve the quality of your mead, carefully pour the mead into the pot without splashing or creating too many bubbles. You can use a sanitized funnel to make this process easier.
5. Fill the Bottles
Now, it’s time to fill your bottles. Attach the bottle filler to your sanitized ladle or long-handled spoon. Dip the spoon into the mead and carefully pour it into the bottle filler or funnel. The valve on the bottle filler will control the flow of mead, allowing you to fill each bottle evenly and with minimal splashing.
6. Seal the Bottles
Once each bottle is filled, it’s time to seal them. If you’re using corks, insert them into the bottles using a corker. If you’re using caps, place the cap on the bottle and use a bottle capper to secure it in place. Make sure the bottles are sealed tightly to prevent any leaks or spoilage.
7. Store the Bottled Mead
Now that your mead is bottled, it’s time to store it. Find a cool, dark place with a consistent temperature to store your bottles. This will help the mead age and mature properly. Most meads improve with age, so it’s a good idea to let them sit for at least a few months before enjoying them.
8. Enjoy Your Mead
After your mead has aged to your liking, it’s time to enjoy it! Pour yourself a glass, savor the flavors, and toast to your successful bottling experience.
In conclusion, bottling mead without a siphon is a straightforward process that requires some patience and attention to detail. By following the steps outlined above, you can successfully bottle your mead and enjoy the fruits of your labor. To recap, here are 10 key facts about bottling mead without a siphon:
1. Gather your equipment before you begin.
2. Sanitize all your equipment to prevent contamination.
3. Prepare your bottles for filling.
4. Transfer the mead to a large pot carefully to prevent oxidation.
5. Fill the bottles using a bottle filler and a long-handled spoon or ladle.
6. Seal the bottles tightly with corks or caps.
7. Store the bottled mead in a cool, dark place.
8. Allow the mead to age for at least a few months.
9. Enjoy your mead once it has reached its desired maturity.
10. Pat yourself on the back for a job well done!
FAQs
Do you need to siphon mead?
Siphoning mead is not always necessary, but it can be beneficial. Siphoning helps to separate the mead from any sediment or impurities that may have settled at the bottom of the fermentation vessel. It also allows for smoother transfer and reduces the risk of oxidation. However, if you carefully rack your mead without disturbing the sediment, you may not need to siphon.
How do you siphon off mead?
To siphon off mead, you will need a siphoning tube or racking cane, a clean and sanitized container, and a bit of patience. First, ensure that your mead has finished fermenting and has clarified. Place the container containing the mead on a higher surface than the one you will be transferring it into, ensuring a gravity flow.
Insert one end of the siphoning tube or racking cane into the mead, being careful not to disturb any sediment at the bottom. Place the other end of the tube into the clean container, making sure it is submerged in the mead. Create suction by sucking on the tube (if using a siphoning tube) or by using a siphon starter (if using a racking cane).
Once the flow begins, adjust the angle of the tube to control the speed of the siphon. Be cautious not to transfer any sediment or air bubbles during the process.
How do you normally bottle mead after fermentation?
After the fermentation process, bottling mead involves the following steps:
1. Sanitize: Ensure that all equipment, including bottles, caps, and any other tools, are thoroughly cleaned and sanitized to prevent any contamination.
2. Prepare bottles: Clean and rinse the bottles, removing any residue or debris. You can use either glass or plastic bottles, but glass is generally preferred for long-term storage.
3. Rack the mead: Use a siphon or racking cane to transfer the mead from the fermentation vessel to the bottles. This process helps separate the mead from any sediment or lees that may have settled during fermentation. Avoid splashing or excessive aeration while transferring.
4. Add sweeteners (optional): If desired, you can add additional sweeteners such as honey or sugar to enhance the sweetness of your mead. This step is not necessary if your mead has reached the desired sweetness during fermentation.
5. Cap the bottles: Seal the bottles tightly with caps or corks. If using corks, ensure they are properly sanitized and inserted with a corker. For caps, use a capping tool to securely seal the bottles.
6. Age the mead: Store the bottles in a cool, dark place for further aging and maturation. Mead generally benefits from aging for several months to a year, allowing flavors to develop and mellow.
7. Enjoy responsibly: Once fully aged, your mead is ready to be enjoyed. Serve chilled or at room temperature, depending on personal preference and the style of mead.
Remember, it’s important to follow proper sanitation practices throughout the bottling process to maintain the quality and longevity of your mead.
How do you remove sediment from mead?
To remove sediment from mead, you can follow a process known as racking. Racking involves carefully siphoning the clear mead from the top, leaving behind the sediment at the bottom of the container. Here’s how you can do it:
1. Prepare a new, sanitized container that is larger than the current one.
2. Place the mead container on a stable surface and ensure it is undisturbed for a few hours to allow sediment to settle.
3. Attach a sanitized siphoning tube or racking cane to a siphoning hose.
4. Insert the tube into the mead, making sure it is above the sediment layer.
5. Start the siphoning process by sucking on the tube or using a pump to create a vacuum. Be careful not to introduce any contaminants.
6. Gently transfer the mead into the new container, being cautious not to disturb the sediment.
7. Monitor the process closely, stopping the transfer once you reach the sediment layer, ensuring it is left behind.
8. You may repeat the racking process multiple times if needed, depending on the clarity of the mead.
9. Once the mead is successfully racked, consider storing it in a cool, dark place for further aging or proceed with bottling.
Remember, patience and careful handling are key to maintaining the quality of your mead while removing sediment.