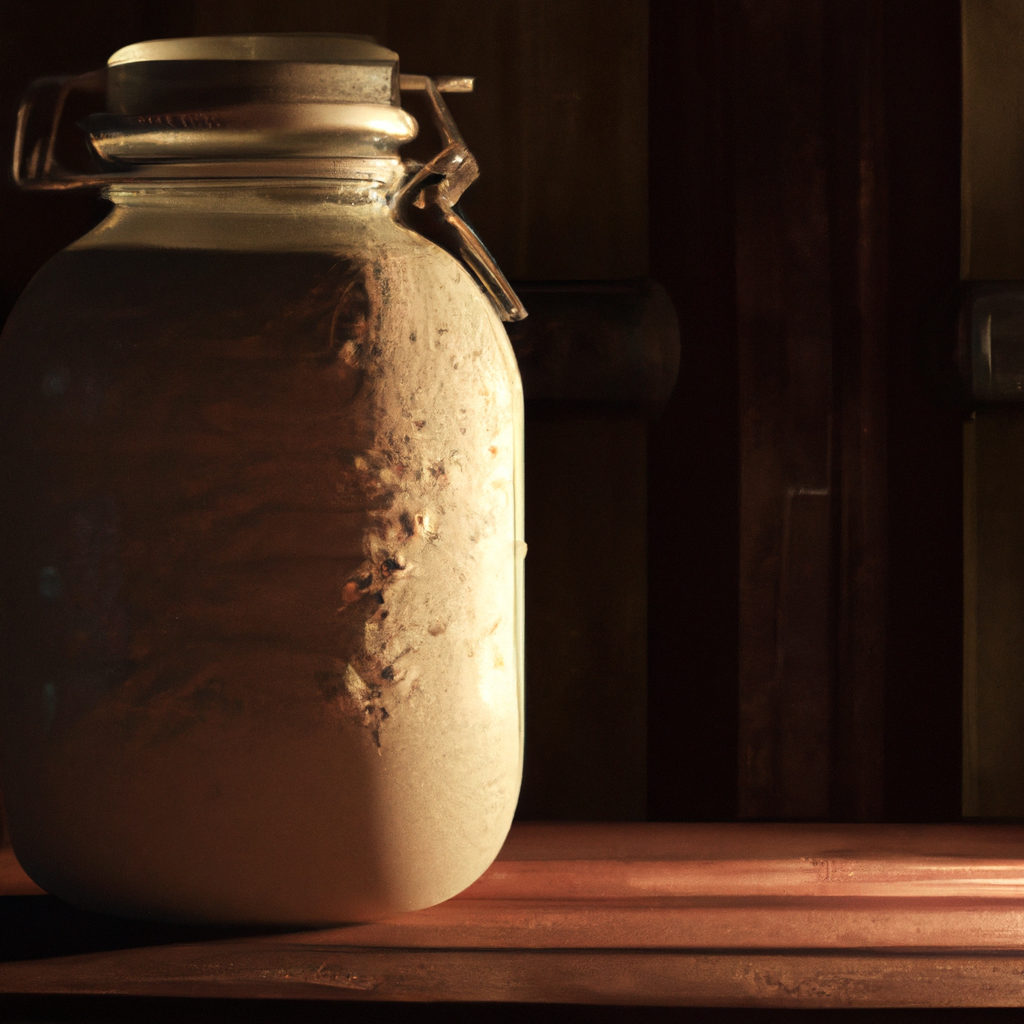
A yeast starter, also known as a liquid yeast culture, is a pre-fermentation technique that prepares yeast cells for use in large batches of wine or cider.
To create a yeast starter:
- Sanitize all equipment
- Add water to a flask and heat on the stove.
- Dissolve dry malt extract into the hot water in the flask.
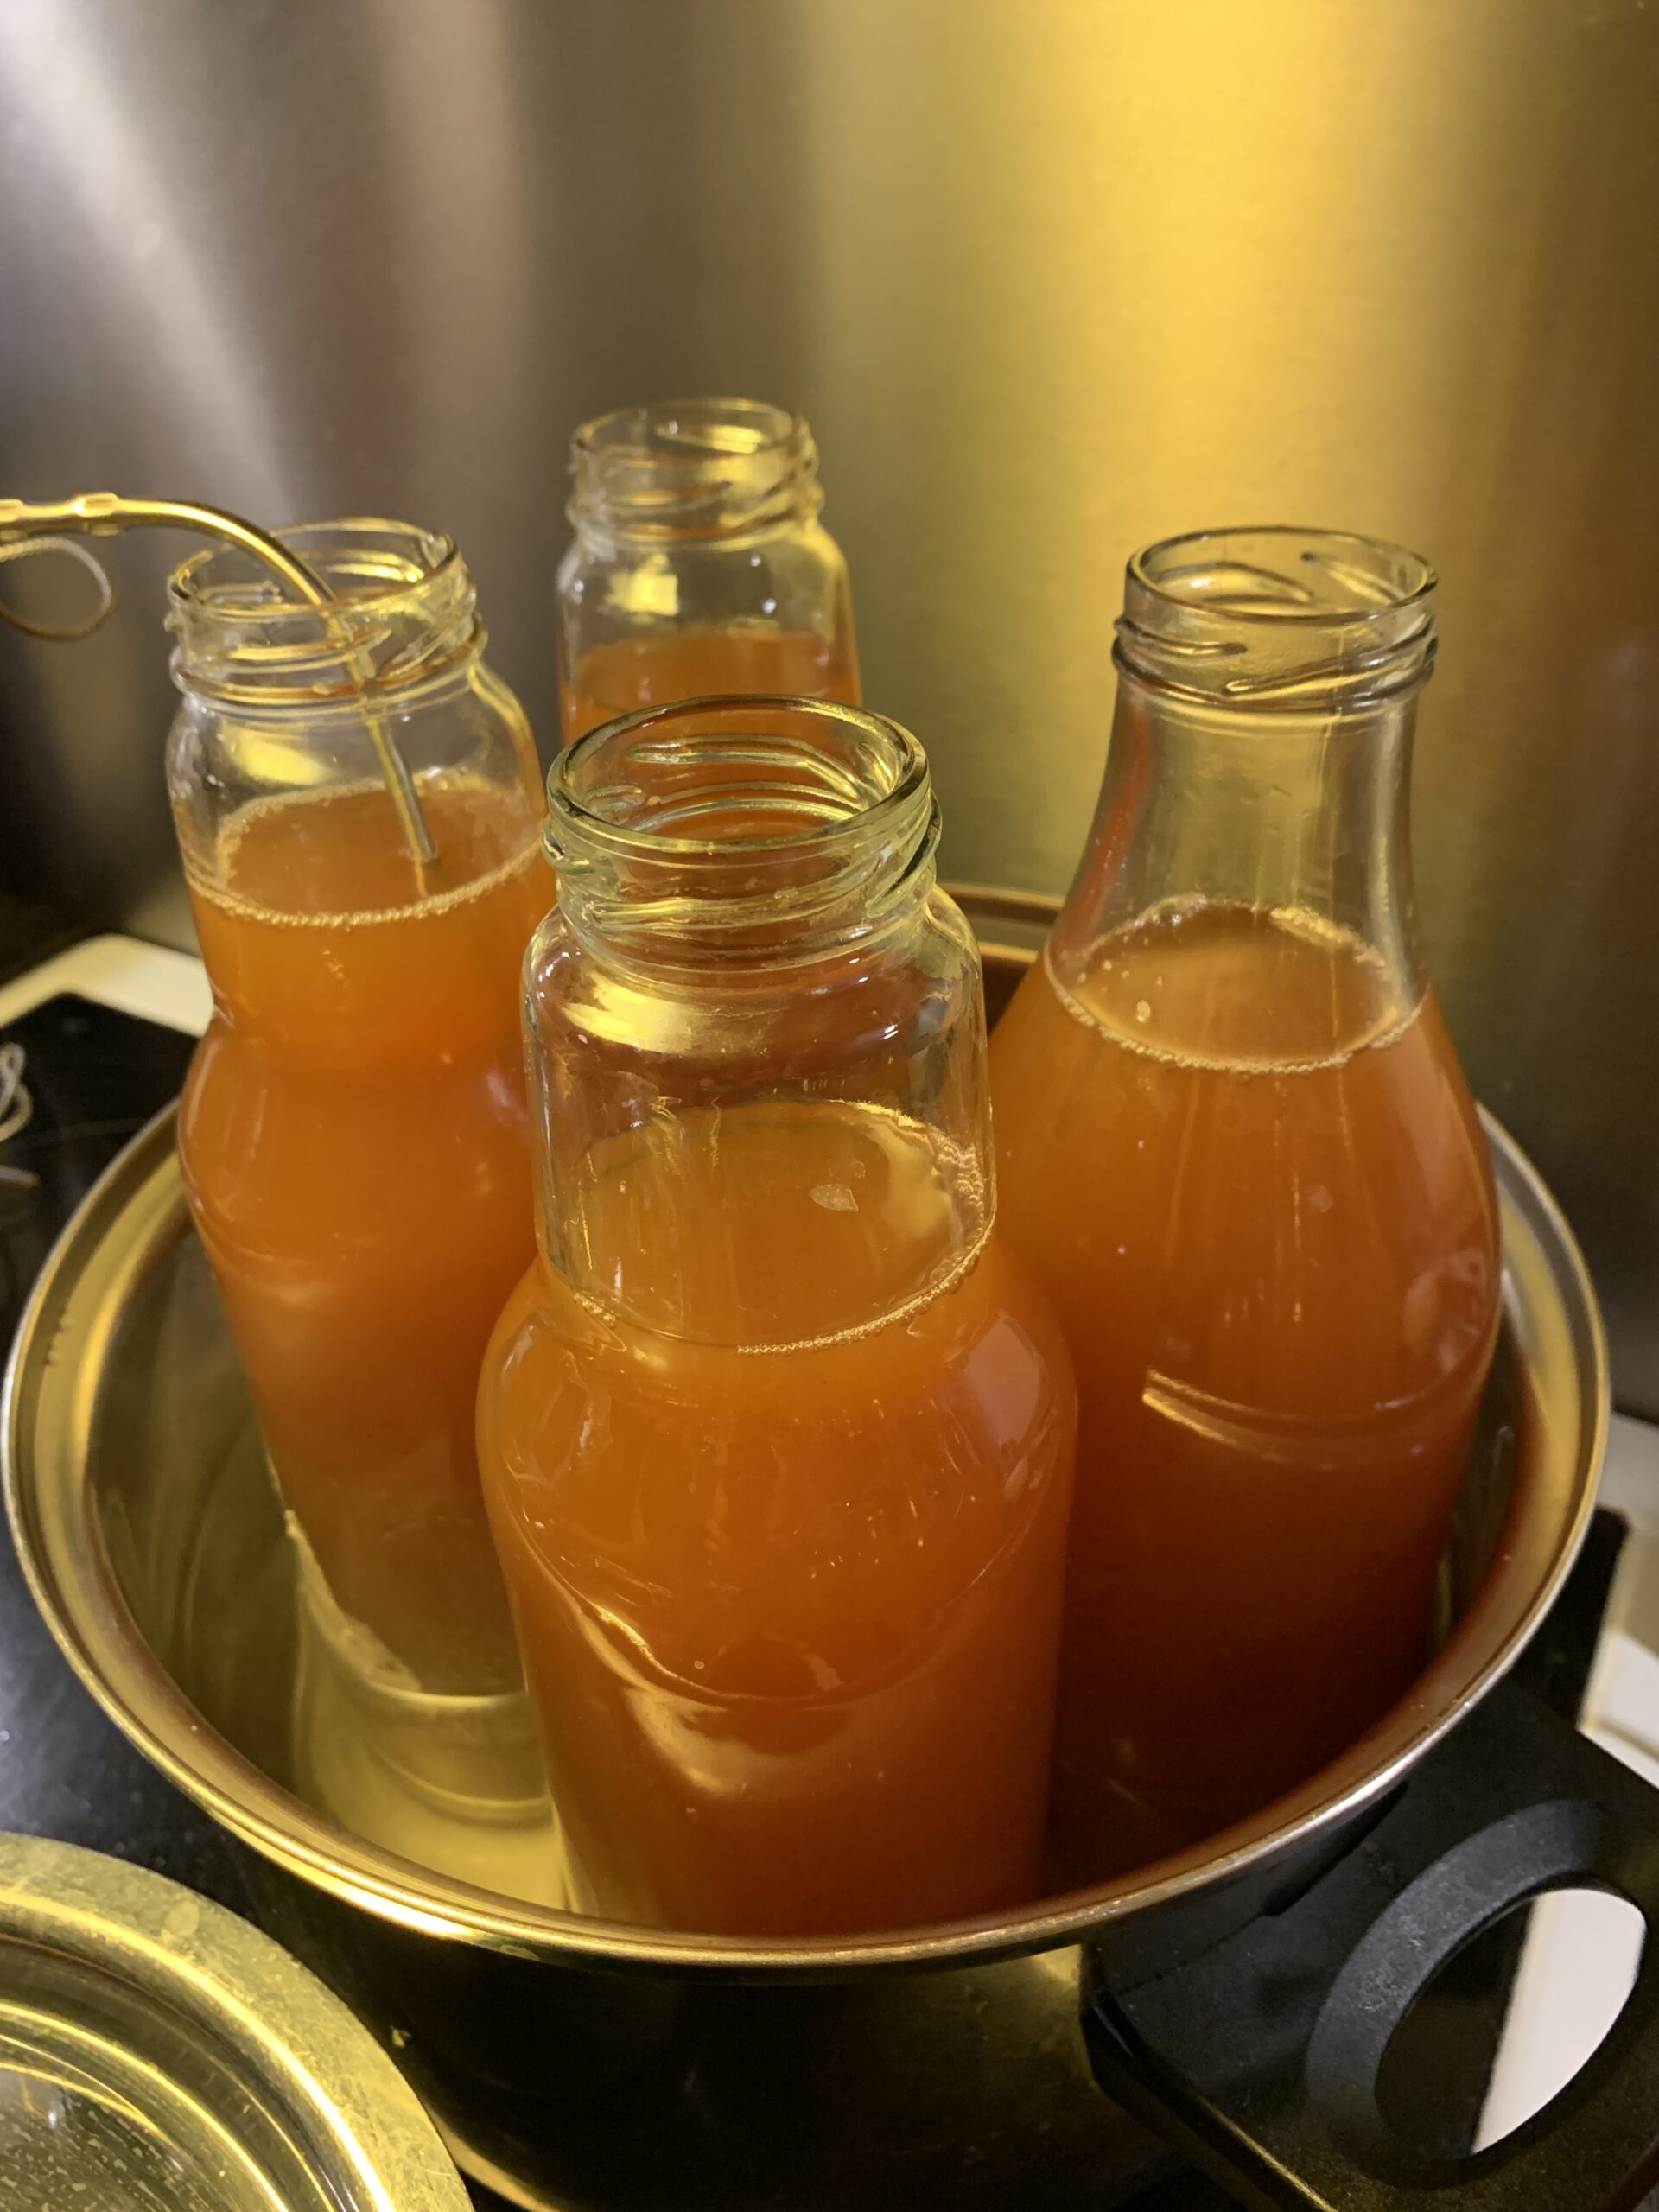
- Cool the mixture to room temperature.
- Add your chosen liquid yeast strain and cover with an airlock stopper.
- Place the flask in a warm place and wait until fermentation is visible before adding it to your larger batch of wine or cider.
It’s important to note that adding nutrients such as yeast energizer or nutrient can help ensure the viability of your starter.
Pro Tip: Use a stir plate during fermentation to agitate the mixture and encourage yeast cell growth.
Get ready to show off your fermentation skills and impress your friends with homemade wine or cider that’s sure to get everyone buzzing.
Making a yeast starter kickstarts your fermentation!
In wine or cider making, a crucial step is to create a yeast starter. The yeast starter helps to ensure that the fermentation process starts quickly and efficiently.
Making a yeast starter involves cultivating yeast cells in a nutrient-rich environment before adding them to the wine or cider. Here’s how you can do it:
- Sterilize Equipment: Sanitize all the tools used in the process, including a stir plate, flask, airlock, and stopper, with a sanitizer to eliminate the growth of harmful microorganisms.
- Mix Ingredients: Combine yeast nutrients, water, and malt extract in the sanitized flask, and heat it until the temperature reaches 80℃. Cover it with aluminum foil and cool it to room temperature.
- Add Yeast: Disinfect the yeast with boiling water before adding it to the mix. Add it to the flask, and stir the mix with the stir bar carefully.
- Allow Fermentation: Cover the flask with a sanitized stopper and airlock, then place it on a stir plate and allow it to ferment for 24 hours.
- Transfer to Wine or Cider: After 24 hours, it’s time to add the fermented starter to the wine or cider. Gently swirl the flask to mix the contents thoroughly before adding them to the drink.
Pro Tip: Ensure that your yeast is viable before creating the starter. A viability test will help determine if the yeast is healthy and capable of fermenting the drink.
Choosing the right yeast strain is like picking your alcohol-loving wingman – you want someone who can handle themselves and enhance the experience, not ruin it with their own issues.
Choosing a yeast strain
When it comes to fermenting a high-quality batch of wine or cider, choosing the perfect yeast strain is crucial. There are different types of yeast strains available, each with its own unique characteristics and abilities.
Factors like alcohol tolerance, flavor profiles, and temperature ranges can influence your decision on which yeast to use.
To simplify the selection process, here’s a table that outlines some popular yeast strains and their traits:
| Yeast Strain | Alcohol Tolerance | Flavor Profile | Optimal Temperature |
|---|---|---|---|
| Lalvin 71B-1122 | Low | Fruity/Aromatic | 59-86°F |
| Red Star Premier Blanc | High | Neutral/Clean | 50-90°F |
| White Labs WLP775 English Cider Yeast Blend | Medium-High | Fruity/Berry-like Finish | 68-75°F |
I wont go much more into the yeast strains here as I already wrote a whole blog post about the best yeast strains for cider (and sparkling wine) brewing here!
Ensure that you consider how these factors will affect your end product when selecting your ideal yeast variety. Keep in mind that different strains interact with fruit juices differently too.
Prioritizing quality over quantity when selecting a yeast variety should be a top priority. What may seem adequate in terms of alcohol tolerance or fermentation time may not provide the desired taste profile for your desired outcome.
Instead, identify subtle nuances in each type of strain and leverage them during fermentation to create exceptional batches of wine or cider.
Did you know selecting the ideal strain has been built into winemaking practices for generations? Ancient Greeks used clay jars to store wine and maintained certain environments conducive to optimum winemaking conditions.
Yeasts flourished selectively inside one clay jar over another generating notable distinctions between the wines produced by winemakers from two separate regions throughout Greece.
Get ready to become a mad scientist in the kitchen as you gather your yeast and sugars for the ultimate brew.
Preparing the ingredients
To properly begin the process of creating a yeast starter for wine or cider, adequate preparation of the ingredients is crucial. Here’s how to do it:
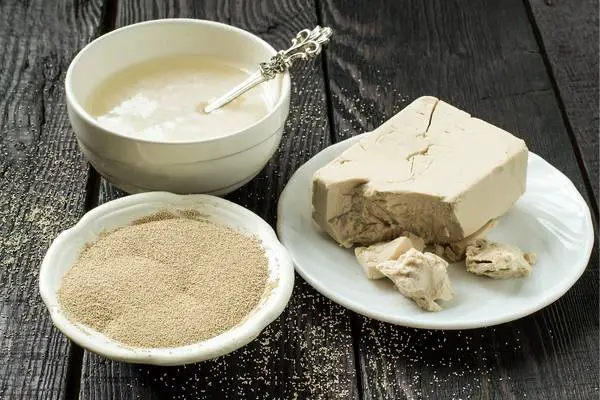
- Gather all necessary ingredients such as dry or liquid yeast, water and malt extract.
- Sterilize all equipment that will be used by boiling them for a few minutes or soaking them in sanitizer.
- Measure out the precise amounts of ingredients required according to recipe instructions.
- Mix ingredients thoroughly to ensure even distribution.
It’s essential to measure ingredients accurately as any discrepancy can affect the fermentation process and therefore result in undesirable outcomes.
It’s worth noting that water quality can influence fermentation. Treated tap water or bottled water should be used instead of distilled water, which may cause an acidic taste in the finished product.
A brewing enthusiast in California found out this lesson first-hand when she used distilled water and her cider ended up with a sour flavor due to low pH levels caused by lack of minerals present in distilled water. She learned to use treated tap water instead and continues to make successful batches ever since.
Get ready to mix things up with our starter solution, because nothing says homemade wine like a little bit of chemistry.
Creating the starter solution
To initiate the fermentation process for wine or cider, you need to prepare a yeast starter that helps jump-start the fermenting procedure. Here are three simple steps to create a solution:
- Begin by sanitizing all equipment, including a glass jar or flask and an airlock.
- Add ¼ cup of dried malt extract to two cups of water and stir well until it dissolves.
- Pour this mixture into the sanitized flask, add yeast, and seal with an airlock. Then let it sit for about 24 hours at room temperature before using in your batch of wine or cider.
It’s best to use unchlorinated water when preparing the starter solution as chlorine can harm yeast cells and affect their growth rate.
Pro Tip: Make sure to sterilize all equipment beforehand thoroughly. Sanitation is essential while brewing cider or wine as any contamination can affect flavor and quality significantly.
A little yeast goes a long way in starting a party in your bottle, just like a little spark can start a wildfire.
Adding the yeast to the starter
To introduce yeast to the starter, follow these steps:
- First, prepare a sanitized container and add cooled boiled water.
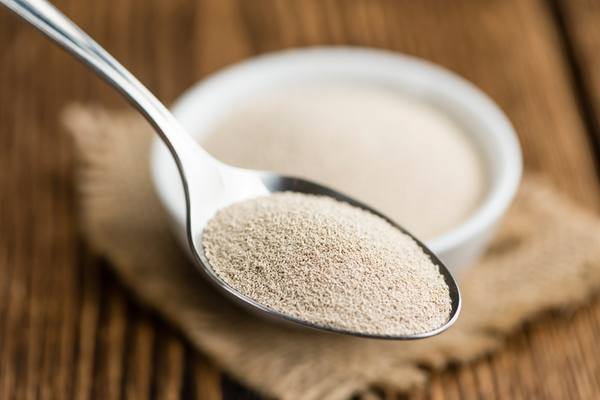
- Second, sprinkle wine or cider yeast onto the surface of the liquid while continuously stirring.
- Third, cover with a cheesecloth or an airlock lid and let it sit at room temperature for an hour.
- Fourth, after a few hours, add some sugar to feed the yeast population and stir it again.
- Fifth, cover it and place it in a warm and dark area.
It is important to use a sanitized container to prevent contamination from other microbes.
Pro Tip: Use fresh yeast instead of dried yeast as it has better chances of survival in the starter.
Get ready to uncork the fun, because fermenting with your homemade yeast starter is a wild ride!
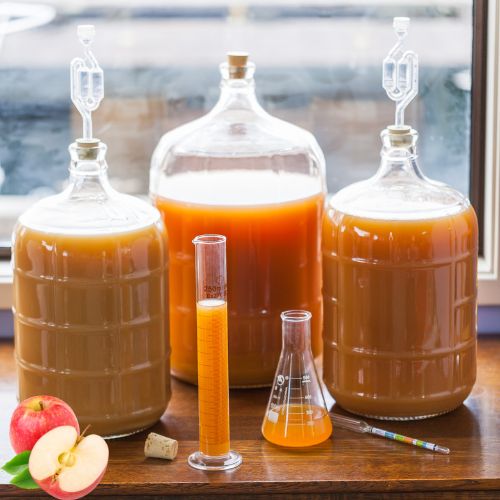
Fermenting with your yeast starter
To start fermenting with your prepared yeast culture, follow these simple steps:
- Sanitize all equipment: The first step in any fermentation process is to sanitize your equipment to avoid contamination from unwanted bacteria or wild yeasts.
- Make sure your juice is at the correct temperature: Different yeast strains have different temperature requirements, so make sure your juice is at the optimal temperature for your chosen yeast strain.
- Mix your prepared yeast culture into the juice: Measure the appropriate amount of prepared yeast culture and gently mix it into your juice.
- Monitor the fermentation process: Yeast fermentation is an active process, so it’s important to monitor the progress of fermentation regularly to ensure that it is proceeding smoothly.
- Rack and bottle your wine or cider: After your wine or cider has finished fermenting, it’s time to transfer it to a secondary container for aging and clarification. Once the aging process is complete, it’s time to bottle and enjoy!
Remember that each fermentation process is unique, and it’s important to make adjustments as necessary to optimize the results.
For any questions, consult a winemaking or cider-making expert for advice.
A Tip from a Pro winemaker:
Famous winemaker Robert Mondavi once said, “Making wine is the easy part, waiting for it to be ready is the hard part.”
This is true for any fermentation process, so be patient and wait for your wine or cider to reach its full potential.
Get ready for some yeast-ing business as you pitch your way to the perfect wine or cider!
Pitching the yeast into your wine or cider
When it comes to starting the fermentation process in your wine or cider, the crucial step is to prepare and add the yeast to the mixture. This action is known as activating the yeast or inoculating the must.
The following steps will help you pitch the yeast into your beverage accurately:
- Sanitize all equipment, including containers, airlock, and stirring utensils.
- Next, prepare the yeast starter by following instructions on the packet with sterile water and sugar.
- Add a small amount of must or juice to allow the yeast starter to acclimate to its new environment gradually.
- After an hour or two of allowing the starter mix to ferment and multiply, slowly add it into your beverage while stirring gently for even distribution.
- Finally, seal your mixture and attach an airlock before storing it in a cool dark place to ferment fully.
It’s essential to use a specialized wine or cider yeast strain since standard bread yeasts risk altering flavors too much.
Additionally, avoid disturbing your vessel once fermentation begins for best results. Don’t miss out on enjoying professional-quality beverages by fear of failing during fermentation.
Follow these steps carefully and enjoy making your own delicious drinks at home today! Keep an eye on your ferment, but don’t stare too long or it might get weird.
Monitoring the initial fermentation process
To ensure a successful fermentation, it is essential to closely observe the progress of the process right after adding your yeast starter culture.
By doing this, you can identify potential issues early and mitigate any adverse effects on the final product.
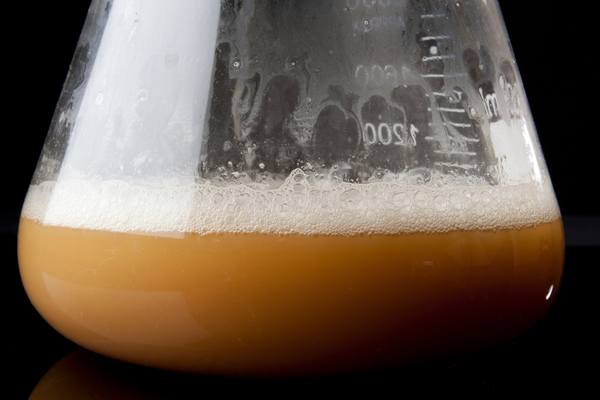
- Make regular observations of the bubbles in the starter: A healthy yeast starter should have a consistent pattern of CO2 bubbles rising to the surface
- Check for off smells or unusual colors: If your starter has an unpleasant odor or appears discolored, it may be contaminated by undesirable microbes.
- Measure pH levels: You can use pH papers/filters and make readings. Yeast thrives in an acidic environment around 4-5 pH.
- Take gravity readings: By monitoring specific gravity (SG) readings to track changes during fermentation, it helps you calculate alcohol content.
It is noteworthy that keeping sanitation standards high throughout your fermentation process will prevent infections and ensure consistency.
Documenting observations aids in determining optimum endpoint when seeking certain features like sourness or dryness.
Suggested approach:
- Keep a logbook with dates, temperature recordings throughout each day as well as taste notes during tasting trials.
- Maintain stable temperature conditions to decrease variability from environmental factors.
By continually monitoring these aspects throughout the fermentation process, you will confidently obtain quality results consistently. Say goodbye to wasting money on store-bought yeast packets and hello to endless batches of deliciously fermented creations with your trusty yeast starter.
Frequently Asked Questions
1. What is a yeast starter and why is it important for wine or cider making?
A yeast starter is a small culture of yeast that is grown and activated before being added to the wine or cider. It is important because it helps ensure that there will be enough yeast to complete fermentation and create desirable flavors and aromas.
2. How do I make a yeast starter?
To make a yeast starter, first sterilize all equipment that will come into contact with the yeast. Then, combine water, sugar, and yeast in a sterilized container and cover loosely. Leave for 24-48 hours, stirring occasionally, until the mixture becomes active and bubbly.
3. What type of yeast should I use for my starter?
It is recommended to use a yeast strain that is known to produce desirable flavors and aromas for wine or cider. Examples include Champagne yeast, for sparkling wines, and Cider yeast, for cider. Always consult a trusted recipe or supplier for specific recommendations based on your desired end result.
4. How long should I let my yeast starter ferment before adding it to the wine or cider?
The duration of the yeast starter fermentation will depend on the desired final product and the yeast strain being used. Typically, a starter will be ready to use when it has become active and developed a strong and pleasant aroma, which can take 24-48 hours.
5. Can I reuse yeast from a previous batch for my starter?
Yes, you can reuse yeast from a previous batch of wine or cider. However, it is recommended to use the yeast within 3-4 months and to use a new starter culture every few batches to maintain consistent fermentation performance.
6. What should I do if my yeast starter doesn’t become active?
If your yeast starter does not become active within 48 hours, it may be due to a variety of factors such as incorrect temperature, poor quality yeast, or contamination. Troubleshoot by checking all equipment and ingredients for cleanliness and proper handling. If necessary, start a new yeast starter with fresh yeast and water.