In this blog post, we will discuss how to carbonate cider in a keg. Carbonating cider in a keg is a simple and efficient way to have a consistent and delicious product.
As an experienced brewer, I have used this method countless times with great success.
With that said, let’s dive into the world of kegging and carbonating cider to achieve the perfect balance of flavor and fizziness.
Below are eight key steps to help you carbonate your cider in a keg:
1. Choosing the Right Keg
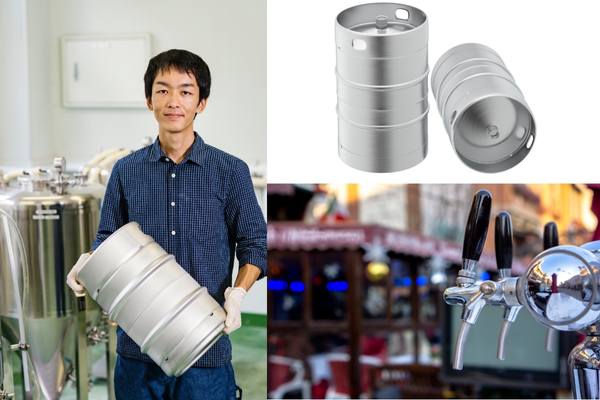
The first step in carbonating cider is choosing the right keg. There are several types of kegs available, but the most common and recommended type for homebrewers is the Cornelius keg or “Corny” keg.


These kegs are typically available in 2.5, 5, and 10-gallon sizes, making them perfect for small batches of cider. Cornelius kegs are easy to use, clean and maintain, which is why they are so popular among homebrewers.
Choosing the Right Size Keg
When choosing the right size keg for your cider, consider the batch size and how much cider you want to have on hand at a time.
Keep in mind that it’s important not to overfill your keg, as this can cause issues with carbonation and pressure. As a general rule, leave at least 10% of the keg’s volume empty.
2. Preparing the Cider
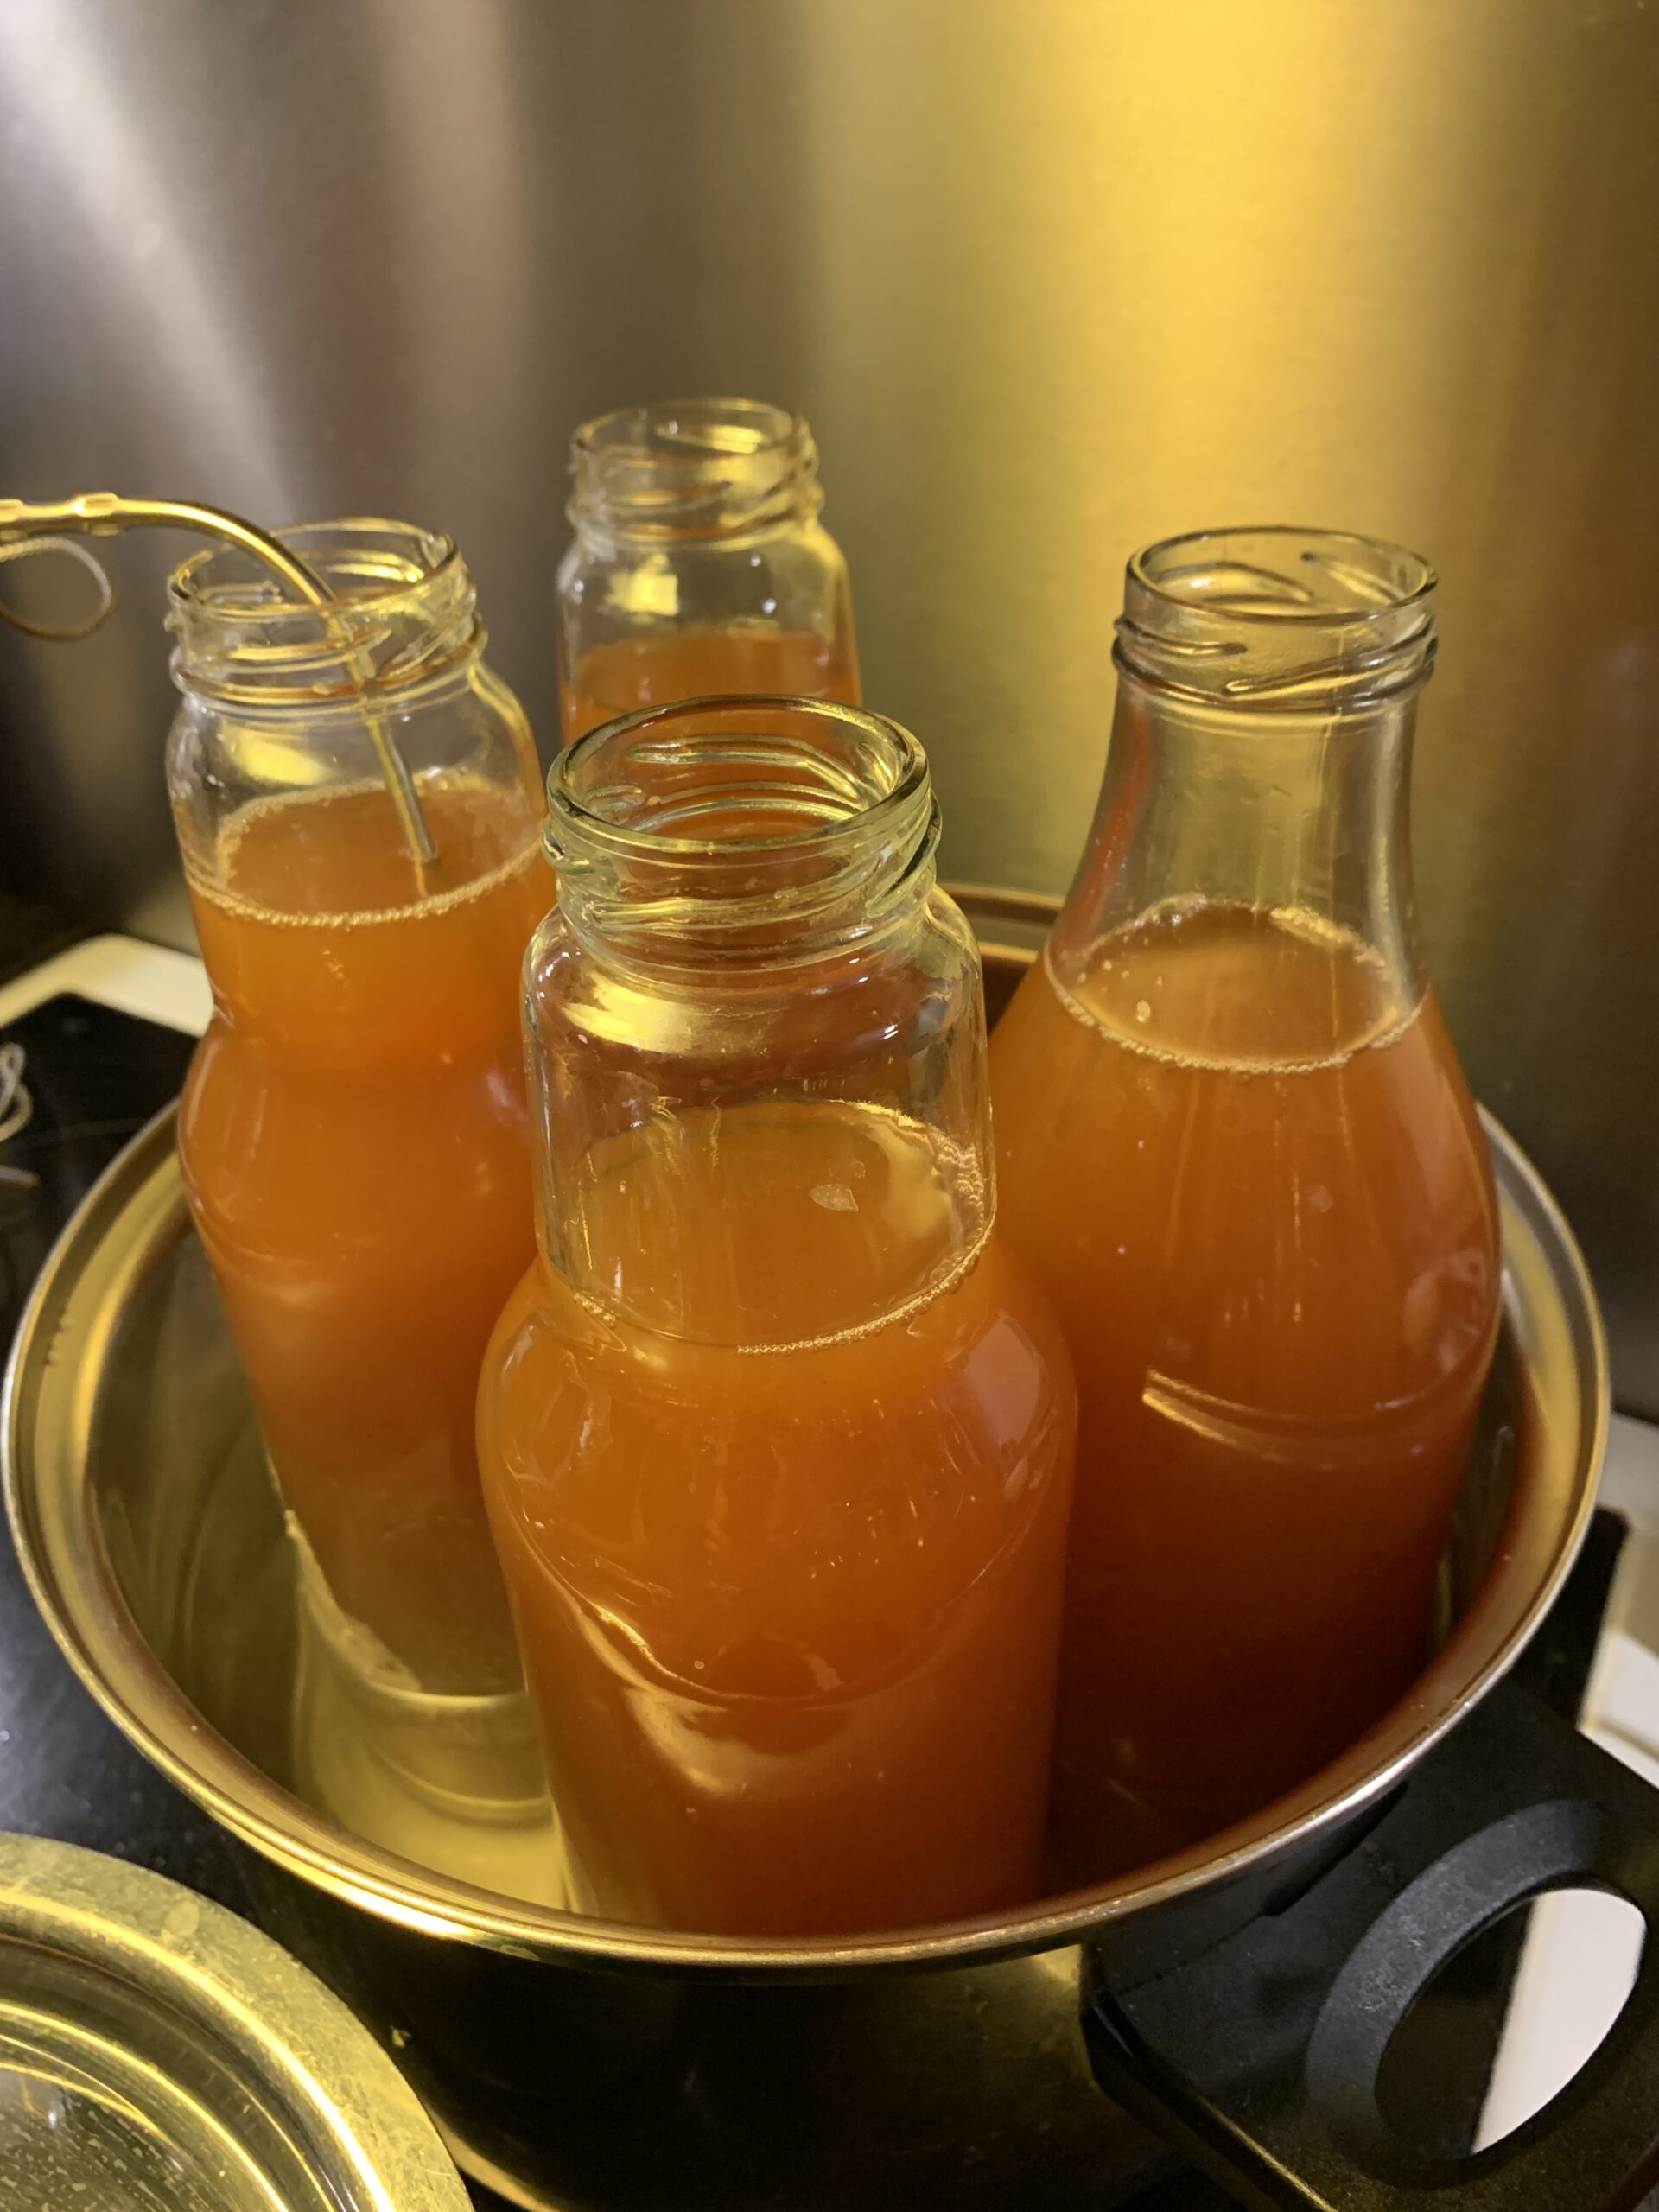
Before you begin the carbonation process, you’ll need to prepare your cider. This involves transferring your cider from the fermenter to the keg. Be sure that your cider has completed its fermentation process and has been stabilized. This will ensure that any remaining yeast or sediment is left behind, resulting in a clearer, cleaner-tasting cider.
Racking the Cider
To transfer the cider to the keg, you’ll need to use a process called racking. Using a sanitized siphon, carefully transfer the cider from the fermenter into the keg. Be sure to avoid transferring any sediment from the bottom of the fermenter.
3. Sealing the Keg
Once the cider has been transferred to the keg, it’s time to seal the keg. Ensure that the keg lid is properly seated and the pressure release valve (PRV) is closed. You’ll want to create an airtight seal to prevent oxygen exposure, which can lead to off-flavors and spoilage.
4. Purging Oxygen
Before carbonating, it’s essential to purge any remaining oxygen from the keg. Oxygen exposure can lead to off-flavors and spoilage.
To do this, connect the gas line from your CO2 tank to the keg’s “in” post and set the regulator pressure to around 5-10 psi.
Open the PRV for a few seconds to release any oxygen and allow CO2 to fill the headspace. Repeat this process two or three times to ensure all oxygen has been purged.
5. Setting the Carbonation Pressure
Now that your keg is sealed and purged, it’s time to set the carbonation pressure. The appropriate pressure will depend on your desired level of carbonation (measured in volumes of CO2) and the temperature of your cider.
As a general guideline, a pressure of 14-16 psi at 40°F (4°C) will yield a great moderately carbonated cider.
Use a Carbonation Chart
To determine the exact pressure needed for your desired level of carbonation, consult a carbonation chart, which will provide the appropriate psi for your specific temperature and desired carbonation level.
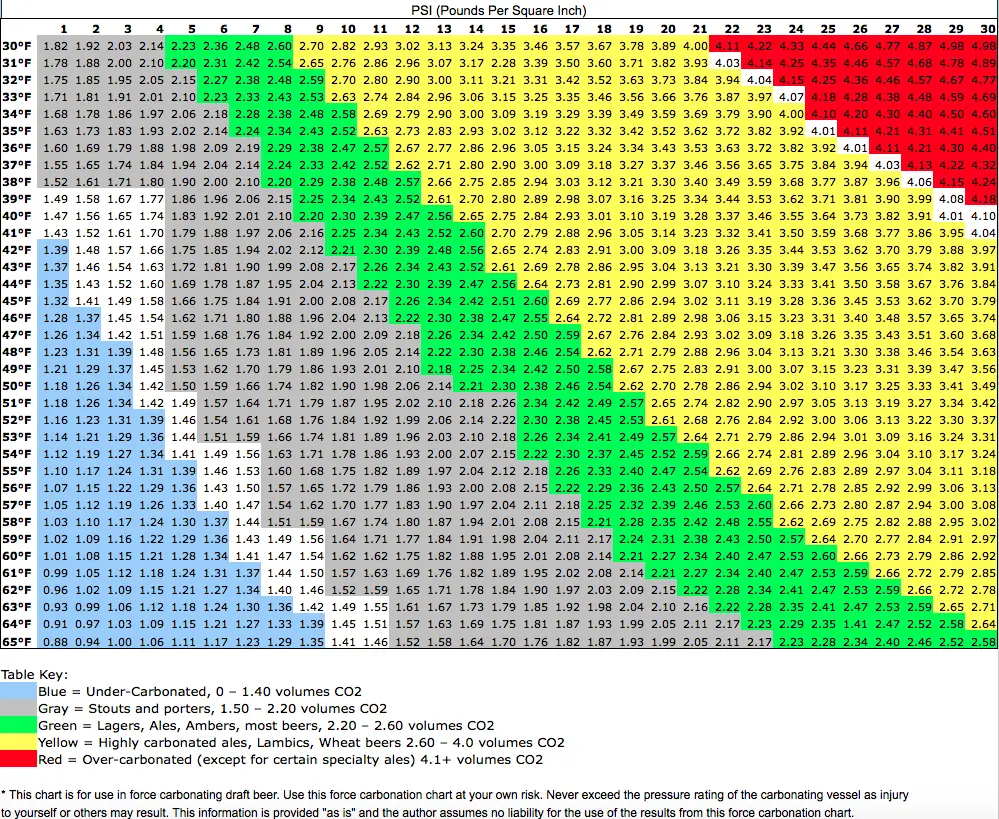
As you can see from the chart, the cooler the liquid is, the less pressure is needed to obtain the same carbonation.
This is a crucial rule that can be used to save time, effort and CO2.
6. The importance of cooling when kegging
Cooling the keg is indeed important when kegging hard cider or any other carbonated beverage. There are several reasons why cooling the keg is beneficial:
- Enhanced Carbonation: Carbon dioxide (CO2) dissolves more readily in cold liquids than in warm ones. By cooling the cider in the keg, you create an environment that promotes better carbonation. When the cider is cold, it can absorb more CO2, resulting in a higher level of carbonation in the finished product.
- Reduced CO2 Requirements: When you cool the keg, the increased solubility of CO2 allows you to achieve the desired level of carbonation with less CO2 gas. This can be cost-effective in the long run since you’ll use fewer CO2 cartridges or require less CO2 from a larger tank.
- Faster Carbonation: Cooling the keg accelerates the carbonation process. As mentioned earlier, cold liquids absorb CO2 more quickly. By cooling the cider, you can achieve the desired level of carbonation in a shorter amount of time compared to carbonating at room temperature.
- Lower Pressure Requirements: When the cider is cold, it requires less pressure to maintain carbonation. By chilling the keg, you can reduce the pressure needed to dispense the cider. This can be advantageous because lower pressure means less stress on the keg and associated equipment, minimizing the risk of leaks or other issues.
To cool the keg, kegerators are commonly used. A kegerator is a refrigerated unit specifically designed to store and dispense kegs. It provides a controlled and consistent temperature environment, allowing you to keep the cider at the ideal temperature for optimal carbonation and serving.

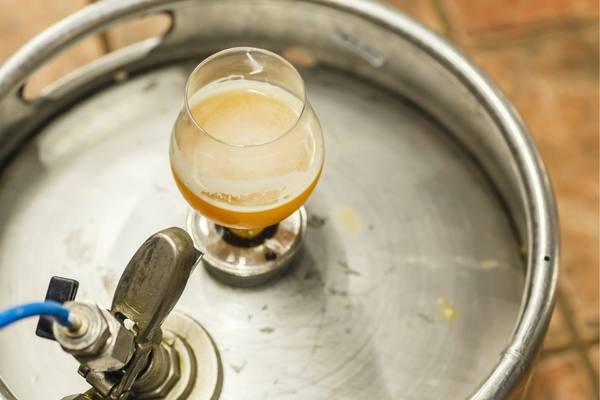
A kegerator is a fridge that fits a keg. This one allows tapping while cooling.
By understanding the importance of cooling the keg and utilizing a kegerator or another cooling method, you can ensure that your hard cider is properly carbonated, maintains its quality, and is served at the desired temperature.
7. Carbonating the Cider
With the pressure set, allow the cider to carbonate for at least 24-48 hours. During this time, the CO2 will dissolve into the cider, creating the desired level of carbonation. It’s essential to maintain a consistent temperature during this process, as fluctuations can impact the carbonation level.
Periodically Check the Carbonation Level
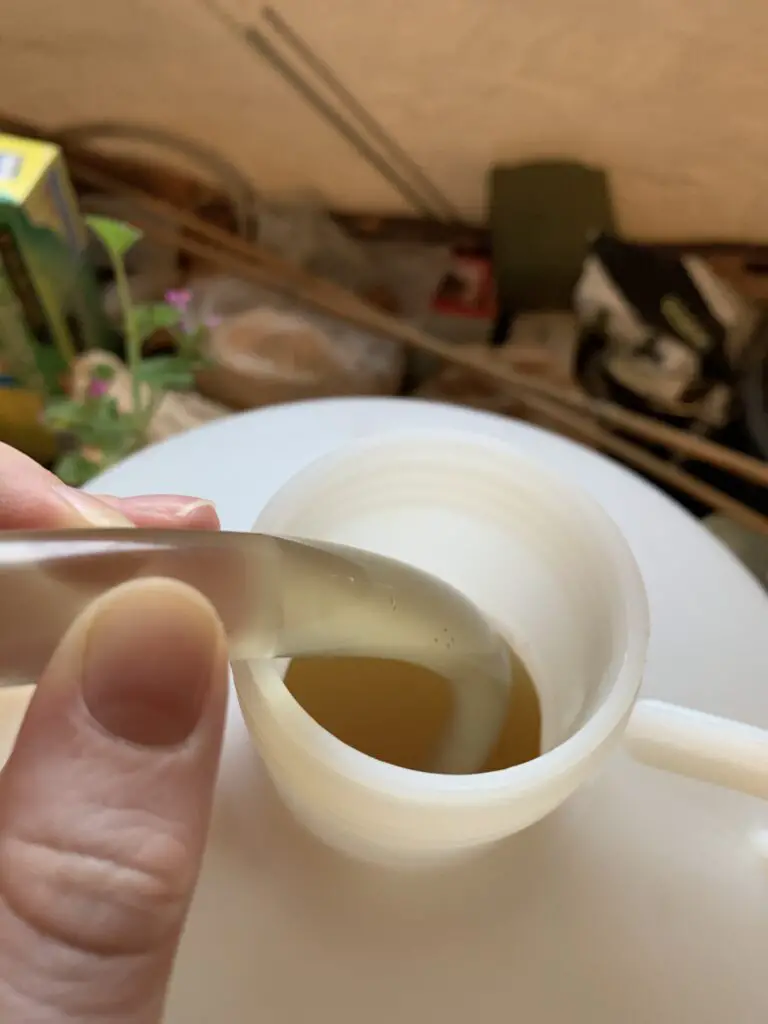
To ensure you achieve your desired level of carbonation, periodically check the cider by pulling a small sample from the keg using the tap. If the cider is not yet at your desired carbonation level, allow it to continue carbonating and check again later.
8. Finishing Touches
Once your cider has reached the desired level of carbonation, you can disconnect the gas line and store the keg at serving temperature. Before serving, allow the cider to rest for at least 24 hours to ensure that the CO2 is evenly distributed and any sediment has settled.
9. Enjoying Your Carbonated Cider
With your cider properly carbonated and ready to enjoy, pour yourself a glass and savor the fruits of your labor. Cheers!
Conclusion
In conclusion, carbonating cider in a keg is a simple and effective way to achieve consistent and delicious results. By following the steps outlined in this post, you’ll be well on your way to enjoying perfectly carbonated cider in no time. As a final recap, here are ten key points to remember when carbonating cider in a keg:
1. Choose the right keg type and size for your batch of cider.
2. Prepare your cider by ensuring it’s fully fermented and stabilized.
3. Rack your cider carefully to avoid transferring sediment.
4. Seal the keg to create an airtight seal and prevent oxygen exposure.
5. Purge the keg of any remaining oxygen using CO2.
6. Set the carbonation pressure based on your desired level of carbonation and the temperature of your cider.
7. Use a carbonation chart to determine the appropriate psi for your specific conditions.
8. Carbonate your cider for at least 24-48 hours, maintaining a consistent temperature.
9. Allow your cider to rest for at least 24 hours before serving to ensure even CO2 distribution and sediment settling.
10. Enjoy your perfectly carbonated cider and toast to a job well done!
FAQs
How do you carbonate a keg quickly?
To carbonate a keg quickly, you can use a method called forced carbonation. Here’s a step-by-step process:
1. Chill the keg: Ensure that the keg is properly chilled to the desired serving temperature. This helps with carbonation absorption.
2. Connect the gas line: Connect the gas line from your CO2 tank/regulator to the “gas in” post on the keg.
3. Set the pressure: Adjust the pressure on the regulator to the desired level, typically around 30 PSI (pounds per square inch) for faster carbonation.
4. Purge the keg: Release any existing air or oxygen from the keg by pulling the pressure relief valve.
5. Apply gas: Keep the gas line connected and allow the CO2 to flow into the keg. Shake or roll the keg gently to increase gas absorption. This helps to speed up the carbonation process.
6. Check carbonation levels: After a few minutes of shaking, disconnect the gas line and let the keg sit for a few hours. Reconnect the gas line and repeat the shaking process if necessary. Keep checking the carbonation levels until it reaches your desired level.
Note: Be cautious not to overcarbonate, as it can result in excessive foam or even cause the keg to burst. Regularly monitor the pressure and carbonation levels during the process to avoid any mishaps.
How long does a keg take to carbonate?
The time it takes for a keg to carbonate can vary depending on several factors. Generally, it can take anywhere from a few days to a couple of weeks for a keg to fully carbonate. The carbonation process is influenced by factors such as temperature, pressure, and the type of beer being carbonated. It’s important to monitor the carbonation levels regularly to ensure the desired level of carbonation is achieved.
How do you carbonate with a keg?
To carbonate with a keg, you will need to follow these steps:
1. Ensure that your keg is clean and sanitized before starting the process.
2. Transfer your cider or other beverage into the keg, leaving some headspace to allow for carbonation.
3. Connect a CO2 tank to the keg using a gas line and a carbonation stone or a gas-in dip tube.
4. Set the desired pressure on the CO2 regulator, typically around 10-12 PSI (pounds per square inch) for most beers.
5. Purge any oxygen from the keg by briefly opening the relief valve.
6. Allow the CO2 to flow into the keg for a certain period of time, typically 3-7 days, depending on the desired level of carbonation. The longer you leave it, the more carbonation it will achieve.
7. After carbonation, reduce the pressure to serving pressure (around 8-12 PSI) and connect a beer line to the liquid-out dip tube.
8. Store the keg at a cool temperature to maintain carbonation and serve when ready.
Remember to monitor the pressure and carbonation levels during the process to avoid over-carbonation or under-carbonation.
What PSI should I carbonate my cider at?
The recommended PSI for carbonating cider depends on various factors such as the style of cider, desired carbonation level, and temperature. Generally, a good starting point is around 10-12 PSI (pounds per square inch) for most beers. However, it’s essential to refer to specific guidelines provided by the cider recipe or keg manufacturer for optimal carbonation. Additionally, adjusting the PSI and monitoring the carbonation process over time can help achieve the desired level of carbonation.
How do you make cider in a keg?
To make cider in a keg, you’ll need to follow a few steps. Firstly, ensure that your keg is clean and sanitized. Next, obtain fresh apple juice or cider and transfer it into the keg, leaving some headspace for fermentation. If desired, you can add yeast to initiate fermentation, or you can rely on natural yeast present in the juice. Seal the keg tightly and attach an airlock to allow gas to escape during fermentation. Store the keg in a cool place for a few weeks, allowing the cider to ferment and mature. Once fermentation is complete, you can carbonate the cider by force carbonating it with CO2 or by adding priming sugar and allowing it to naturally carbonate over time. Finally, refrigerate the keg to chill the cider before serving.
Does keg cider need to be refrigerated?
Yes, keg cider should be refrigerated. Refrigeration helps to maintain the quality and freshness of the cider, preserving its flavor and preventing spoilage. Keeping keg cider cold will also slow down any potential fermentation or carbonation, ensuring that it stays in optimal condition for longer periods.