Making cider at home can be a rewarding experience, especially when you venture into fermenting with wild yeast. This method adds a unique flavor, complexity, and a sense of place to your homemade cider. In this blog post, I will guide you through the process of fermenting cider with wild yeast, sharing my personal experience and tips for success.
1: Understanding Wild Yeast
Before diving into the process of fermenting cider with wild yeast, it is essential to understand what wild yeast is and how it differs from commercial yeast. Wild yeast is the naturally occurring microorganism found on fruits, plants, and in the air. It plays a crucial role in the fermentation process, converting the sugars in the cider into alcohol and carbon dioxide.
Unlike commercial yeast, which is isolated and packaged for consistency, wild yeast can be unpredictable, resulting in a wide range of flavors and aromas. This unpredictability is part of the charm of wild fermentation, as it can create truly unique and delicious ciders.
To ferment cider with wild yeast, you simply rely on the yeast present on the apples and in the environment to ferment the apple juice into cider.
2: Choosing Your Apples
The first step in making wild-fermented cider is selecting the apples you will use. While any apples can be used, it is generally recommended to use a mix of sweet, tart, and bitter apples to create a balanced cider. Additionally, apples that have not been treated with pesticides or other chemicals are ideal for wild fermentation, as these substances can inhibit the growth of wild yeast.
It is worth noting that the type of apples you choose will play a significant role in the flavor profile of your finished cider. Experimenting with different apple varieties can be a fun way to discover new and exciting flavors.
3: Preparing the Apples
Once you have selected your apples, the next step is to prepare them for juicing. Begin by washing the apples thoroughly to remove any dirt or debris. Then, remove any bruised or damaged areas, as these can harbor undesirable bacteria that could negatively affect your cider.
Next, chop the apples into small pieces, discarding the cores. Some home cider makers prefer to use a fruit crusher or grinder to break down the apples further, but this is not strictly necessary.
4: Extracting the Juice
Now that your apples are prepared, it is time to extract the juice. There are several methods for doing this, including using a fruit press, a juicer, or even a clean pillowcase and some elbow grease. Whichever method you choose, be sure to collect the juice in a sanitized container, as cleanliness is crucial to prevent spoilage during fermentation.
5: Starting the Fermentation Process
Once you have collected your apple juice, it is time to start the fermentation process. If you are using a method that involves crushing or pressing your apples, there may already be enough wild yeast present to begin fermentation. However, if you are unsure or want to encourage fermentation, you can add a small amount of unpasteurized, raw apple cider or juice to your mixture. This will introduce additional wild yeast and help kick-start the fermentation process.
Pour your juice into a sanitized fermenting vessel, leaving some headspace to allow for fermentation activity. Cover the opening with a sanitized cloth or airlock to prevent unwanted bacteria or insects from entering the container.
6: Monitoring the Fermentation
Fermentation can take anywhere from a few days to several weeks, depending on factors such as temperature and the amount of wild yeast present. During this time, it is essential to monitor the progress of your cider.
You may notice some bubbling or foaming as the yeast ferments the sugars, which is a good sign that your fermentation is progressing well. You can also use a hydrometer to track the specific gravity of your cider, which will give you an indication of how much sugar has been converted to alcohol.
7: Tasting and Adjusting
Throughout the fermentation process, you should taste your cider regularly to assess its flavor and decide when it is ready to be bottled. Be aware that wild fermentation can result in a wide range of flavors, some of which may be an acquired taste. If you find that your cider is too tart or sour, you can add additional sweeteners such as honey or sugar to balance the flavor.
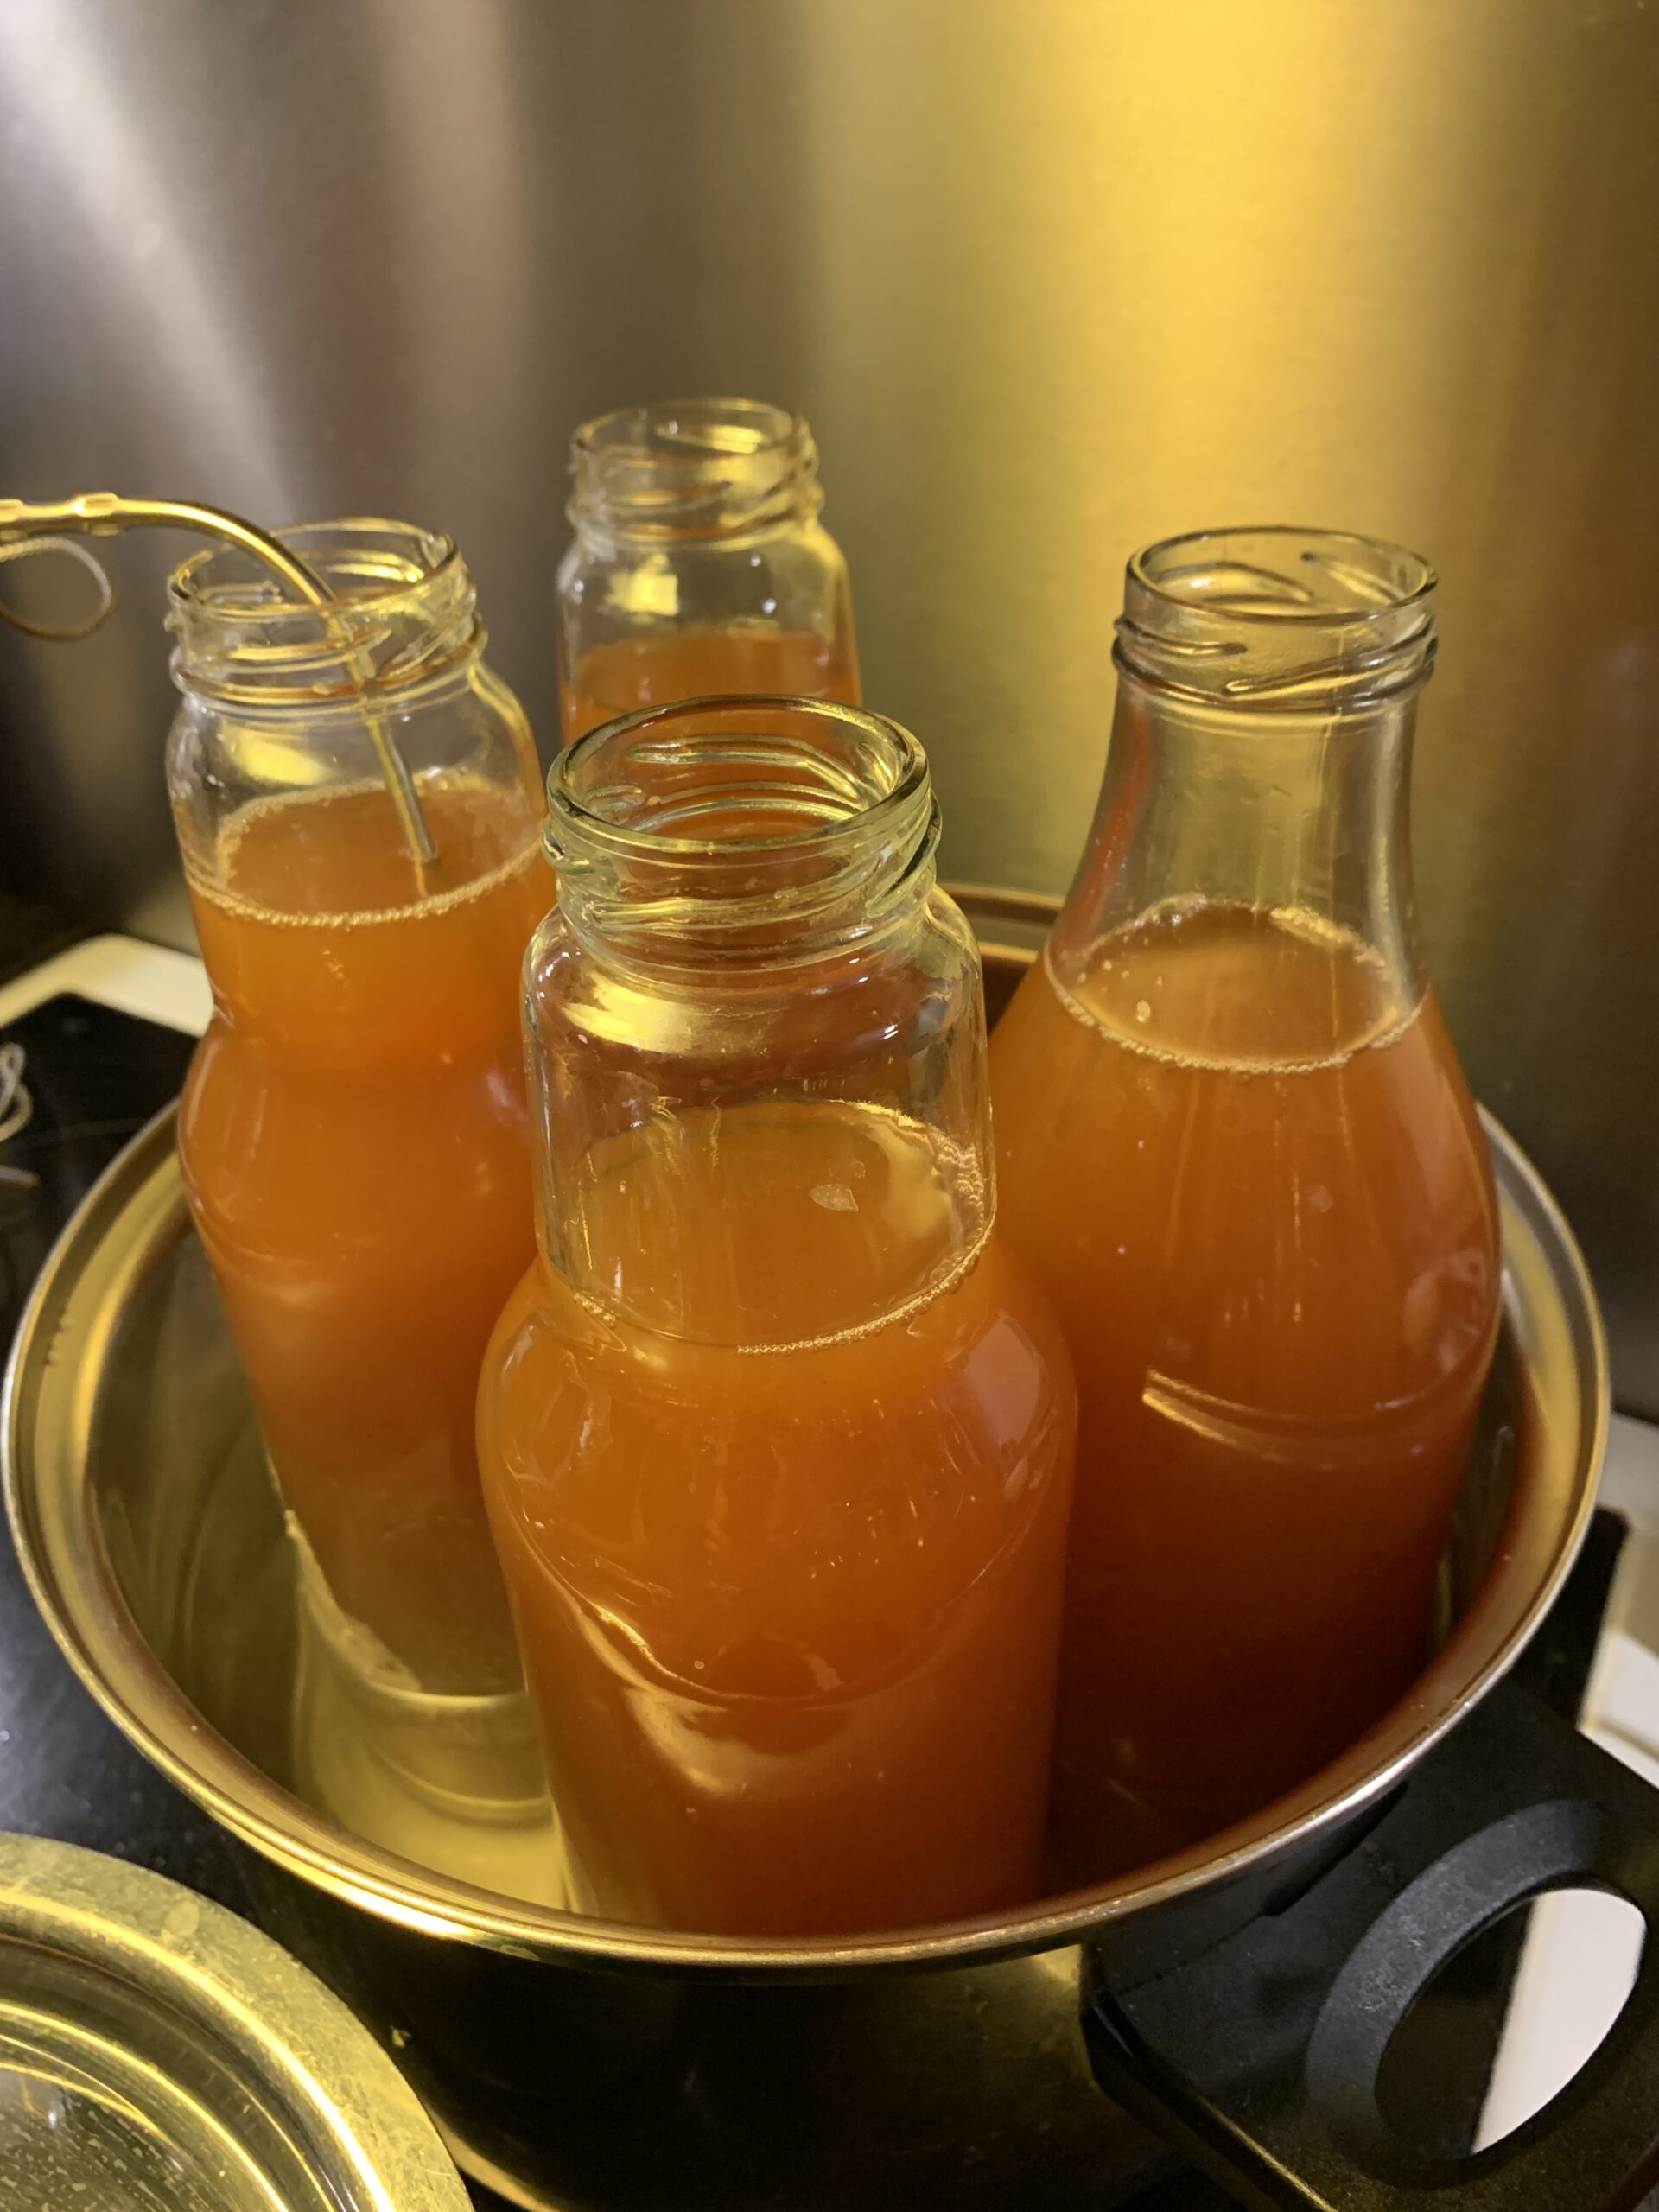
8: Bottling and Aging
Once your cider has reached the desired flavor profile, it is time to bottle and age it. Carefully transfer your cider into sanitized bottles, leaving a small amount of headspace to allow for any additional fermentation activity. Seal the bottles with sanitized caps or corks, and store them in a cool, dark place to age.
The aging process can take anywhere from a few weeks to several months, depending on your personal taste preferences. During this time, the flavors in your cider will continue to develop and mature, resulting in a more complex and refined final product.
9: Enjoying Your Wild-Fermented Cider
After your cider has aged to your satisfaction, it’s time to enjoy the fruits of your labor! Be sure to pour your cider gently to minimize any sediment that may have settled at the bottom of the bottle. Serve your wild-fermented cider chilled, and savor the unique flavors and aromas that wild yeast has imparted.
In conclusion, to ferment cider with wild yeast, you will need to follow these steps:
1. Understand the nature of wild yeast.
2. Choose a mix of untreated, sweet, tart, and bitter apples.
3. Wash and chop the apples, removing any damaged areas.
4. Extract the juice using your preferred method.
5. Add raw, unpasteurized apple cider or juice to introduce additional wild yeast if necessary.
6. Monitor the fermentation process, using a hydrometer to track specific gravity.
7. Taste and adjust the flavor as needed.
8. Bottle and age your cider in a cool, dark place.
9. Pour gently and enjoy your unique, wild-fermented cider.
By following this guide, you will be well on your way to creating delicious and unique ciders using the power of wild yeast. Happy fermenting!
FAQs
What temperature do you ferment cider with wild yeast?
Wild yeast fermentation for cider typically occurs at a temperature range of 60-75°F (15-24°C). However, the exact temperature can vary depending on the specific strain of wild yeast and the desired flavor profile.
What temperature kills yeast in cider?
Yeast in cider will start to die off at temperatures above 120°F (49°C), but it is not completely killed until temperatures reach 140°F (60°C) or higher.
How do you kill yeast in cider?
Yeast in cider can be killed by pasteurization, filtering, or adding chemical agents like potassium sorbate or sodium metabisulfite.
What is the best temperature for cider?
The best temperature for cider depends on personal preference, but generally, it is recommended to serve it chilled between 45-55°F (7-13°C).
How long does wild fermentation take cider?
Wild fermentation in cider can take anywhere from a few weeks to several months, depending on various factors such as temperature, sugar content, and the specific strains of yeast and bacteria present. It is important to monitor the fermentation process regularly and adjust conditions as needed to ensure a successful and safe fermentation.
How do you get rid of yeast after fermentation?
After fermentation, the yeast can be removed by racking (transferring the beer/wine to a new vessel, leaving the sediment behind), filtering, or cold crashing (lowering the temperature to encourage the yeast to settle).