Rice wine, also known as rice wine or sake in Japan, is a traditional alcoholic beverage made by fermenting rice. It has a long history in Asia, especially in countries like China, Japan, and Korea, where rice is a staple crop.
Rice wine is typically clear or slightly milky in appearance and has a mild, sweet taste that can range from 15% to 20% alcohol by volume.
In this blog post, I will share my personal experience with making rice wine and provide you with a detailed recipe that you can try at home.
Brief history and significance of sake in Japanese culture
Sake, also known as rice wine, has been an integral part of Japanese culture for over 2,000 years. It holds a special place in the hearts of the Japanese people and is often enjoyed at dinners, festivities, and social gatherings.
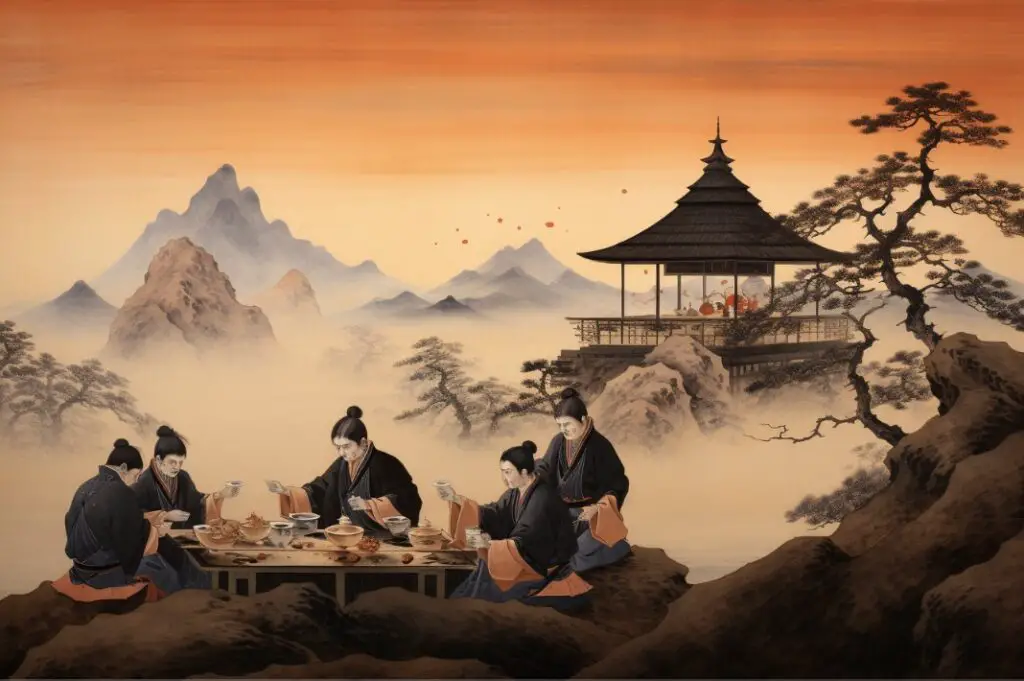
Sake is not just a beverage but a symbol of tradition, craftsmanship, and refinement. It is deeply intertwined with Japanese customs and rituals, and its production is considered an art form in itself.
The origins of sake can be traced back to ancient times when it was consumed as an offering to the gods. Over the centuries, sake-making techniques have evolved, leading to the development of different styles and flavors.
Today, sake is enjoyed both in Japan and around the world, with a growing appreciation for its delicate taste and cultural significance.
Overview of the sake-making process
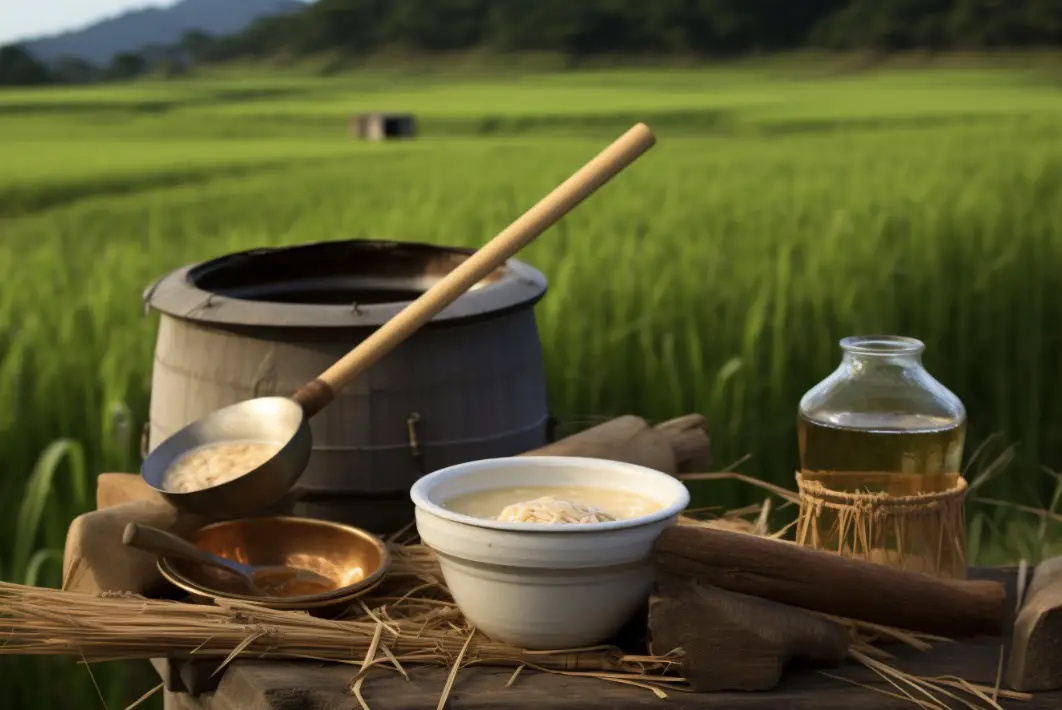
The process of making sake involves converting the starches in rice into sugars and then fermenting them into alcohol. It starts with the selection of high-quality rice, which is polished to remove outer layers and reveal the starchy core.
The rice is then steamed, cooled, and mixed with koji, a special type of mold that helps convert the starches into sugars. The mixture is then fermented with yeast, resulting in the production of sake.
The sake-making process requires precision, attention to detail, and patience. Each step plays a crucial role in determining the quality and flavor of the final product. While there are variations in techniques and ingredients used, the fundamentals remain the same.
In the next sections, we will explore the step-by-step process of making sake at home, including the equipment, ingredients, and techniques involved. Whether you’re a sake enthusiast or simply curious about trying your hand at brewing, making sake at home can be a rewarding and immersive experience.
II. Choosing the Right Rice
The first step in making rice wine is selecting the right rice. It’s best to choose a high-quality, Japanese short-grain rice, as this will produce the best results.
There are specific types of rice that are specially cultivated for brewing sake.

These rice varieties have a higher starch content and lower protein content, which are essential for the fermentation process.
Popular varieties accessible outside Japan include sushi rice, glutinous rice (also known as sweet or sticky rice), and jasmine rice.
I personally prefer using sushi rice because of its mild flavor and slightly sticky texture, which makes it ideal for fermenting.
Difference between ordinary rice and those used for Sake:
- Sake rice: These are varieties of rice specifically bred for brewing sake. They have larger grains and higher starch content, which helps in achieving the desired flavor and texture in the final product. Some popular sake rice varieties include Yamada Nishiki, Gohyakumangoku, and Miyama Nishiki.
- Table rice: While it is possible to make sake with table rice, it may not yield the same quality and flavor as sake-specific rice. Table rice has lower starch content and higher protein content, which can affect the fermentation process and result in a less refined sake.
How to select and prepare polished rice for Sake
- Look for labeled sake rice: When purchasing rice for brewing sake, look for varieties specifically labeled as sake rice or rice suitable for sake-making. These are often available at specialty stores or online.
- Polishing the rice: Polishing the rice removes the outer layer of the rice grain, which contains impurities and unwanted flavors. It is recommended to use polished rice with a polishing ratio of at least 60%. The higher the polishing ratio, the more refined the sake will be.
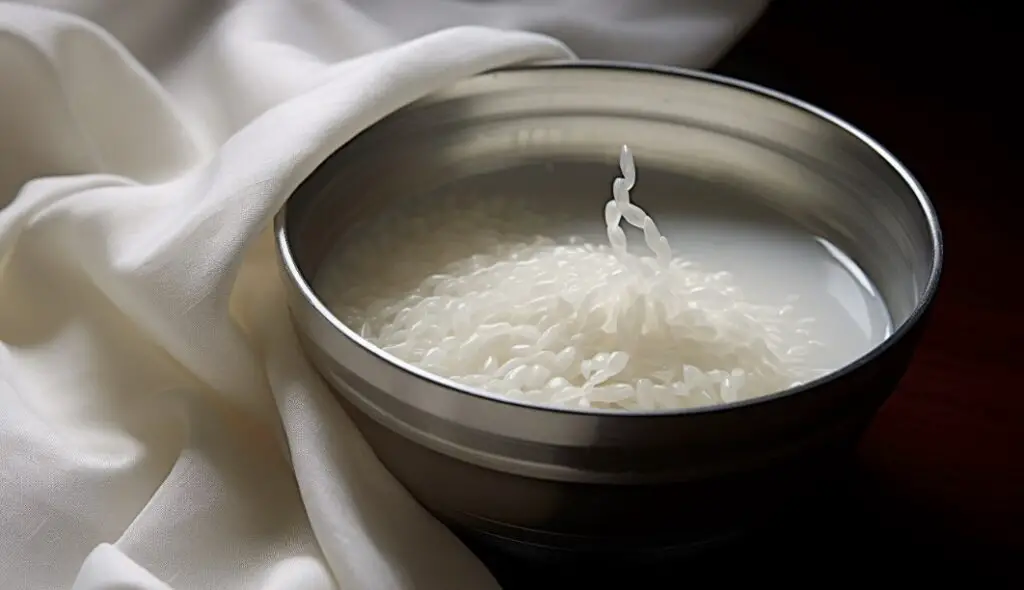
- Washing the rice: Before using the rice for brewing, it is important to wash it thoroughly to remove any dirt or impurities. Rinse the rice under cold water until the water runs clear.
Proper selection and preparation of rice are crucial steps in making high-quality sake at home. By using the right rice and ensuring it is properly polished and washed, you can set a solid foundation for a successful sake brewing process.
III. Making the Koji Pre Fermentation
Introduction to koji-kin (rice mold)
Before diving into the process of making sake, it’s essential to understand the role of koji-kin. Koji-kin, also known as rice mold, is a type of fungus used in various fermentations in the food world.
This mold is responsible for converting the starches in rice into sugars during the sake-making process. The result is a sweeter taste and the necessary sugars for fermentation.
And because I’m a microbiologist (nerd!) you will not get away so easily (sorry in advance, you can skip this section if you like…).
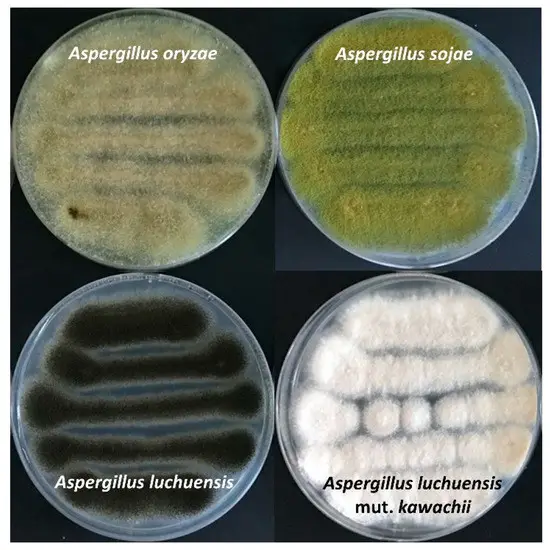
Koji molds are a group of different types of molds, not just one specific species. They are commonly used in the production of fermented foods and beverages. These molds can be obtained by collecting the spores, known as Koji starter, which are then cultured on cereals and crops.
Various types of Koji molds have specific purposes in different food and beverage preparations. For example, A. oryzae is used to make amazake, a sweet Japanese drink, as well as miso, a traditional seasoning paste.
A. kawachii and A. luchuensis are used in the production of shochu and awamori, traditional Japanese distilled liquors, respectively.
The process of making soy sauce also relies on Koji molds, particularly A. oryzae, which play a crucial role in producing important enzymes.
Koji molds have proven to be extremely valuable beyond their culinary applications. They are capable of producing various substances that have medical applications as well.
In summary, Koji molds encompass a diverse group of molds used in the production of fermented foods and beverages. They are not a single species but rather many different types. These molds share the common feature of being able to break down and ferment ingredients, resulting in unique flavors and textures.
Step-by-step guide to making the koji rice
The Koji rice is a mix of a koji mold (starter culture) and the steamed rice.
It begins by steaming 400 grams of polished rice, which have been soaked in water for an hour and then thoroughly rinsed several times beforehand. This will eliminate any gumminess in the cooked rice.
- Once the rice is rinsed, allow it to dry for approximately 20 minutes. Prepare a steamer or pot of water, ensuring the rice doesn’t come into direct contact with the water.
- Steam the rice (do not boil them!) for about 40 to 60 minutes, mixing it at least once to ensure even cooking. The final texture should be sticky but still hold its shape.
- Spread the cooked rice onto a casserole pan to cool down to around 86 degrees Fahrenheit (30 degrees Celsius).
- Sprinkle 1.5 grams of koji-kin over the rice, ensuring it is evenly distributed. Mix it thoroughly using a sanitized spoon.
- Cover the rice with a damp kitchen cloth to maintain moisture and place it in an environment with a temperature of approximately 86 degrees Fahrenheit (30 degrees Celsius). A lighted oven can provide suitable conditions.
- Check on the rice every 10 hours for the next 30 hours, ensuring it remains moist. If needed, rewet the cloth or spray water to maintain moisture levels.
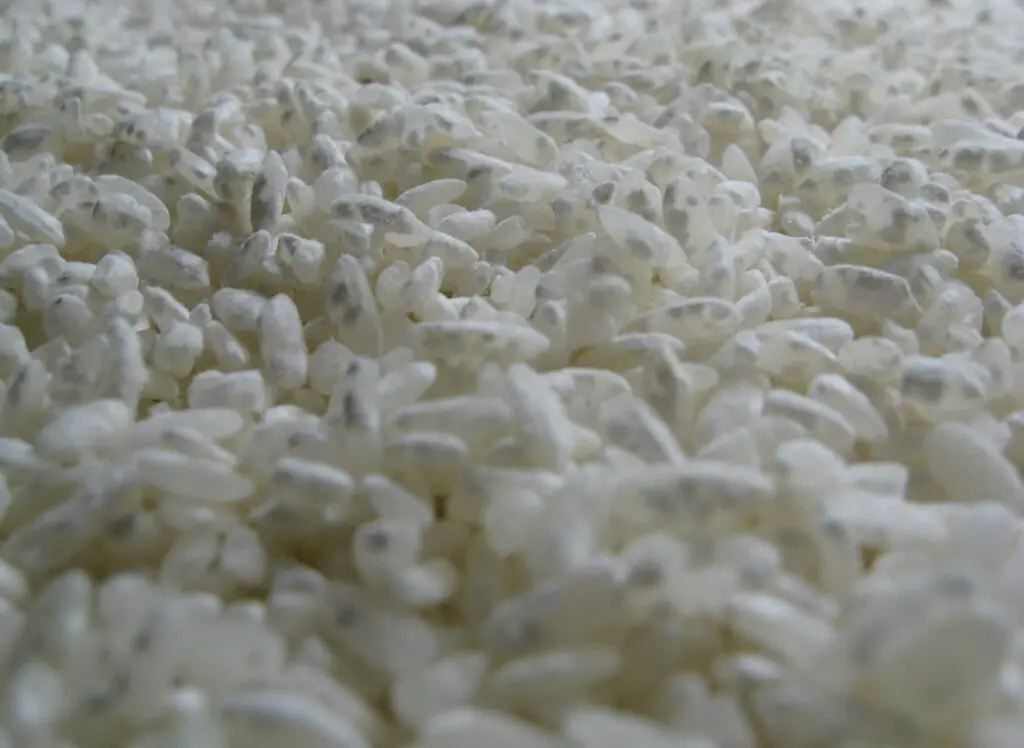
- After 30 hours, the rice should have a distinct aroma and a white fuzziness (see photo above!), indicating successful koji fermentation. It should also taste slightly sweet.
By following these steps, you have successfully made the koji rice, a crucial component in the sake-making process.
Now that you know how to make the koji rice, the next section will guide you through the process of making sake using the prepared koji, water, and wine yeast.
Stay tuned for the next step in our home sake-making adventure!
IV. Brewing the Sake
Once you have prepared the koji rice and steamed rice, it’s time to start the brewing process for your homemade sake. Here are the steps to follow:
Combining the koji rice, steamed rice, and water
- In a sanitized fermentation vessel, combine the prepared koji rice and steamed rice. The ratio of koji to steamed rice is typically 1:3, but it can vary based on your personal preference.
- Gradually add filtered water to the mixture, ensuring that the rice is fully submerged. The amount of water needed will depend on the desired consistency of your sake. You can refer to a sake brewing recipe for specific measurements.
- Stir the mixture gently to evenly distribute the rice and water.
Adding the yeast and optional ingredients (e.g., hops, citric acid)
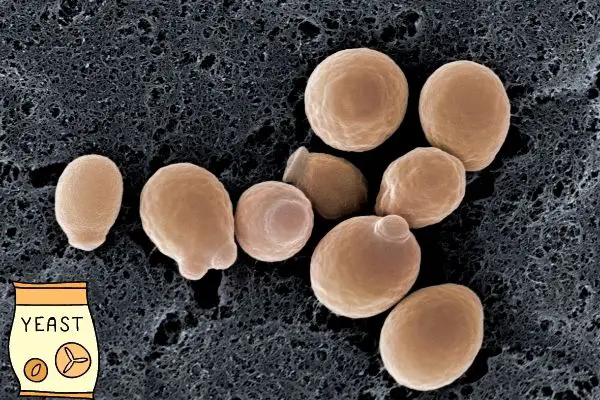
- Add the sake yeast to the fermentation vessel. The yeast will initiate the fermentation process by converting the sugars in the rice into alcohol.
- If desired, you can also add optional ingredients such as hops or citric acid for flavor variation. These additions can give your sake unique characteristics.
- Secure the lid or cover on the fermentation vessel to create an airtight seal.
Fermentation process and monitoring
- Place the fermentation vessel in a temperature-controlled environment. The ideal temperature for sake fermentation is typically around 50-60°F (10-15°C).
- Allow the mixture to ferment for several weeks to several months, depending on the desired taste and aroma. During this time, the yeast will metabolize the sugars, producing alcohol and releasing carbon dioxide.
- Regularly monitor the fermentation process by checking the aroma and flavor of the sake. Additionally, you can use a hydrometer to measure the specific gravity to track the progress of fermentation.
- Once the fermentation is complete, you can strain the sake using a cheesecloth or a fine-mesh sieve to remove any remaining rice solids.
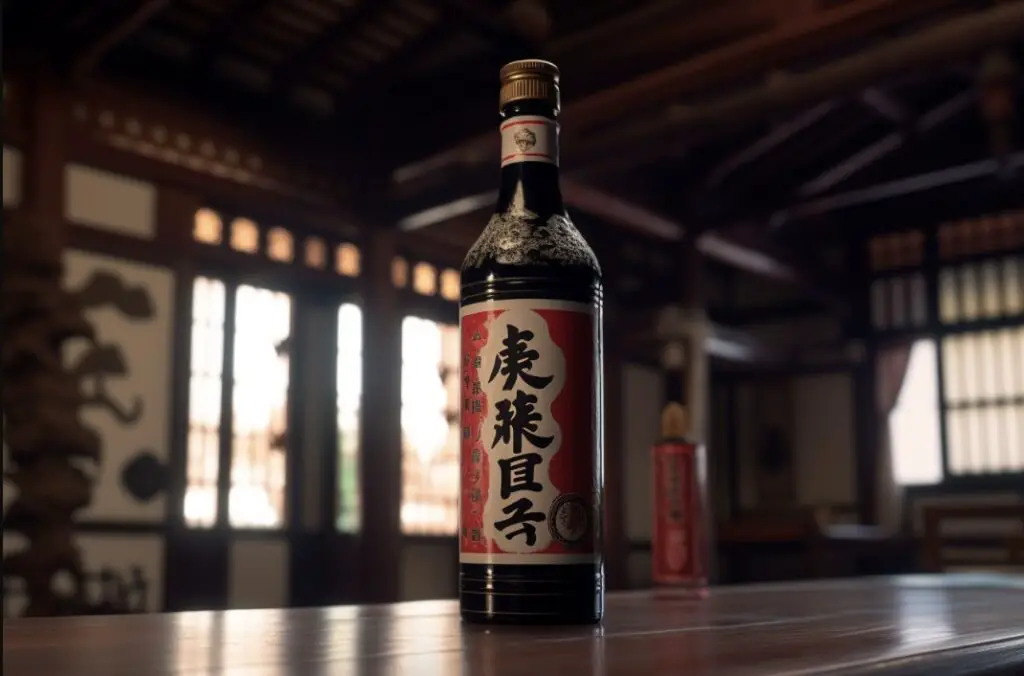
Congratulations! You have successfully brewed your own sake at home. The final product can be enjoyed chilled or warmed, depending on your preference. Cheers to your homemade rice wine creation!
Note: Please make sure to follow safe brewing practices, maintain cleanliness throughout the process, and consume alcohol responsibly.
V. Filtration and Bottling
Once the fermentation process is complete, the next step is to clarify the sake and prepare it for bottling.
Once the fermentation process is complete, you’ll need to strain and bottle your rice wine. To do this, follow these steps:
1. Line a fine-mesh strainer with cheesecloth and place it over a large bowl or container.
2. Pour the fermented rice mixture through the strainer, allowing the liquid to collect in the container.
3. Squeeze the cheesecloth to extract as much liquid as possible.
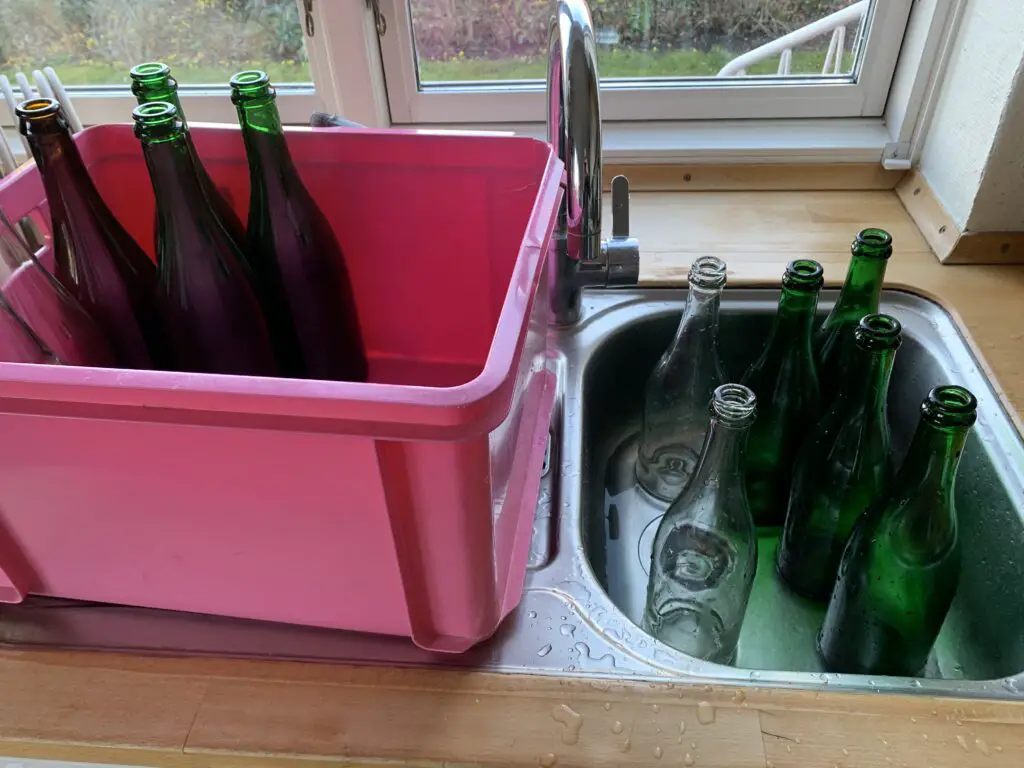
4. Transfer the strained rice wine to sanitized bottles or jars, leaving about an inch of headspace at the top.
5. Seal the bottles with airtight caps or corks and store them in a cool, dark place for at least a week to let the flavors mellow and meld together.
Here are some techniques to achieve a clear and smooth final product:
Techniques for clarifying the sake
- Fining agents: Fining agents, such as activated carbon or bentonite clay, can be added to the sake to absorb impurities and help clarify the liquid. These agents are usually mixed with a small amount of water and stirred into the sake.
- Settling: Allowing the sake to settle naturally can also aid in clarification. After fermentation, leave the sake undisturbed in a cool place for a few days, and the sediment will settle at the bottom of the container. Carefully transfer the clear sake to a different container, leaving behind the sediment.
Cold crashing and filtering
- Cold crashing: Cold crashing involves lowering the temperature of the sake to encourage sediment and impurities to settle quickly. This can be achieved by placing the sake in a cold environment, such as a refrigerator, for several days. Afterward, carefully decant the clear sake, leaving any sediment behind.

- Filtering: Filtration can help remove any remaining particulates and fine sediment from the sake. Use a fine mesh or cheesecloth to strain the liquid as you transfer it to a clean container. Alternatively, specialized sake-filtering bags or filtration systems can be used for more precise and efficient filtration.
Proper bottling and storage
- Bottling: Sterilize glass bottles and caps before transferring the clarified sake into them. Use a funnel or a siphon to fill the bottles, leaving a small space at the top to allow for expansion during storage.
- Storage: Store the bottled sake in a cool and dark place, preferably refrigerated, to maintain its quality and flavor. Sake can be enjoyed immediately after bottling, but some varieties benefit from aging for a few months to develop more complex flavors.
Remember to label your bottles with the date of production and any specific information regarding the sake’s characteristics or aging recommendations.
By following these filtration and bottling techniques, you can ensure that your homemade sake is clear, flavorful, and ready to be enjoyed.
Aging and Enjoying Your Rice wine
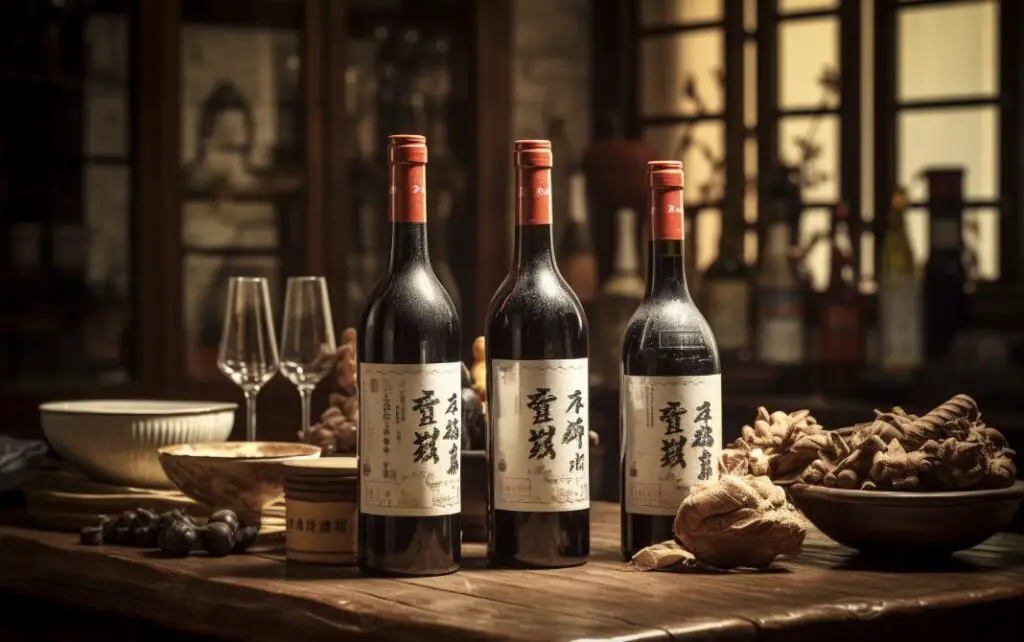
Rice wine can be enjoyed immediately after bottling, but it will improve with age. I recommend aging your rice wine for at least a month, and up to six months or longer, to allow the flavors to fully develop. As the rice wine ages, the flavor will become smoother and more refined.
When you’re ready to enjoy your rice wine, serve it chilled or at room temperature. It can be enjoyed straight, mixed with water or soda, or used as a base for cocktails.
VI. Sake Types and Variations
When it comes to tasting and enjoying sake, it’s important to understand the different flavor profiles and characteristics of various types of sake. Here are some of the key things to know:
1. Junmai Sake:
Junmai sake is made purely from rice, water, koji (rice mold), and yeast. It has a rich and full-bodied flavor with a slightly higher acidity level. Junmai sake is versatile and pairs well with a variety of dishes, making it a popular choice among sake enthusiasts.
2. Ginjo Sake:
Ginjo sake is made with rice that has been polished to at least 60% of its original size. This results in a more refined and delicate flavor profile. Ginjo sake is known for its fruity and floral aromas, making it a great choice for pairing with seafood or enjoying on its own.
3. Daiginjo Sake:
Daiginjo sake is made with rice that has been polished even further, usually to at least 50% of its original size. This creates a sake with an incredibly smooth and complex flavor profile. Daiginjo sake is often described as elegant, with subtle fruity and floral notes.
4. Nigori Sake:
Nigori sake is unfiltered, resulting in a cloudy appearance. It has a creamy and sweeter taste, with a rich and full-bodied texture. Nigori sake is often enjoyed as a dessert sake or paired with spicy dishes.
When tasting sake, it’s best to serve it slightly chilled, around 50-55 degrees Fahrenheit, to allow the flavors and aromas to shine. Use a small sake cup or wine glass to fully enjoy the experience.
Remember, sake is a versatile beverage that can be enjoyed in various ways – from sipping it on its own to pairing it with delicious meals. Explore different types of sake to find your personal favorites and enjoy the unique tastes and characteristics each one offers.
VII. Troubleshooting Common Issues
Common problems during sake-making and their solutions
Making sake at home can be a rewarding and enjoyable process, but sometimes issues may arise along the way. Here are some common problems that you might encounter during sake-making and their possible solutions:
- Off-flavors in the final product: Off-flavors can occur due to various factors such as improper rice preparation, contamination, or incorrect fermentation temperatures. To avoid off-flavors:
- Ensure proper rice preparation, including thorough cleaning and steaming.
- Keep all equipment and surfaces sanitized to prevent contamination.
- Maintain a consistent and suitable fermentation temperature as per the recipe instructions.
- Fermentation not starting: If you find that the fermentation is not starting within a reasonable time frame, it might be due to insufficient yeast activity. To encourage fermentation:
- Double-check that you used the correct amount of yeast as mentioned in the recipe.
- Make sure the yeast used is fresh and within its expiration date.
- Ensure that the fermentation environment is within the recommended temperature range.
- Cloudy or hazy sake: Cloudiness or haziness in the final product could be caused by suspended solids or incomplete fermentation. To achieve a clearer sake:
- Strain the liquid to remove any solids before bottling.
- Give the sake enough time to settle and clarify in the fermenter before transferring or filtering.
Tips for avoiding off-flavors and spoilage
To prevent off-flavors and spoilage in your homemade sake, here are some additional tips to keep in mind:
- Use high-quality ingredients, including properly polished rice and fresh yeast.
- Maintain cleanliness and sanitation throughout the sake-making process.
- Follow each step of the recipe carefully and avoid any shortcuts.
- Monitor the fermentation process regularly and adjust temperatures if necessary.
- Store the finished sake in clean and airtight containers in a cool and dark place.
By troubleshooting common issues and following these tips, you can increase your chances of success in making sake at home. Remember, practice makes perfect, so don’t be discouraged if you encounter challenges along the way. With time and experience, you’ll be enjoying your own delicious homemade sake.
VIII. Advanced Sake-making Techniques
For experienced brewers who have mastered the basics of sake-making, there are advanced techniques that can take your homemade sake to the next level. These techniques allow for experimentation and customization, allowing you to create unique and personalized flavors. Here are a few advanced sake-making techniques to consider:
1. Exploration of advanced methods for experienced brewers
Experienced brewers can explore advanced techniques such as multiple parallel fermentation (MPF) and Yamahai-zukuri. Multiple parallel fermentation involves fermenting multiple batches of sake simultaneously using different techniques or yeast strains. Yamahai-zukuri is a traditional method that involves allowing the yeast and lactic acid bacteria to coexist during the fermentation process, resulting in a unique flavor profile.
2. Experimenting with different rice strains and yeast varieties
To create diverse flavors, experienced brewers can experiment with different types of rice and yeast varieties. Some popular sake rice varieties include Yamada Nishiki, Gohyakumangoku, and Omachi. Each rice variety offers unique characteristics that can add depth and complexity to your sake. Similarly, different yeast strains can contribute distinct flavors and aromas to the final product.
3. Aging and maturing sake for enhanced flavors
Aging and maturing sake can result in more complex and refined flavors. This process allows the sake to develop deeper flavors and smoother textures over time.
For example, Daiginjo sake is often aged for an extended period to enhance its fruity and floral notes. Aging can be done in glass containers or wooden barrels, each imparting its own unique characteristics to the sake.
Remember, these advanced techniques require a deeper understanding of the sake-making process and may require additional equipment or ingredients.
It’s essential to conduct thorough research and consult experienced brewers before diving into advanced sake-making techniques.
IX. Conclusion
In conclusion, making rice wine at home is a rewarding and enjoyable process that allows you to explore the rich traditions and flavors of Asian rice wines.
Recap of the sake-making process
In this blog post, we have explored the process of making sake (rice wine) at home. Here is a quick recap of the steps involved:
1. Steaming the rice: Start by soaking the polished rice for an hour. Then rinse it thoroughly and allow it to dry for 20 minutes. Steam the rice until it is sticky but still holds its shape.
2. Making the kome koji: Sprinkle koji kin (a type of fungus) on the cooled rice. Mix it well and cover it with a damp cloth. Keep it moist and warm for 30 hours, stirring every 10 hours.
3. Combining the ingredients: Combine the kome koji rice, freshly steamed rice, and one gallon of filtered water in a clean and sanitized fermenter. Mix everything well.
4. The fermentation process: Cover the fermenter and let it ferment for about two weeks. Check the progress regularly, ensuring the temperature remains stable.
5. Bottling and aging: After two weeks, strain the fermented liquid and transfer it into bottles. Store the bottles in a cool, dark place for at least three months to allow the flavors to develop.
10 Fun Facts About Sake!
Here are some interesting facts about rice wine to impress your friends and family:
1. Rice wine is also known as sake in Japan.
2. It has a long history in Asia, especially in countries like China, Japan, and Korea.
3. Rice wine is typically clear or slightly milky in appearance.
4. It has a mild, sweet taste and an alcohol content of 15% to 20%.
5. High-quality, short-grain rice is best for making rice wine.
6. Wine yeast, champagne yeast, koji, or nuruk are used for fermentation.
7. The fermentation process takes 2-3 weeks to complete.
8. Rice wine can be aged for a month or longer to improve its flavor.
9. It can be enjoyed straight, mixed with water or soda, or used as a base for cocktails.
10. Rice wine is a traditional and versatile alcoholic beverage that showcases the rich flavors and history of Asian rice wines.