Cider making is a time-honored tradition that dates back centuries. It’s a process that requires patience, skill, and a love for quality fruit.
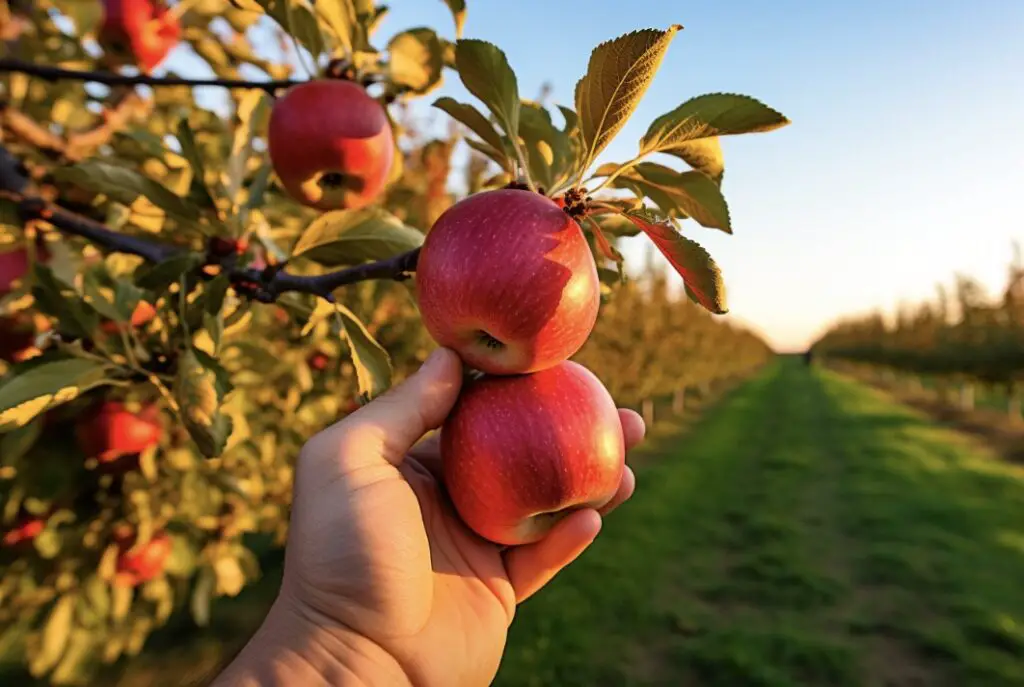
One question that I often get asked is, “Can you make cider from fallen apples?“
The answer is usually a “Yes!“. Not only can you make cider from fallen apples, but they may also add important flavours and natural wild yeast.
How To Choose Your Apples for Cider
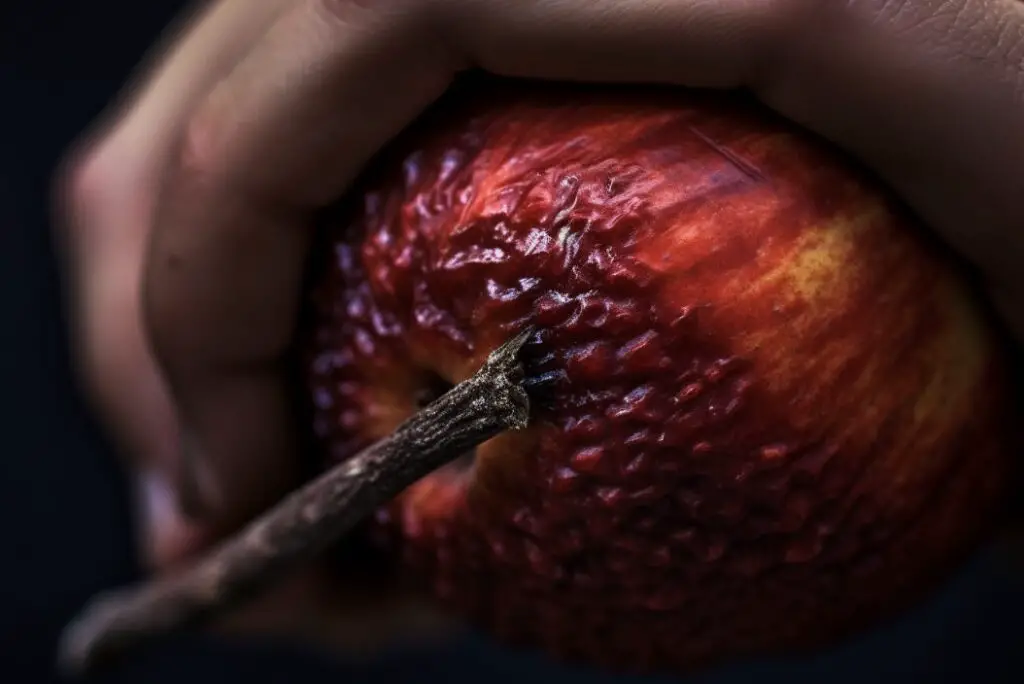
When it comes to making cider, the type of apples you choose can greatly impact the taste of your final product. Fallen apples, or “windfall apples” as they’re often called, can be perfect for cider making. However, it’s important to carefully inspect each apple.
Damaged or badly rotten apples can negatively affect your cider, imparting off-flavors or promoting the growth of harmful bacteria.
Remember, the sweeter the apple, the sweeter the cider. So, for a dry cider, opt for tart varieties like Granny Smith or Braeburn.
Want a sweeter cider? Try using Honeycrisp or Golden Delicious.
How to clean and sort apples for cider making
When making cider, it’s important to start with clean and sorted apples to ensure the best possible flavor and quality of the final product.
While the fermentation process will indeed kill off many germs, starting with good apples will still positively impact the taste and overall outcome. Here’s a guide to clean and sort apples for cider making:
Harvesting Apples:
- Pick ripe apples from the tree, making sure to discard any that are visibly rotten, moldy, or damaged. Overripe or bruised apples can also negatively affect the cider’s flavor, so try to avoid them.
Preparation:
- Wash your hands thoroughly before handling the apples to avoid transferring any bacteria or contaminants.
- Set up a clean workspace with clean containers, cutting boards, and knives.
Sorting Apples:
- Inspect each apple and sort them into different categories based on their quality. Group them into three main categories: good, questionable, and bad.
- Good: These are ripe, healthy-looking apples without any signs of rot, mold, or major damage.
- Questionable: Apples that have minor blemishes or spots but are still mostly intact. You can use these apples if you have a limited supply of “good” apples, but avoid any heavily damaged ones.
- Bad: Apples that are heavily rotten, moldy, or have signs of decay. Discard these as they can introduce off-flavors and spoil the cider.
Cleaning Apples:
- Rinse the apples thoroughly with cold water to remove any dirt and debris. You can use a soft brush to gently scrub the surface of the apples.
- Some cider makers choose to use a diluted food-grade sanitizer (e.g., a solution of water and food-grade hydrogen peroxide) to further reduce potential contaminants. If you choose to do this, follow the manufacturer’s guidelines and rinse the apples with clean water afterward.
Cutting and Processing:

- Cut the apples into smaller pieces to prepare them for pressing. Removing the cores is optional, but it can prevent any unwanted bitterness from the seeds. However, leaving some seeds won’t cause harm during fermentation.
- If you have a fruit grinder or crusher, you can use it to break down the apple pieces further.
Remember, even though the fermentation process will kill off most harmful microorganisms, it’s still crucial to start with the best possible apples for cider making.
Proper cleaning and sorting will help ensure that your cider turns out delicious and free from any unnecessary off-flavors.
Additionally, maintaining good hygiene throughout the cider-making process will lead to a better end product.
When you have selected your apples and prepared them for pressing, the press you use will determine the yield you will get:
Check out my article on cider presses above for more info on the best way to prepare your apples and press them!
The Process of Making Cider
You might think that making cider is a complex process, but it’s actually quite straightforward. First, you’ll need to rinse your apples to remove any dirt or debris.
Next, the apples are crushed into a pulp, or “pomace,” using a cider press. This pomace is then pressed to extract the juice.
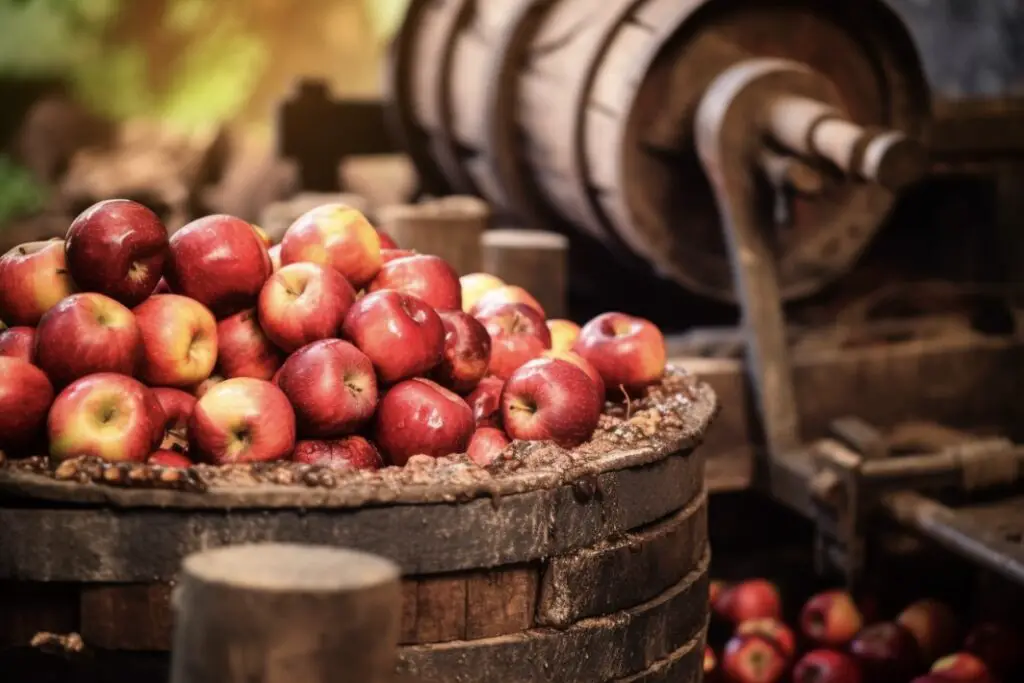
The juice is collected and transferred to a fermentation vessel, usually a glass carboy or plastic bucket. Yeast is added to the juice to begin the fermentation process. This process can take anywhere from one week to several months, depending on the temperature and the type of yeast used.
The Importance of Sanitation
Sanitation is critical when making cider. All equipment must be thoroughly cleaned and sanitized to prevent the growth of harmful bacteria.

This includes your cider press, fermentation vessel, airlock, and any other tools you’ll be using. Any contamination can result in off-flavors or spoilage of your cider.
Fermentation and Aging
Once your juice has been transferred to the fermentation vessel and the yeast has been added, it’s time to let nature do its work. The yeast will consume the sugars in the juice, producing alcohol and carbon dioxide. This process is known as fermentation.
After fermentation is complete, the cider is often siphoned into a secondary fermentation vessel to clear and age. Aging can take anywhere from a few weeks to several months, depending on your taste preference.
Bottling Your Cider
When your cider is clear and has reached your desired taste, it’s time to bottle. Bottling is a simple process of siphoning the cider into sterilized bottles and sealing them with a cap or cork. Some cider makers like to add a small amount of sugar before bottling to create a fizzy cider.
Enjoying Your Homemade Cider
There’s nothing quite like the satisfaction of sipping a glass of homemade cider. Whether you prefer it chilled or at room temperature, the fruits of your labor are sure to be delicious. Remember, cider is best enjoyed in moderation, and always share with friends and family!
Conclusion: The Joy of Cider Making
In conclusion, making cider from fallen apples is not only possible but can be a delightful and rewarding endeavor.
It’s a process that requires patience and diligence, but the final product is well worth the effort.
Here are some key takeaways from our discussion:
1. Yes, you can make cider from fallen apples.
2. Choose your apples carefully, avoiding any that are damaged or rotten.
3. The type of apple you choose will affect the taste of your cider.
4. All equipment used in the cider-making process must be thoroughly cleaned and sanitized.
5. Fermentation can take anywhere from one week to several months.
6. Aging your cider can enhance its flavor.
7. Always bottle your cider in sterilized bottles.
8. Enjoy your homemade cider responsibly and share it with friends and family.
9. Making cider is a rewarding process that allows you to appreciate the fruits of your labor (literally!).
10. Always remember, the joy of cider making comes from the process as much as the final product.
So why not give it a try? You might just discover a new hobby and a new appreciation for those fallen apples that litter your yard each autumn.
FAQs
What can I do with fallen apples?
There are several things you can do with fallen apples. You can use them to make homemade applesauce, apple pie, apple crisp, or apple cider. Alternatively, you can feed them to farm animals like pigs or compost them to enrich your garden soil.
How to make apple cider from wild apples?
To make apple cider from wild apples, start by collecting ripe wild apples. Wash them thoroughly and remove any damaged parts. Next, chop the apples into small pieces or use an apple crusher to break them down. Place the chopped apples in a clean container or a cider press. Use a press to extract the juice from the apples, or if you don’t have a press, you can use a cheesecloth to strain the juice. Allow the juice to ferment naturally by transferring it into a clean, sterile container and covering it with a cloth to prevent contamination while still allowing airflow. Leave the container in a cool, dark place for several weeks to allow the fermentation process to occur. Once the cider has fermented to your desired taste, strain it again to remove any sediment, and then bottle it. Refrigerate the cider to slow down further fermentation. Enjoy your homemade wild apple cider!
Can you make cider from fallen apples?
Yes, you can make cider from fallen apples. Fallen apples can be used to produce cider as long as they are in good condition and not rotten. It is important to carefully inspect the apples and discard any that show signs of decay or disease. Once you have a batch of good quality fallen apples, they can be pressed to extract the juice, which can then be fermented to make cider.
What makes it apple cider?
Apple cider is a beverage made from fresh apples that have been crushed and pressed to extract the juice. It is typically unfiltered and unpasteurized, giving it a cloudy appearance. Unlike apple juice, apple cider is not treated with additional sugars or preservatives. The natural fermentation process of the apple juice converts the sugars into alcohol, resulting in a slightly tangy and slightly alcoholic beverage.
Is apple cider just crushed apples?
No, apple cider is not simply crushed apples. It is made by pressing fresh apples to extract the juice, which is then filtered and fermented. The fermentation process converts the sugars in the juice into alcohol, resulting in apple cider.
Are cider apples different from eating apples?
Yes, cider apples are different from eating apples. Cider apples are specifically cultivated for their high tannin, acidity, and sugar content, which contribute to the complex flavors and aromas desired in cider production. Eating apples, on the other hand, are typically chosen for their crispness, juiciness, and sweetness. While some apple varieties can be used for both purposes, cider apples are generally not as enjoyable to eat raw due to their astringency and bitterness.