
Hello fellow mead enthusiasts! Racking your mead is an important step in the mead brewing process that can significantly impact the quality of your final product. It’s a common question among both newbies and seasoned brewers – so when is the right time to rack your mead?
The best time to rack your mead is when the fermentation process has slowed down significantly or stopped altogether.
If you’re new to brewing, racking might be a new term for you. In the simplest terms, racking is the process of transferring your mead from one container to another, leaving the sediment (known as “lees”) behind. Now, let’s dive deeper into the process and why it’s so crucial to your brewing journey.
Understanding the Fermentation Process
Before we get into the specifics of racking, it’s essential to understand the fermentation process. This is the magical time when the yeast consumes the sugars in your honey and converts them into alcohol. It’s what turns your sweet mixture into the delightful brew we all love.
During this process, the yeast will eventually slow down and form a sediment on the bottom of your fermentation vessel. This sediment, which is a mix of dead yeast cells and other debris, is known as the “lees”.
Leaving your mead on the lees for too long can lead to off-flavors. This is where racking comes into play.
The Importance of Racking
Racking is a crucial step in the brewing process. It prevents off-flavors caused by yeast autolysis, where the dead yeast cells start to break down, potentially giving your mead a bitter taste.
By racking, you are effectively separating your mead from the lees, ensuring a clearer, cleaner, and tastier final product.
Racking also introduces a small amount of oxygen into your mead. While too much oxygen can spoil your brew, this tiny bit can help mellow out harsh flavors and improve the overall taste.
When to Rack Your Mead
The million-dollar question: when should you rack your mead? The key is to monitor your fermentation process closely. Once you notice the fermentation has slowed down significantly or stopped, it’s time to rack.
In my experience, the specific gravity will usually be between 1010 and 1000 when fermentation has stopped and your mead is ready to rack.
Some of my brewer colleagues like to rack slightly before the fermentation has stabilized. This is because a somewhat active fermentation will still produce some CO2 that helps “push” out the oxygen once back in the closed fermentation tank again.
As oxygen is not great for mead it is at its later stages of fermentation, this is a good way to do it. But bear in mind there will be more living yeast left and thus more sediment and haze.
Typically, the initial vigorous fermentation phase will last for a week or two, after which it starts to slow down. This is when you’ll see the lees building up at the bottom of your fermentation vessel.
How to Rack Your Mead
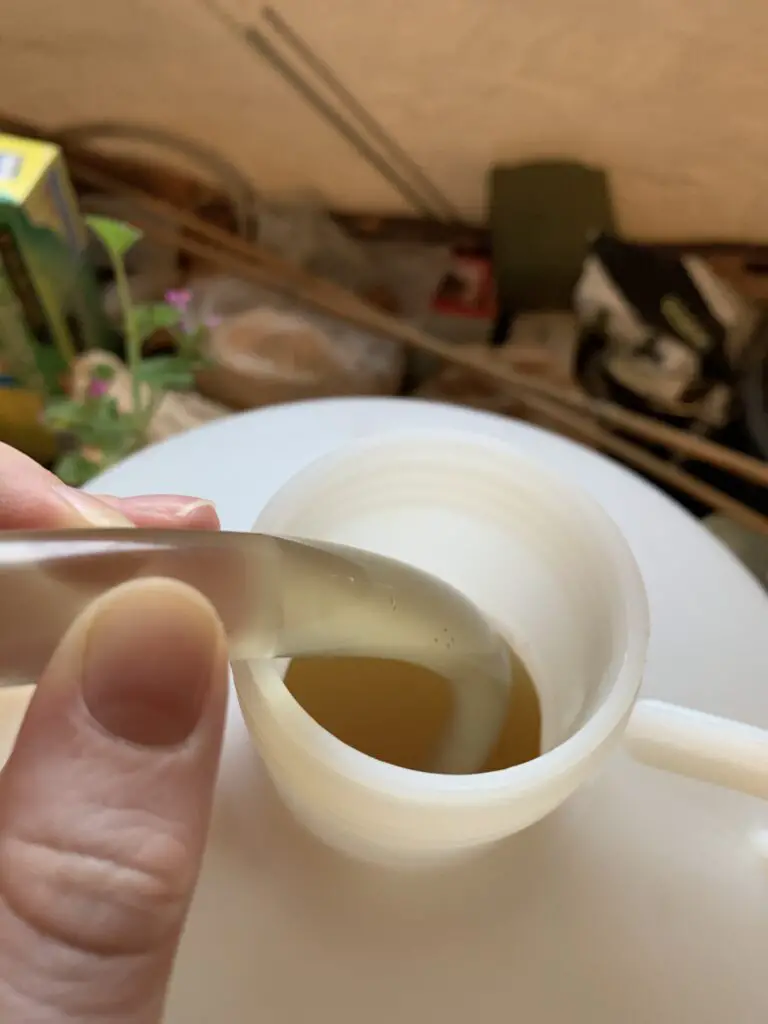
Now that we’ve covered the ‘when’, let’s talk about the ‘how’. You’ll need a racking cane or a siphon, some tubing, and a sanitized secondary container.
Place your primary vessel higher than your secondary one, insert your racking cane or siphon into your mead (without disturbing the lees), and let gravity do the rest!
Racking More Than Once
Sometimes, one racking might not be enough. If you notice more lees forming in your secondary vessel after a few weeks, you may need to rack your mead again. This can also be the case if you’re adding fruits, spices, or other flavorings to your mead.

Racking multiple times can help achieve a clearer mead, but remember, each racking introduces a small amount of oxygen, so don’t overdo it!
Common Mistakes to Avoid
As with any brewing process, mistakes can happen, especially for beginners. One common mistake is racking too early. If you rack your mead while it’s still vigorously fermenting, you can interrupt the process and end up with a weaker brew.
Another common mistake is introducing too much oxygen during racking, which can lead to oxidation and spoil your mead. Always ensure that your equipment is clean and sanitized, and be gentle to avoid aerating your mead too much.
Conclusion: Mastering the Art of Racking
Racking your mead is both a science and an art, and mastering it can take your mead brewing to the next level. Remember, the best time to rack your mead is when the fermentation process has slowed down significantly or stopped.
I hope this post has provided you with a better understanding of when to rack your mead and how to do it properly. Happy brewing!
10 Quick Facts About Racking Your Mead
1. Racking your mead is the process of transferring your brew from one container to another.
2. The goal of racking is to separate your mead from the sediment or “lees”.
3. Lees are a mixture of dead yeast cells and other debris.
4. Leaving your mead in the lees for too long can lead to off-flavors.
5. Racking introduces a small amount of oxygen into your mead, which can help mellow out harsh flavors.
6. The best time to rack your mead is when the fermentation process has slowed down significantly or stopped.
7. You’ll need a racking cane or a siphon, some tubing, and a sanitized secondary container to rack your mead.
8. Sometimes, one racking might not be enough, and you might need to rack your mead more than once.
9. Common mistakes to avoid include racking too early and introducing too much oxygen during racking.
10. Mastering the art of racking can take your mead brewing to the next level.
FAQs
What should I rack my mead into?
When racking your mead, it is recommended to use a glass carboy or a food-grade plastic fermenter. These materials are non-reactive and provide an airtight seal, preventing any unwanted oxygen exposure. Avoid using containers made of metals or porous materials, as they can affect the flavor and quality of your mead.
What gravity do you rack mead with?
When racking mead, it is generally recommended to rack it when the specific gravity reaches around 1.010 or below. This indicates that the fermentation process is complete, and it is time to transfer the mead to a new vessel, leaving behind any sediment or lees.
Why do we rack mead?
We rack mead to separate it from the sediment, known as lees, that accumulates during fermentation. This process helps clarify the mead, improve its flavor, and enhance its overall quality.
What is a good final gravity for mead?
A good final gravity for mead typically ranges between 0.995 and 1.020. The specific gravity will depend on factors such as the desired sweetness level and the yeast strain used.
Will racking mead stop fermentation?
Racking mead, which is the process of transferring it from one container to another, can potentially stop fermentation if done correctly. By racking, you separate the mead from the sediment or lees, which contain yeast cells responsible for fermentation. This can help reduce the risk of off-flavors and improve clarity. However, it’s important to note that fermentation may continue if there are residual sugars or active yeast present. To ensure fermentation is halted, stabilization methods like adding potassium sorbate or cold crashing may be necessary.
At what gravity should I rack mead?
When it comes to racking mead, the ideal gravity to consider is typically around 1.000 or below. This indicates that the fermentation process is complete, and most of the sugars have been converted into alcohol. Racking at this gravity helps to separate the mead from any sediment or lees that may have settled at the bottom of the fermentation vessel.