Mead, also known as honey wine, is one of the oldest known fermented beverages, with a rich history dating back thousands of years. As a brewer, I’ve had the privilege of partaking in the creation of this ancient drink, and one of the most critical steps in the process is knowing when to bottle mead.
To know when to bottle your mead, you must ensure that fermentation has completely finished and that the mead has had sufficient time to clarify. This can take anywhere from a few weeks to several months, depending on the specific recipe and conditions.
In this post, we’ll dive into the nuances of bottling mead, including understanding the fermentation process, clarifying the mead, the importance of sanitation, and the bottling process itself.
Understanding Fermentation
When brewing mead, fermentation is the process by which yeast consumes the sugars in the honey and converts them into alcohol. This process typically takes between 1 and 4 weeks, depending on the amount of honey used and the specific strain of yeast.
A key indicator that fermentation has finished is the cessation of bubbles in your airlock. When fermentation is active, the yeast produces carbon dioxide as a byproduct, which escapes through your airlock in the form of bubbles. When these bubbles stop, it’s a good sign that your yeast has consumed all the available sugar and that fermentation is complete.
However, it’s important not to rely solely on this visual cue. To be certain that fermentation is done, you should use a hydrometer to measure the specific gravity of your mead. If the specific gravity remains constant over several days, this is a strong indicator that fermentation is finished.
Know When Fermentation Is Done
To determine when mead fermentation is done, you can use either the Brix (°Bx) or Specific Gravity (SG) readings.
Both methods involve measuring the sugar content in the mead, which decreases as fermentation progresses.
Here’s how you can use each method:
Using Brix (°Bx):
Brix is a measurement of the sugar content in a liquid and is commonly used in winemaking and brewing. To use Brix to monitor mead fermentation:
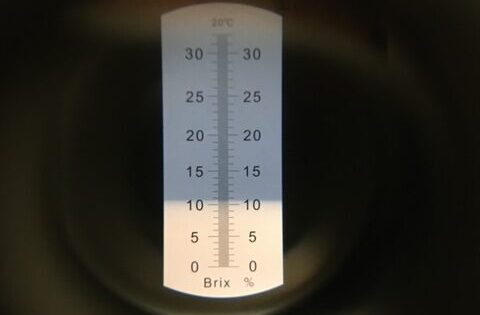
Step 1: Take initial Brix reading – Before pitching the yeast into the mead, use a hydrometer or a refractometer to measure the Brix level. Note down this initial reading.
Step 2: Take subsequent Brix readings – Throughout the fermentation process, take periodic Brix readings. As fermentation progresses, the Brix level will decrease, indicating that the sugars are being consumed by the yeast.
Step 3: Stability – Fermentation is considered complete when the Brix reading remains stable over several days, indicating that no further sugar is being converted into alcohol.
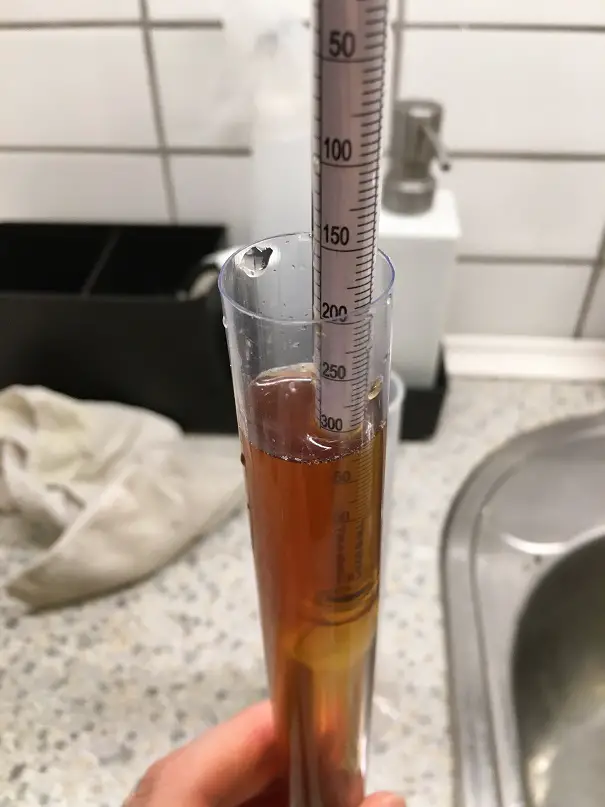
Using Specific Gravity (SG):
Specific Gravity is another measurement used to assess the sugar content in a liquid compared to the density of water. To use SG to monitor mead fermentation:
Step 1: Take initial SG reading – Similar to Brix, before starting fermentation, take an initial SG reading using a hydrometer. Record this value.
Step 2: Take subsequent SG readings – Throughout the fermentation process, take periodic SG readings. As fermentation progresses, the SG will decrease, showing that the sugars are being converted into alcohol.
Step 3: Stability – Fermentation is considered complete when the SG reading remains constant over several days, indicating that no more sugar is being fermented.
Note: Both methods rely on stable readings over a few days because it ensures that fermentation has completed and no further sugar is being consumed by the yeast.
When fermentation is done, the mead should have a significantly lower sugar content than at the beginning, and the alcohol content should be higher. Always remember to follow good sanitation practices while taking samples to avoid contaminating the mead during the process.
The Importance of Clarification
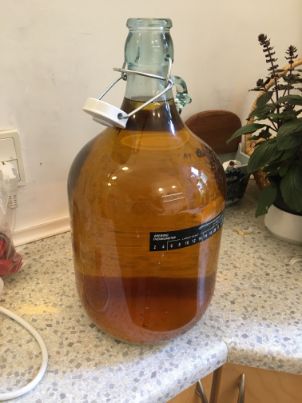
Once fermentation is complete, the next step is to allow your mead to clarify. This is the process by which the yeast and other solids in your mead settle to the bottom of your fermenter, leaving a clear liquid above.
There are many ways to clear mead depending on if you added fruits or not.
The duration of the clarification process can vary widely, depending on factors such as the type of yeast used, the temperature, and whether any fining agents are added. In general, though, you should plan for clarification to take at least a few weeks.
Sanitation is Key
Before you begin bottling your mead, it is essential to ensure that all of your equipment is sanitized. Any bacteria or wild yeast present on your equipment can contaminate your mead and potentially ruin your batch.
There are many different sanitizing solutions available, but I personally recommend Star San for its ease of use and effectiveness. Simply mix the solution according to the instructions on the bottle, and soak all of your equipment for the recommended time before rinsing with clean water.
choosing the right bottles
When it comes to bottling mead, there are several options available. The most traditional choice is a glass wine bottle, which can be sealed with a cork or a screw cap. These bottles are great for long-term aging, as they provide a tight seal that can prevent oxidation.
Another option is to use beer bottles, which can be capped with a bottle capper. These are a good choice for meads that you plan to consume within a year or so, as they are easier to open and reseal than wine bottles.
The Bottling Process
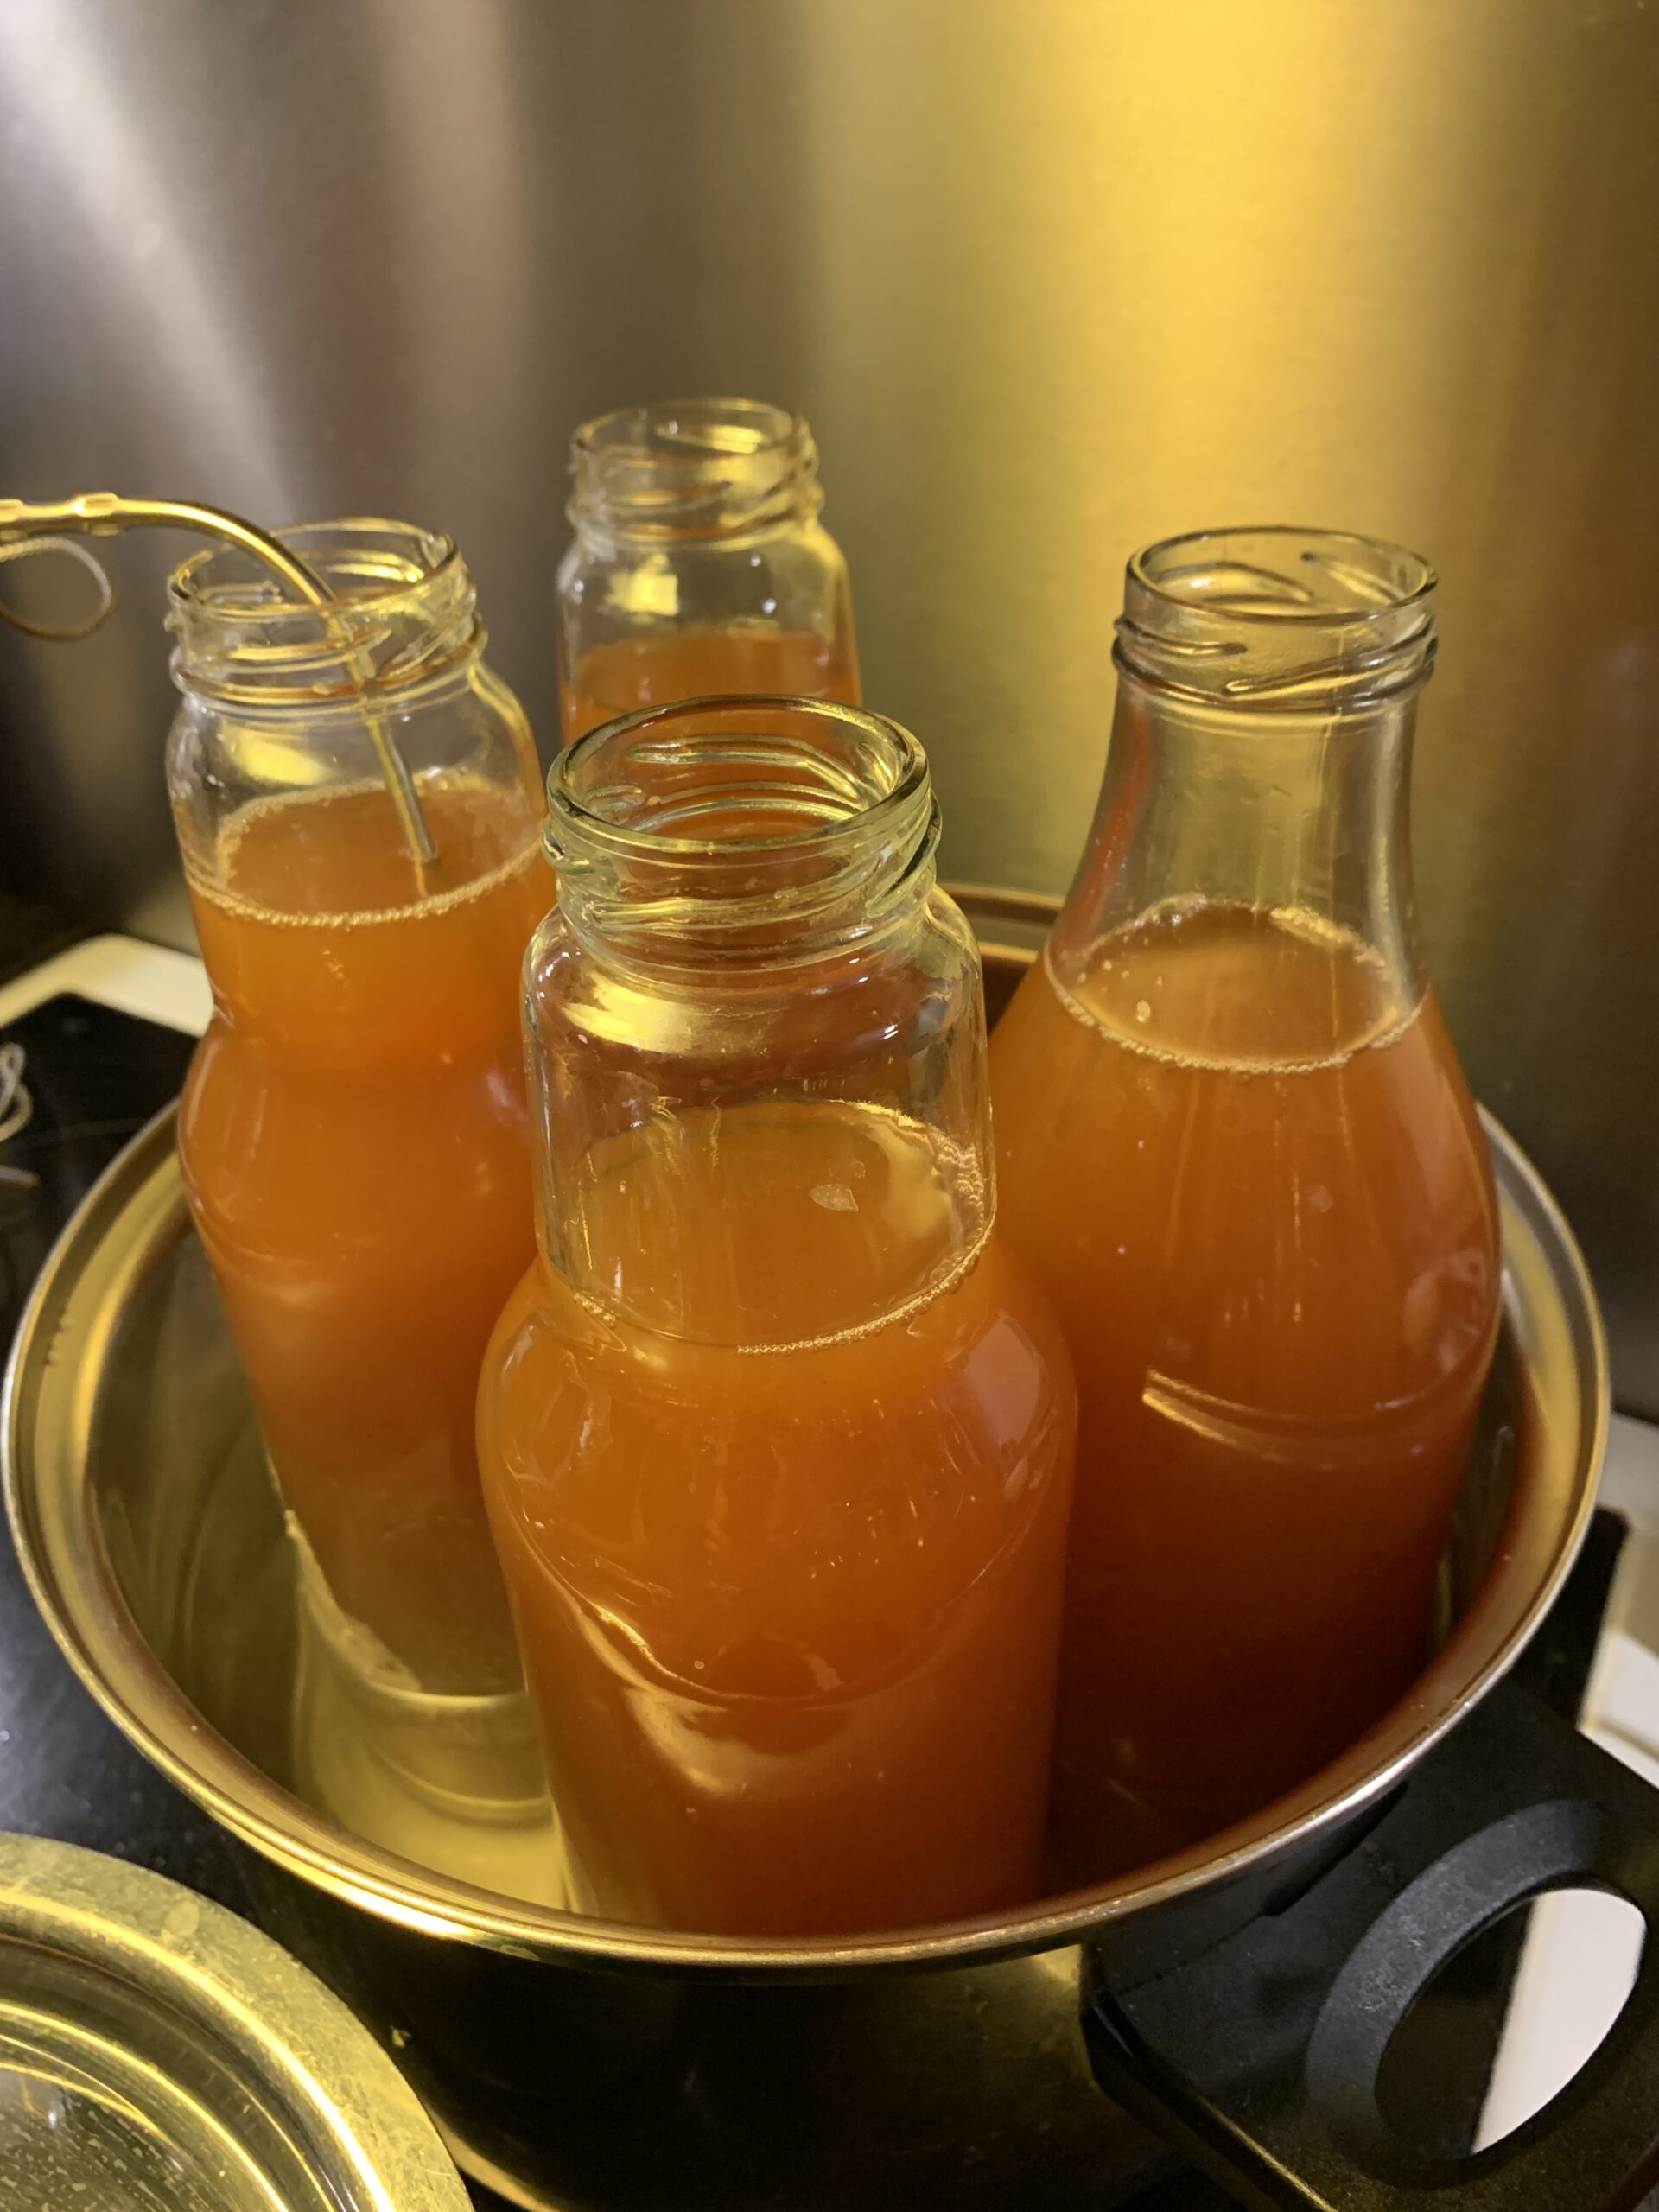
Once your mead is clear and all of your equipment is sanitized, it’s time to start bottling. Start by transferring your mead from the fermenter to a bottling bucket, using a siphon to avoid disturbing the sediment at the bottom of the fermenter.
Then, fill each bottle, leaving about an inch of headspace at the top. Finally, secure the cap or cork, and store your bottles in a dark, cool place.
Heres a step by step guide:
1. Sanitization: Ensure that all your equipment, including bottles, caps, and siphoning tools, are thoroughly cleaned and sanitized to prevent any contamination.
2. Clarification (optional): If you want a clear mead, you can clarify it by using fining agents or allowing it to naturally settle. This step is not necessary if you prefer a cloudy mead.
3. Racking: Use a siphoning tool to transfer the mead from the fermentation vessel into a clean and sanitized bottling bucket. This helps separate the mead from any sediment or lees that may have settled during fermentation.
4. Priming (optional): If you desire carbonation, you can add a small amount of fermentable sugar (such as honey or a measured amount of corn sugar) to the mead before bottling. This will create carbonation through a secondary fermentation in the bottle.
5. Bottling: Attach a bottling wand to the siphoning tool and fill each bottle, leaving a small headspace at the top. Ensure that the bottles are securely capped or corked to maintain a proper seal.
6. Aging: Mead often benefits from some aging to allow flavors to develop and mellow. Store the bottles in a cool, dark place for a few months to a year, depending on the style and desired taste.
Remember, it’s crucial to follow proper sanitation practices throughout the bottling process to maintain the quality and longevity of your mead.
Aging Your Mead
After bottling, most meads benefit from a period of aging. During this time, the flavors of the mead can meld and mellow, resulting in a smooth, complex beverage.
The length of the aging period can vary greatly, depending on the type of mead and your personal taste. Some meads are ready to drink after just a few months, while others can be aged for years or even decades.
Conclusion
Knowing when to bottle mead is a crucial part of the brewing process. By understanding the stages of fermentation and clarification, ensuring proper sanitation, choosing the right bottles, and allowing for a period of aging, you can produce a mead that is both delicious and true to its ancient roots.
To summarize, here are the 10 key facts about bottling mead:
1. Mead is one of the oldest known fermented beverages.
2. It’s crucial to know when fermentation has finished before bottling.
3. Fermentation typically takes 1 to 4 weeks.
4. The cessation of bubbles in the airlock is a visual cue that fermentation may be complete.
5. A hydrometer can be used to measure specific gravity and confirm the end of fermentation.
6. After fermentation, mead should be allowed to clarify, which can take several weeks.
7. Sanitation of all equipment is crucial to avoid contamination.
8. Glass wine bottles and beer bottles are both good options for bottling mead.
9. Most meads benefit from a period of aging after bottling.
10. The length of the aging period can vary greatly, from months to decades.
FAQs
Can you drink mead after primary fermentation?
Yes, you can drink mead after primary fermentation. Primary fermentation is the initial stage where yeast converts the sugars into alcohol. While the mead may still be young and may not have fully developed its flavors, it is safe to consume. However, many mead enthusiasts prefer to age their mead for several months or even years to allow the flavors to mature and improve.
What to do after primary fermentation mead?
After primary fermentation of mead, the next step is typically to transfer the mead into a secondary fermentation vessel. This helps to clarify the mead and allows any remaining sediment or impurities to settle. You can also add any additional ingredients at this stage, such as fruits, spices, or oak chips, to enhance the flavor profile. After transferring, it is important to ensure that the vessel is properly sealed to prevent oxidation. Secondary fermentation can last anywhere from a few weeks to several months, depending on the desired outcome. Once the mead has cleared and the desired flavors have developed, it can be bottled and aged further if desired.
Can you ferment mead for too long?
Yes, you can ferment mead for too long. Over-fermentation can lead to excessive dryness, loss of desired flavors, and off-flavors due to the breakdown of compounds. It is important to monitor the fermentation process and stop it at the desired level of sweetness to achieve a balanced and enjoyable mead.
What is the minimum fermentation time for mead?
The minimum fermentation time for mead typically ranges from a few weeks to a couple of months. However, it’s important to note that the fermentation process can vary depending on factors such as yeast strain, ingredients used, and desired flavor profile. It is recommended to allow mead to ferment until it reaches its desired level of sweetness and clarity, which may take several months or even longer for more complex flavors to develop.
How long does mead need to ferment before bottling?
The fermentation time for mead can vary depending on several factors such as the desired flavor profile, yeast strain used, and fermentation conditions. In general, mead fermentation can take anywhere from a few weeks to several months. It is important to monitor the specific gravity of the mead using a hydrometer to ensure fermentation is complete before bottling. When the specific gravity remains stable over a period of time, typically around 1.000 or lower, it indicates that fermentation has finished, and it is safe to proceed with bottling.