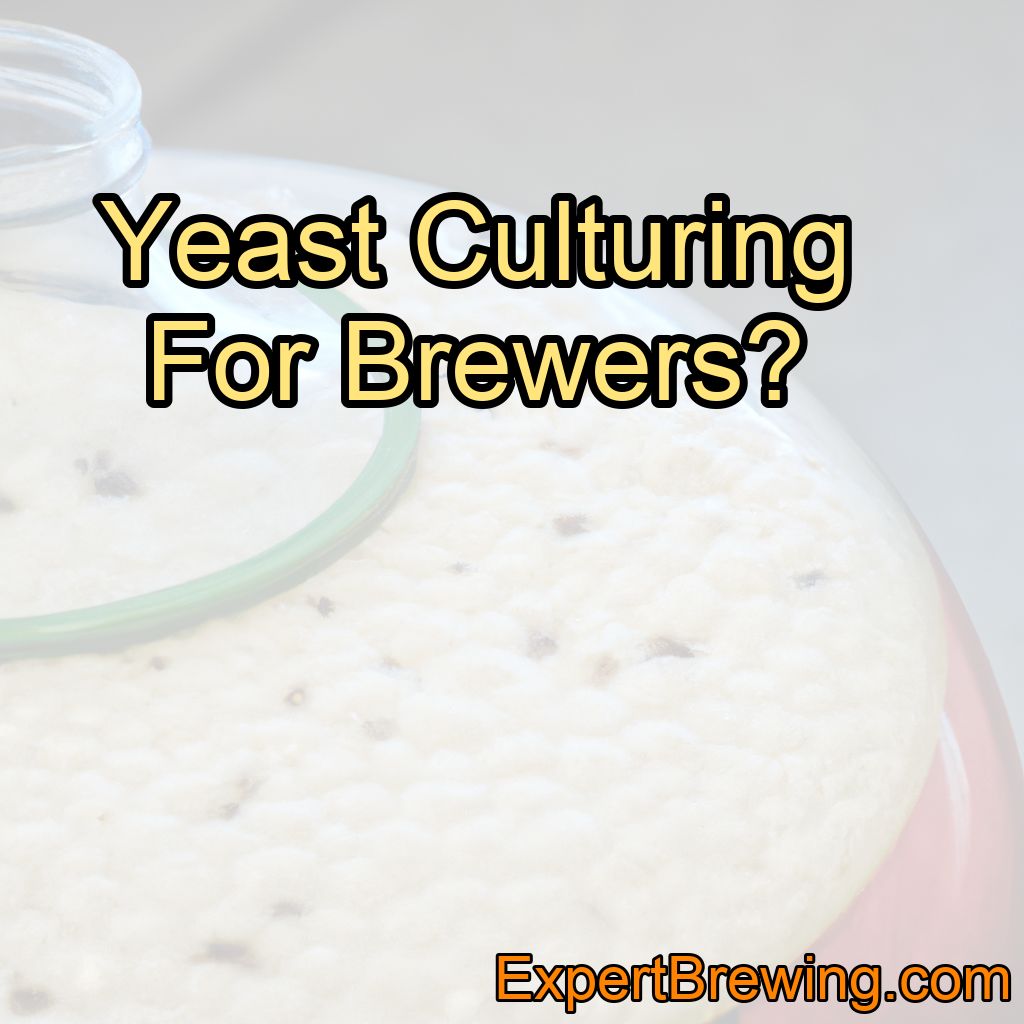
Yeast culturing is an integral aspect of the brewing process. It is the magic behind the scenes that transforms your ordinary brew into a sensational beer.
As a brewer with years of experience, I can attest that understanding yeast and how to culture it can make a significant difference in the quality of your brew.
What is Yeast?
Yeast is a type of fungus that consumes sugar and produces alcohol and carbon dioxide as by-products. This fermentation process is what creates the alcohol and carbonation in beer. Yeast also contributes to the flavor and aroma of beer.

Yeast culturing, or yeast propagation, involves growing yeast in a controlled environment to increase its quantity and health. This process is essential for brewers because it ensures that there is enough healthy yeast to ferment the wort effectively.
The Importance of Yeast in Brewing
Yeast plays a crucial role in brewing. It not only ferments the wort to produce alcohol but also significantly influences the taste and aroma of the beer.
Different yeast strains produce different flavors and aromas, so choosing the right yeast strain can dramatically affect the character of your beer.
Understanding yeast and how to culture it effectively is, therefore, a critical skill for any brewer.
Yeast Propagation
Yeast propagation involves creating a suitable environment for the yeast to reproduce. To do this, you need a yeast starter, which is a small volume of wort that provides the yeast with the nutrients it needs to grow.
Choosing a Yeast Strain
The first step in yeast culturing is choosing a yeast strain. There are hundreds of yeast strains available, each with its unique flavor and aroma profile.
Your choice of yeast strain will significantly influence the character of your beer, so it’s crucial to choose a strain that complements your beer style.
Creating a Yeast Starter
Creating a yeast starter involves mixing a small amount of malt extract with water and boiling it to sterilize the mixture. Once it’s cooled, you add your yeast.
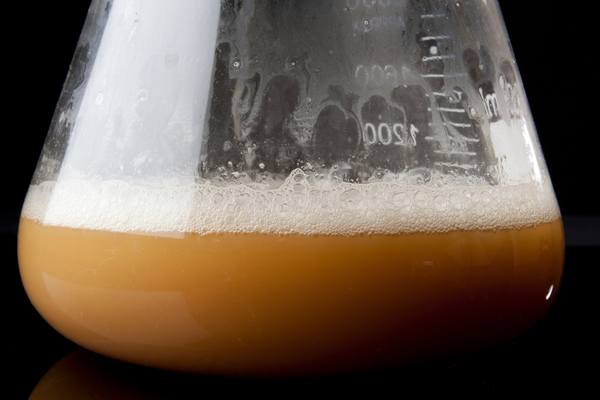
A yeast starter provides the yeast with a nutrient-rich environment that encourages it to reproduce and increase in quantity. It also helps to ensure that your yeast is healthy and active before you add it to your wort.
Step-by-Step Guide to Creating a Yeast Starter
1. Mix a small amount of malt extract with water.
2. Boil the mixture to sterilize it.
3. Allow the mixture to cool to room temperature.
4. Add your yeast.
5. Keep the yeast starter at a constant temperature and agitate it regularly to keep the yeast in suspension and encourage it to reproduce.
Yeast Harvesting and Storage
After fermentation, you can harvest the yeast from your fermenter for reuse in future brews. This process involves collecting the yeast sediment, or trub, from the bottom of your fermenter, washing it to remove any hop residue or dead yeast cells, and storing it under sterile conditions.
Proper yeast storage is crucial to maintaining the health and viability of your yeast. Yeast should be stored in the refrigerator at a temperature of 33-40°F (1-4°C), and it’s best used within a week of harvesting.
Yeast Quality Control
Yeast quality control involves monitoring the health and vitality of your yeast to ensure that it’s capable of fermenting your wort effectively. This process typically involves measuring the yeast’s density, viability, and vitality.

Regular yeast quality control can help you identify any potential issues with your yeast before they affect the quality of your brew.
Conclusion
Yeast culturing is a critical aspect of the brewing process that can significantly influence the quality of your beer.
By understanding yeast and how to culture it effectively, you can ensure that you have enough healthy yeast to ferment your wort and produce a beer with the desired flavor and aroma profile.
Here are the top 10 facts about yeast culturing for brewers:
1. Yeast is a fungus that consumes sugar and produces alcohol and carbon dioxide.
2. Yeast culturing involves growing yeast in a controlled environment.
3. The yeast strain chosen can significantly influence the character of your beer.
4. A yeast starter provides the yeast with a nutrient-rich environment that encourages growth.
5. Yeast harvesting involves collecting the yeast sediment from your fermenter for reuse.
6. Yeast should be stored in the refrigerator at 33-40°F (1-4°C).
7. Yeast quality control is vital and involves monitoring the yeast’s health and vitality.
8. There are hundreds of yeast strains available to brewers.
9. Different yeast strains produce different flavors and aromas.
10. Yeast contributes to the alcohol, carbonation, flavor, and aroma of beer.
In my years of brewing, I’ve come to appreciate the role of yeast and the art of yeast culturing. It’s a fascinating process that combines science and craft, and it’s one of the aspects of brewing that I enjoy the most.
It’s truly amazing to see how this tiny organism can transform a simple mixture of malt, water, and hops into a delicious brew.
FAQs
Can you grow your own brewers yeast?
Yes, it is possible to grow your own brewers yeast. You can cultivate it by creating a favorable environment for yeast growth, such as providing a mixture of nutrients, warm temperatures, and oxygen. By following specific steps and using the right ingredients, you can successfully grow brewers yeast at home.
How do you propagate brewers yeast?
To propagate brewers yeast, you can follow these steps:
1. Start with a small quantity of live brewers yeast culture.
2. Prepare a nutrient-rich medium, such as a mixture of water, sugar, and malt extract.
3. Sterilize the medium to prevent the growth of unwanted microorganisms.
4. Inoculate the sterilized medium with the live brewers yeast culture.
5. Provide suitable conditions for yeast growth, including maintaining an optimal temperature and pH level.
6. Allow the yeast to multiply and grow in the medium for a specific period, typically several hours to a few days.
7. Regularly monitor the yeast population and adjust the conditions if necessary.
8. Once the yeast population has reached the desired level, harvest the yeast by separating it from the medium.
9. Store the propagated yeast in a suitable container or use it immediately for brewing purposes.
Remember, propagating brewers yeast requires careful handling and maintaining sterile conditions to ensure the quality and purity of the yeast culture.
How do you grow your own yeast beer?
To grow your own yeast beer, you’ll need to follow a few steps. First, create a yeast starter by combining yeast, water, and a source of sugar, like malt extract. Let this mixture sit for a few days until it becomes active and starts fermenting. Next, prepare your beer wort by boiling malt extract, hops, and water. Once cooled, transfer the wort to a fermentation vessel and add your yeast starter. Allow the mixture to ferment for a week or two, ensuring the temperature is controlled. Finally, bottle the beer, adding a small amount of sugar to carbonate it. Let it sit for a few weeks, and your homemade yeast beer will be ready to enjoy!
Can you grow yeast at home?
Yes, it is possible to grow yeast at home. Yeast can be cultivated using simple ingredients like flour, water, and sugar. By creating a suitable environment with the right temperature and moisture, you can encourage yeast growth and fermentation. This can be done to make homemade bread, beer, or even for other culinary experiments.
How do you multiply brewers yeast?
To multiply brewers yeast, you can follow a simple process. First, prepare a suitable growth medium, such as a mixture of water, sugar, and nutrients. Then, add a small amount of brewers yeast to the medium and allow it to grow under favorable conditions, such as a warm and oxygen-rich environment. Over time, the yeast will multiply and increase in number.