Mead, the world’s oldest known alcoholic beverage, is made by fermenting honey with water and occasionally adding fruits, spices, grains, or hops.
Despite its ancient roots, it can be a challenging drink to perfect, particularly when it comes to stabilization. What does it mean to stabilize mead?
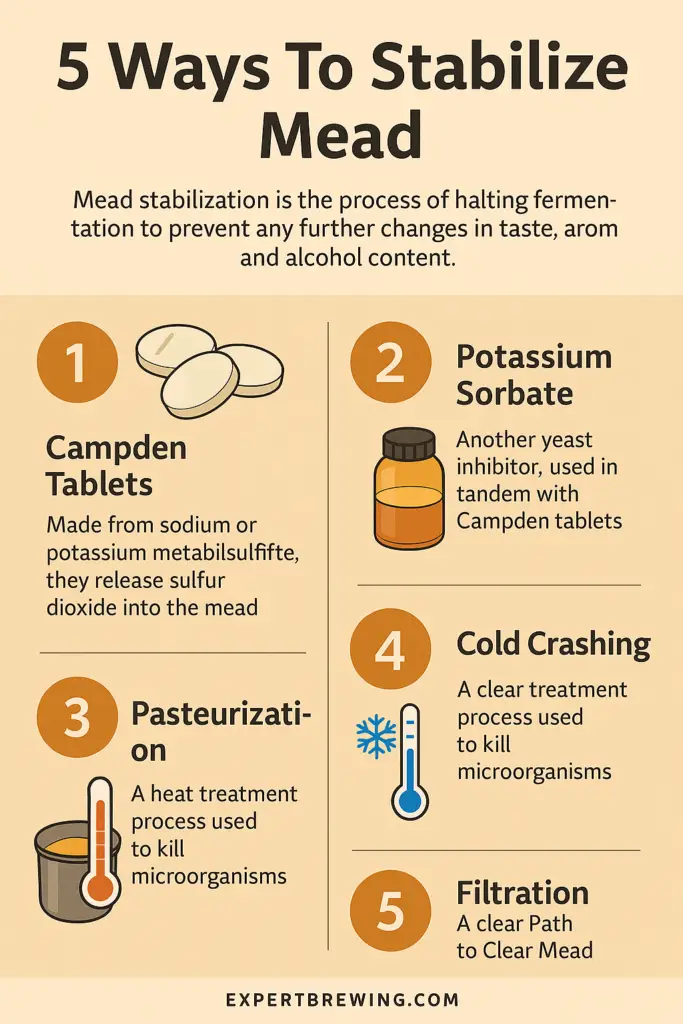
Mead stabilization is the process of halting fermentation to prevent any further changes in taste, aroma, and alcohol content.

It is an essential step in the mead-making process to ensure consistency and shelf-stability. This blog post will delve into my personal experiences and provide detailed guidance on how to stabilize mead using various methods, including: Campden tablets, potassium sorbate, pasteurization, cold crashing, and filtration.
1. Using Campden Tablets for Mead Stabilization
Campden tablets, made from sodium or potassium metabisulfite, are a common tool in a brewer’s arsenal.
They release sulfur dioxide into the mead, effectively killing off wild yeast before fermentation and can be used for halting fermentation in late stages.

In my brewing journey, I’ve found that one Campden tablet per gallon of mead is usually enough to get the job done.
Crush the tablets into a powder, dissolve them in a small amount of mead or water, then mix this solution into your batch.
Wait 24 hours before proceeding to the next step of your mead-making process. Remember, patience is a virtue in brewing!
2. Potassium Sorbate for Mead Stabilization
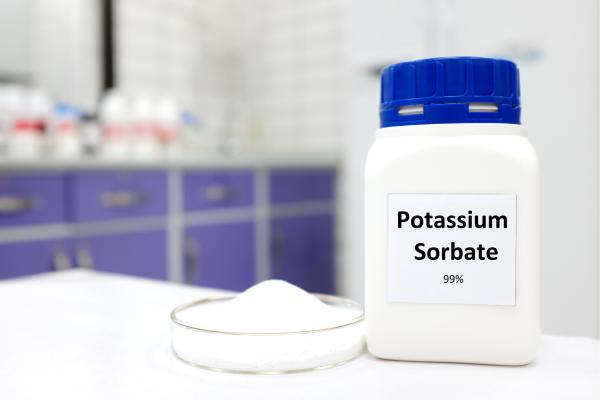
Potassium sorbate is another yeast inhibitor commonly used in tandem with Campden tablets.
While Campden tablets are great at killing yeast, potassium sorbate ensures any surviving yeast doesn’t reproduce.

Together these chemicals can even stop fermentation prematurely to yield a sweeter mead.
Typically, I use 1/2 teaspoon of potassium sorbate per gallon of mead. Like with the Campden tablets, dissolve the sorbate in a small amount of mead or water before adding it to your batch.
This one-two punch of Campden and sorbate is a highly effective way to stabilize your mead, but I usually combine it with cold crashing or filtration to be more certain that I will avoid bottle-bombs down the line…
3. Pasteurization: An Effective Method for Mead Stabilization
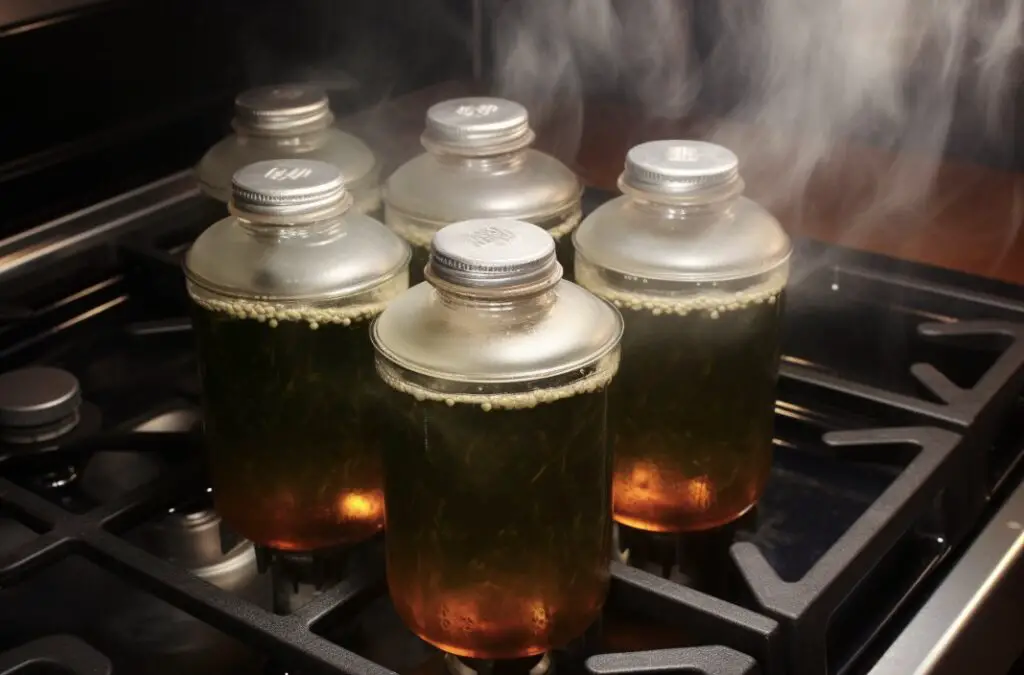
Pasteurization, named after the famous French scientist Louis Pasteur, is a heat treatment process used to kill microorganisms and extend the shelf-life of various foods and beverages, including mead.

To pasteurize mead, heat it to 145-155°F (63-68°C) and hold at that temperature for at least 30 minutes. Be careful not to overheat, as high temperatures can alter the taste and aroma of your mead.
Pasteurization is a delicate process, but when done correctly, it’s a terrific method for mead stabilization.
4. Cold Crashing: The Coolest Technique for Mead Stabilization
Cold crashing is a technique used by brewers to clear their brews of yeast and sediment. By rapidly lowering the temperature, yeast activity slows, and the yeast cells clump together and fall to the bottom of the fermentation vessel.

In my experience, cold crashing at about 40°F (4°C) for a week or two works wonders. This method won’t kill the yeast, but it will put them into a dormant state. Cold crashing is a fantastic, non-chemical method for mead clering and stabilization.
5. Filtration: A Clear Path to Mead Clear Mead
Filtration is another physical method for mead stabilization. It involves passing the mead through a filter to remove yeast and sediment, resulting in a clearer, more stable product.
There are many types of filters available, from simple gravity-fed systems to more sophisticated pump-driven setups.
Regardless of the type, the basic principle remains the same: remove the yeast, stabilize the mead. Filtration can be a fantastic option for those looking to avoid using additives in their mead.
Conclusion: The Magic of Mead Stabilization
Whether you choose to use Campden tablets, potassium sorbate, pasteurization, cold crashing, or filtration, the goal of mead stabilization remains the same: to halt fermentation and preserve the delicious taste, aroma, and alcohol content of your mead.
Each method has its own pros and cons, and the best choice will depend on your specific situation and preferences.
Stabilizing mead may seem like a daunting task, but with patience and practice, you’ll soon master the art. Remember, the journey is just as important as the destination. So enjoy the process, and cheers to your brewing success!
Here are 10 key takeaways about mead stabilization:
1. Mead stabilization is the process of halting fermentation to ensure consistency and shelf-stability.
2. Campden tablets kill yeast and halt fermentation, with one tablet per gallon usually sufficient.
3. Potassium sorbate prevents any surviving yeast from reproducing.
4. Campden tablets and potassium sorbate are often used together for effective stabilization.
5. Pasteurization kills microorganisms and extends mead’s shelf-life.
6. The pasteurization process involves heating mead to 145-155°F (63-68°C) for at least 30 minutes.
7. Cold crashing slows yeast activity and causes yeast cells to clump and fall to the bottom of the vessel.
8. Cold crashing typically involves lowering the temperature to around 40°F (4°C) for a week or two.
9. Filtration removes yeast and sediment from mead, resulting in a clearer, more stable product.
10. The choice of stabilization method depends on your specific situation and preferences.
FAQs
How do you stabilize mead naturally?
To stabilize mead naturally, you can follow a few methods:
1. Time: Allow the mead to age and settle naturally over time. This process can take several months or even years, during which sediments and particles will settle to the bottom of the container.
2. Cold Stabilization: Lower the temperature of the mead to near freezing point for a few weeks. This helps to precipitate and clarify any remaining particles, making it easier to separate them from the liquid.
3. Racking: Transfer the mead to a new container, carefully leaving behind the sediment at the bottom. This process, known as racking, helps remove any remaining impurities and promotes clarity.
4. Fining Agents: Utilize natural fining agents such as bentonite, gelatin, or egg whites. These substances help attract and bind with suspended particles, making them easier to remove. Follow the instructions provided with the fining agent for best results.
Remember, stabilizing mead naturally requires patience and careful handling. It’s essential to maintain cleanliness and proper sanitation throughout the process to achieve a stable and clear final product.
How do you cold crash mead?
To cold crash mead, you will need to follow these steps:
1. Prepare your mead: Ensure that your mead has completed the fermentation process and is ready for clarification. This usually takes about 2 to 3 weeks.
2. Choose a container: Transfer your mead into a secondary fermentation vessel, such as a carboy or a glass jug. Make sure it has an airtight seal.
3. Cool the mead: Place the vessel in a refrigerator or a cold environment with a temperature between 32-40°F (0-4°C). This temperature range helps to precipitate and settle any remaining suspended particles in the mead.
4. Wait patiently: Allow the mead to cold crash for at least a week, although longer durations may yield better results. The extended cold temperature encourages solids to settle at the bottom of the vessel.
5. Avoid disturbances: Refrain from moving or agitating the vessel during the cold crashing process. Any disturbance can disrupt the settling process and reintroduce suspended particles.
6. Rack or bottle: Once the cold crashing period is complete, carefully transfer the clarified mead into a clean vessel, leaving behind the sediment at the bottom. You can then proceed to bottle your mead for further aging or consumption.
Remember, cold crashing is an optional step in meadmaking, but it helps to improve clarity and remove unwanted particles.
What can I stabilize mead with?
Mead can be stabilized using various methods. The most common approach is to use chemical stabilizers such as potassium sorbate and potassium metabisulfite. These additives inhibit yeast reproduction and prevent refermentation. Additionally, cold stabilization can be employed by chilling the mead to near-freezing temperatures for a few weeks to encourage sedimentation of any remaining yeast or particles.
How do you stabilize mead with potassium sorbate?
To stabilize mead with potassium sorbate, you need to follow these steps:
1. Ensure fermentation is complete: Make sure that the mead has finished fermenting and the desired sweetness and alcohol content have been achieved.
2. Clarify the mead: Use fining agents or filtration methods to clarify the mead and remove any suspended particles. This step helps improve the stability of the final product.
3. Add potassium sorbate: Measure and add the appropriate amount of potassium sorbate to the mead. The typical dosage is 1/2 teaspoon (2.5 grams) of potassium sorbate per gallon (3.8 liters) of mead. Dissolve the potassium sorbate in a small amount of warm water before adding it to the mead to ensure even distribution.
4. Mix thoroughly: Gently stir or agitate the mead to ensure that the potassium sorbate is evenly distributed throughout the liquid.
5. Bottle and store: Once the potassium sorbate is added, you can bottle the mead in clean and sanitized containers. Ensure proper sealing to prevent oxygen exposure. Store the bottles in a cool and dark place to maintain stability.
It’s important to note that potassium sorbate alone does not prevent fermentation if there are residual sugars present. It works best in combination with other stabilization methods like sulfite additions, cold crashing, or sterile filtration.
How much potassium sorbate for 5 gallons of mead?
The recommended dosage of potassium sorbate for 5 gallons of mead is typically 1/2 to 3/4 teaspoon. This amount helps inhibit the growth of yeast and prevents refermentation. It is important to note that potassium sorbate is most effective when used in conjunction with sulfites, such as potassium metabisulfite.
How long should I cold crash my mead?
The duration of cold crashing mead can vary depending on the specific recipe and desired outcome. In general, cold crashing is typically done for a few days to a couple of weeks. However, it’s important to monitor the mead’s clarity and taste during this process. Once the mead has clarified and any sediment has settled, you can proceed to rack or bottle it.


